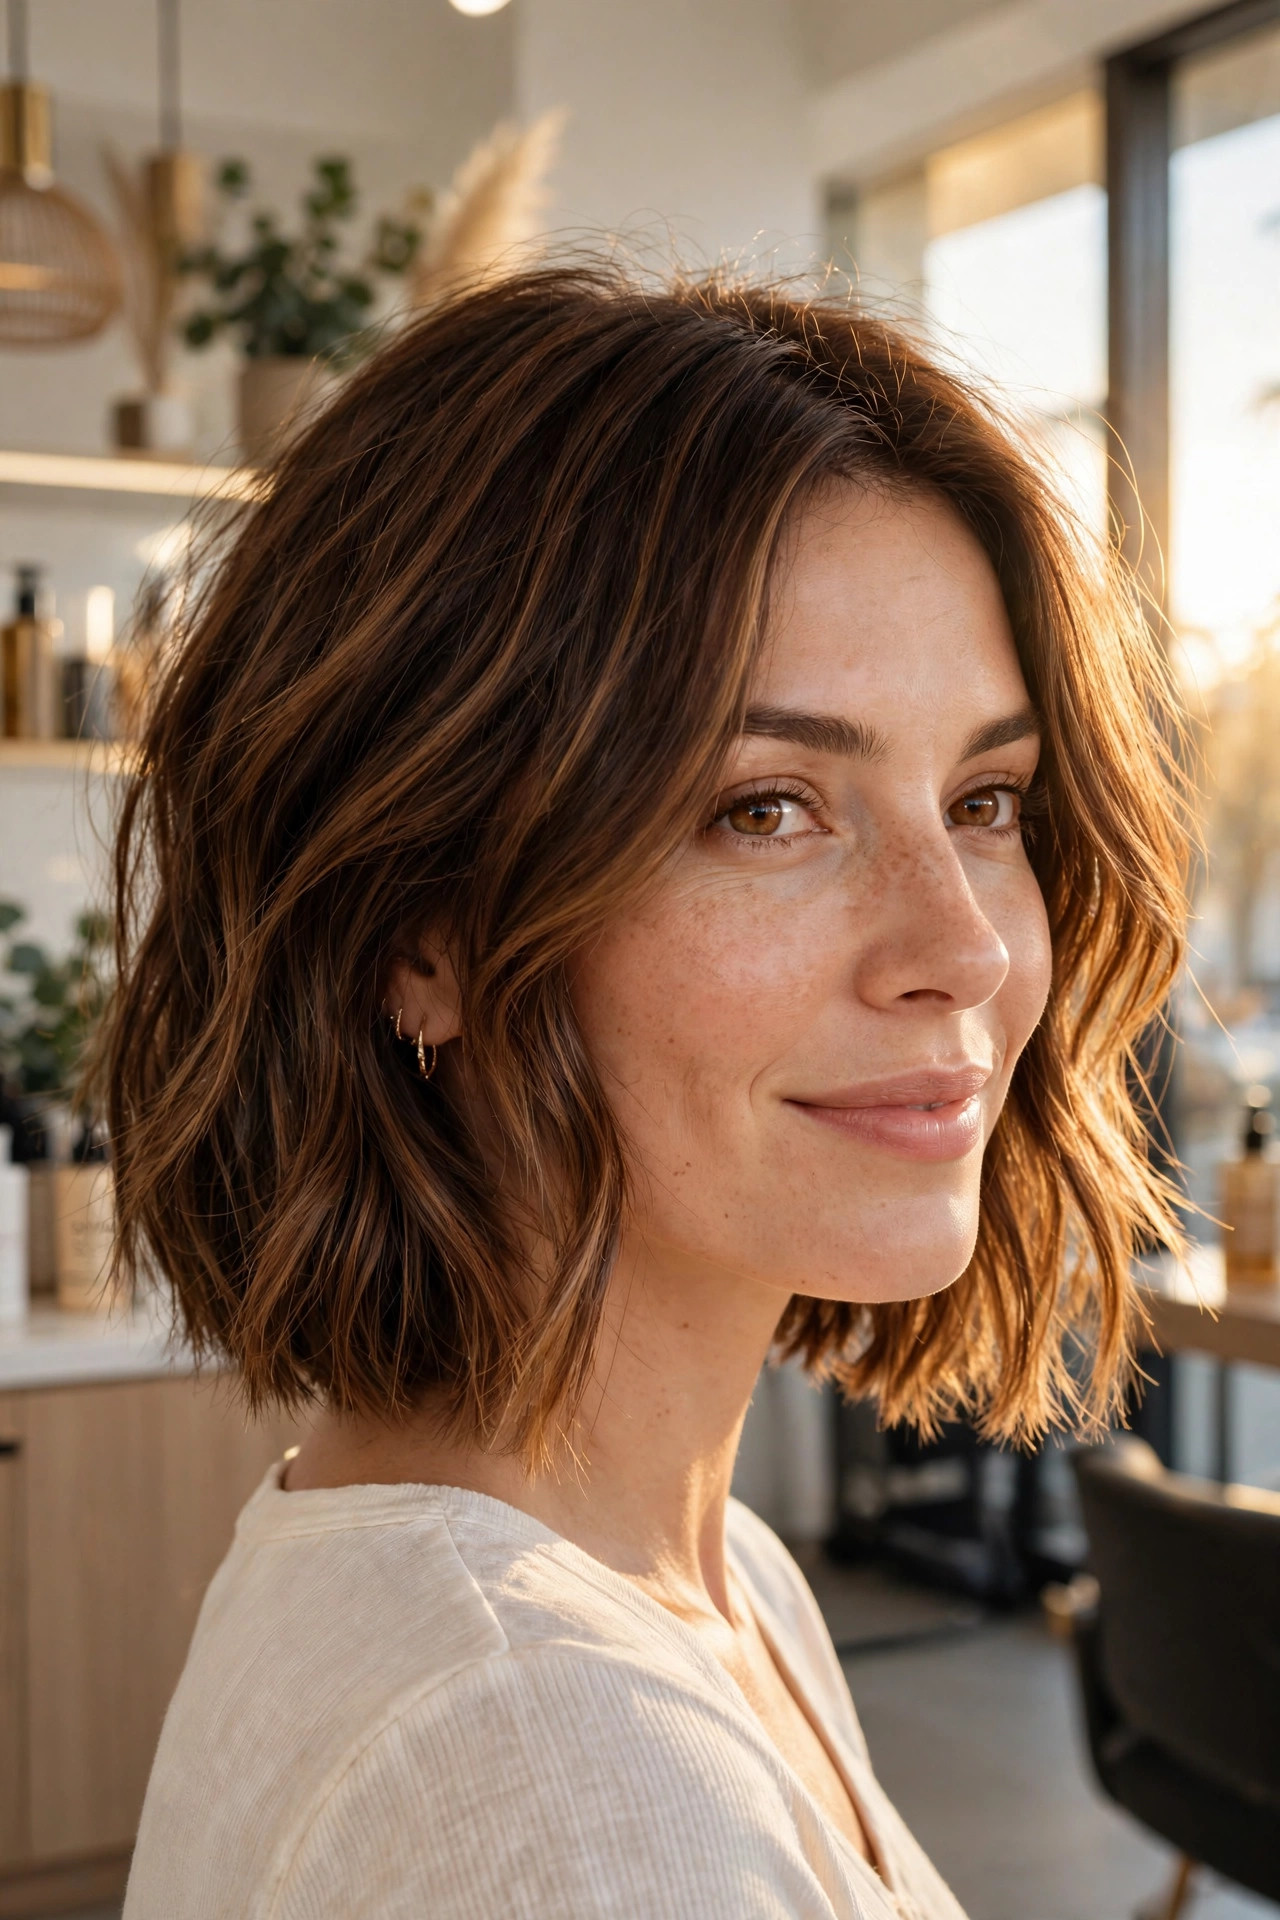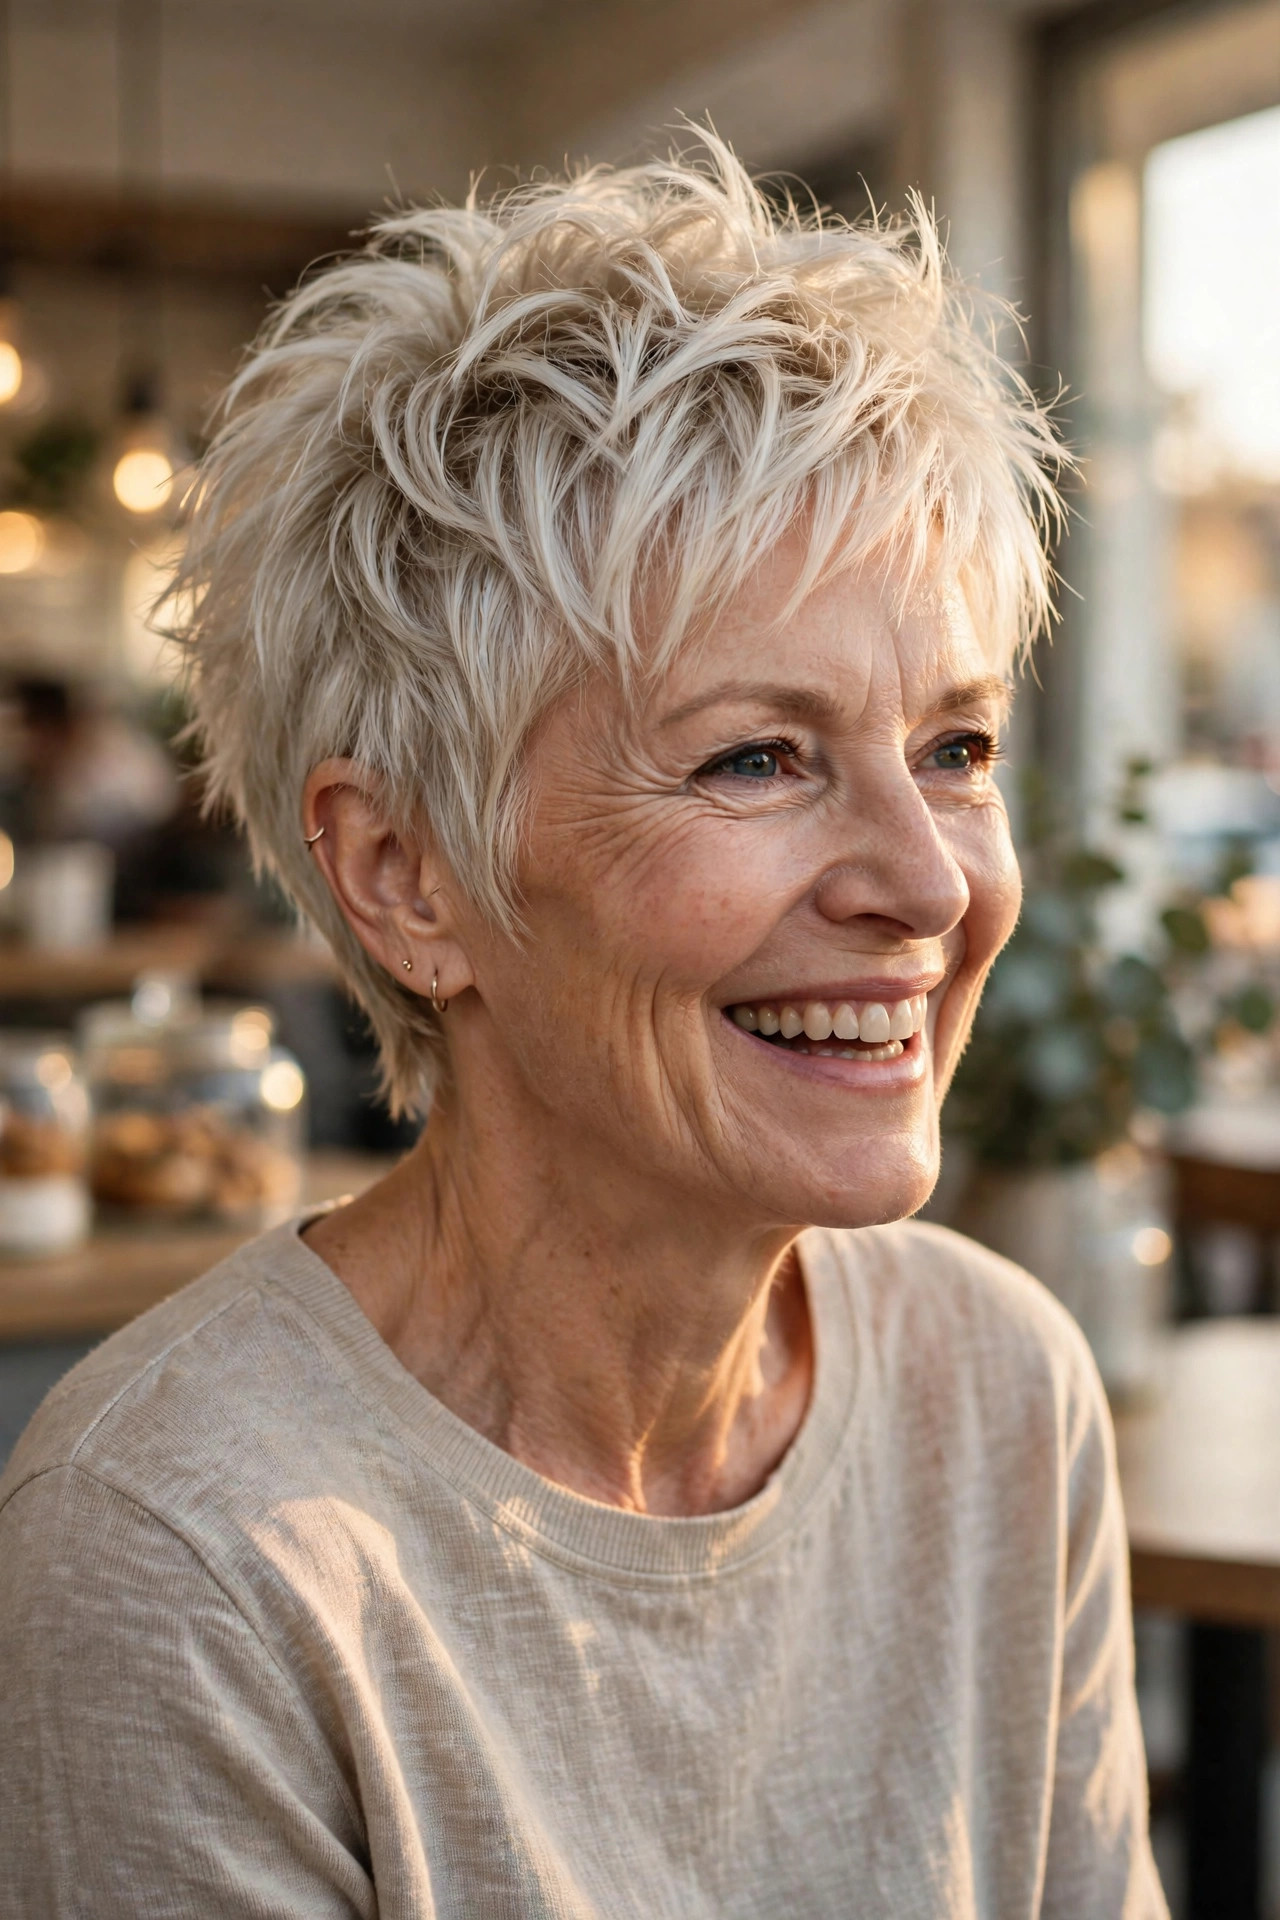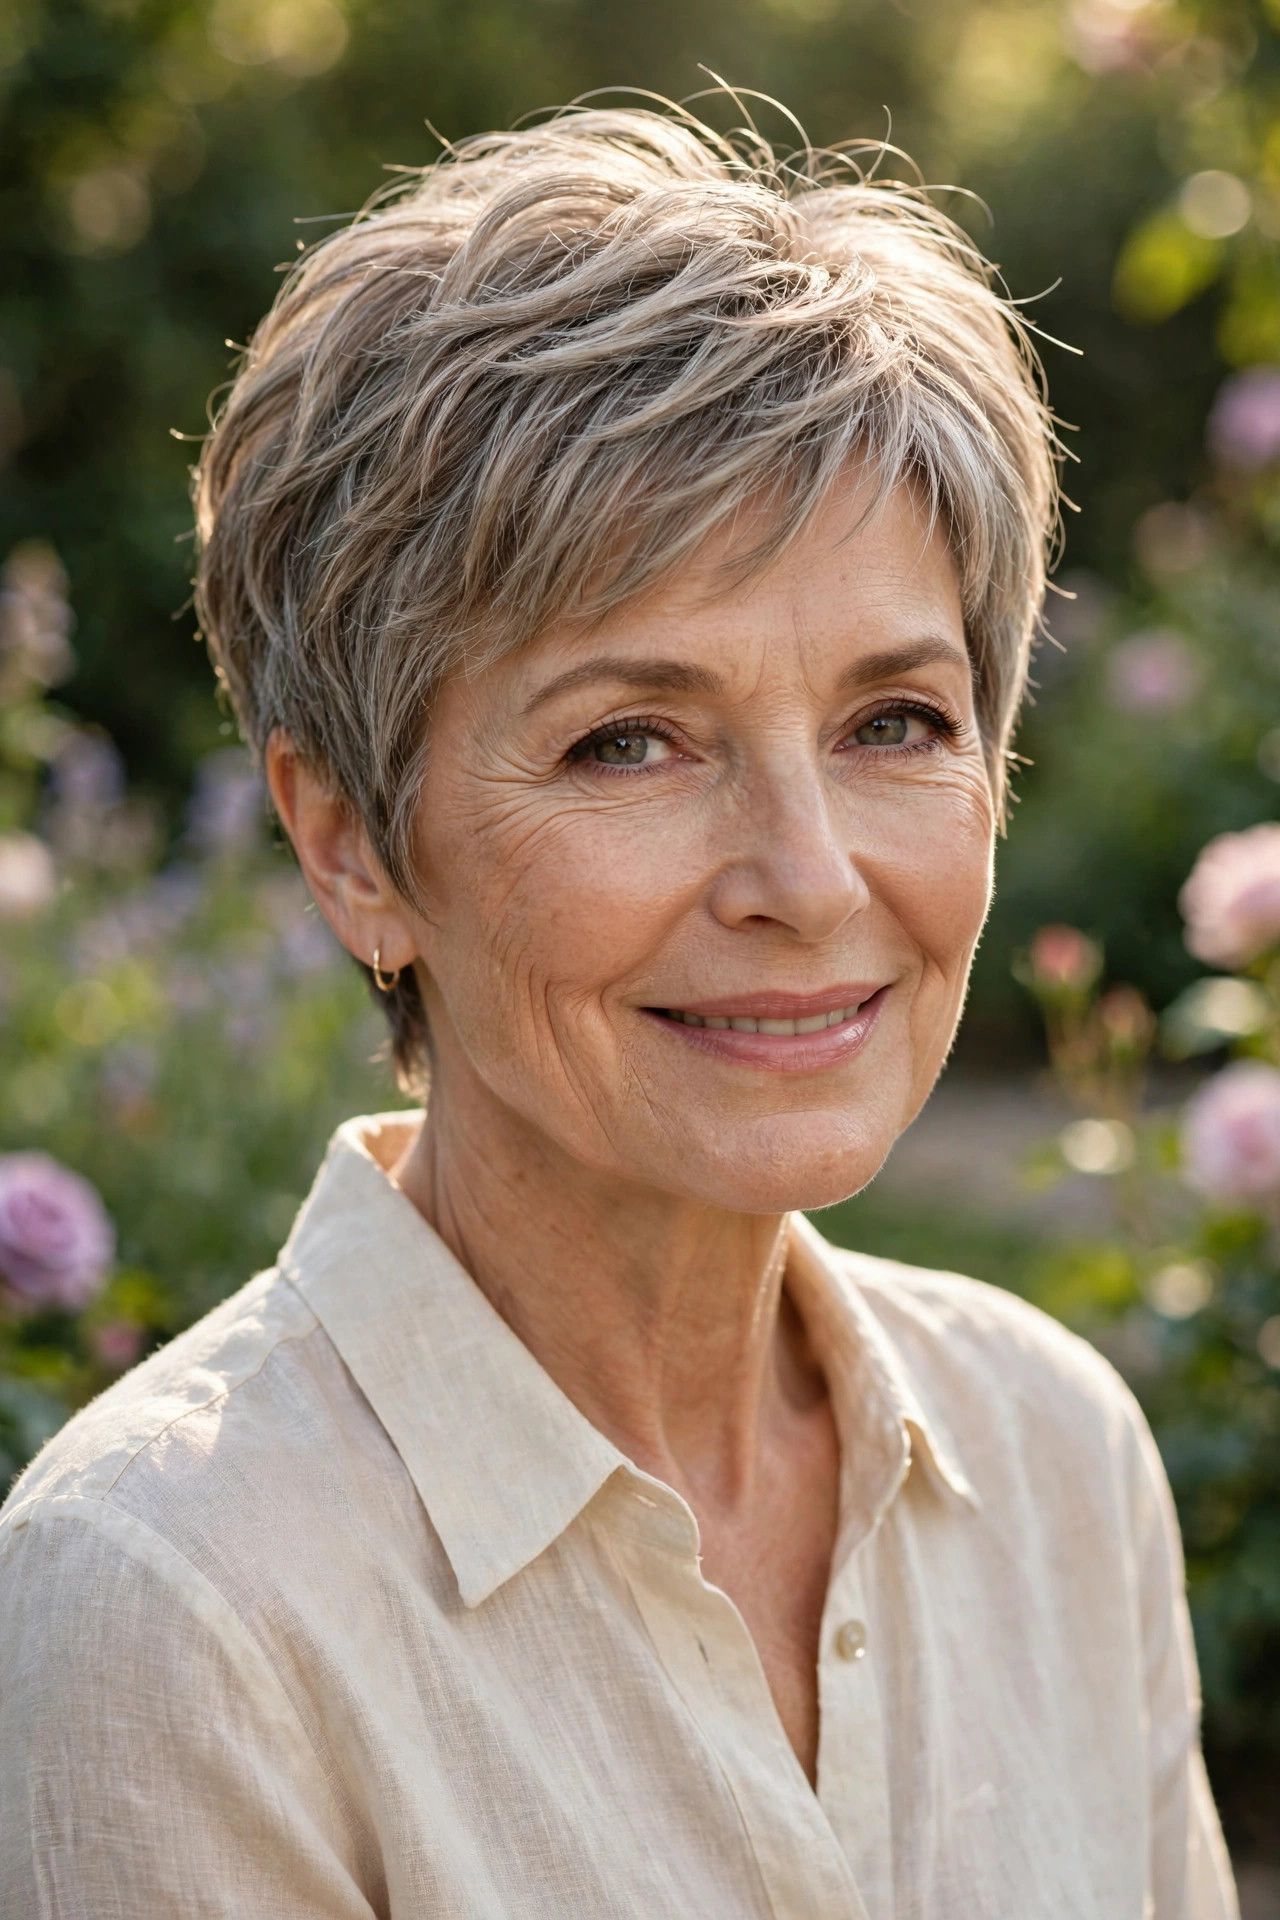
December brings twinkling lights, cozy gatherings, and the perfect excuse to dress up your hair, and these christmas hairstyles for medium hair are made for every celebration on your calendar. Shoulder-length hair is the sweet spot for festive styling: long enough for buns, braids, and glamorous waves, yet short enough to hold a curl all evening without weighing you down. In this guide you will find twenty-four party-ready ideas, from velvet bows and pearl pins to sleek chignons and bouncy blowouts, each one simple enough to recreate at home. Whether you are heading to an office party, a family dinner, or a quiet evening by the fire, there is a look here that will make you feel confident, polished, and ready to shine.
Velvet Bow Half-Up

- Curl the lengths loosely with a medium-barrel iron for soft movement.
- Gather the top section from temple to temple and secure it at the crown.
- Clip a velvet bow over the elastic to hide it completely.
- Pull out two thin face-framing pieces to soften the look.
This is the easiest way to look instantly festive without spending an hour in front of the mirror. Start with freshly washed hair, add a little texturizing spray for grip, and curl the lengths away from your face in large sections. Once the waves cool, gather the top third of your hair and secure it with a clear elastic. The bow does all the talking, so keep the rest of the styling relaxed and touchable rather than stiff or overdone. Keep the waves brushed out and soft, since piecey texture helps the bow sit naturally against the crown.
A deep red or forest green velvet bow suits almost every holiday outfit, from a sparkly dress to a simple knit sweater. If your hair is fine, tease the crown lightly before pinning for extra lift, and mist everything with a flexible-hold spray. For a softer finish, curl the two front pieces away from your cheeks. This style survives dinner, dancing, and family photos, and it takes less than fifteen minutes from start to finish. Carry a few spare pins and a mini spray in your clutch for quick touch-ups between dances.
Sleek Low Chignon

- Smooth hair with serum and a flat iron for a glass-like finish.
- Part hair down the center and brush it back neatly.
- Twist the lengths into a low bun at the nape and pin securely.
- Finish with shine spray and a few crossed U-pins.
Few styles read as instantly elegant as a sleek low chignon, and it is a wonderful choice when your outfit or jewelry deserves the spotlight. Begin by smoothing a drop of serum through damp hair, then blow-dry it straight with a paddle brush. A precise center part keeps the look modern rather than severe, and brushing everything back tightly shows off your cheekbones. Twist the lengths, coil them at the nape, and anchor with pins that match your hair color. A light mist of setting spray on each section before pinning keeps the bun smooth for hours.
The secret to a chignon that lasts all evening is preparation, not extra hairspray. Work on second-day hair or add dry shampoo for grip, and cross your U-pins so they lock against each other. Leave one small face-framing strand loose on each side if you want a softer finish. Pair this bun with statement earrings and a bold lip, and you have a timeless party look that photographs beautifully from every angle. If a few strands escape during the evening, smooth them back with a dab of serum and one more pin.
Hollywood Glam Waves

- Curl all sections in the same direction with a large-barrel iron.
- Let every curl cool completely before brushing through.
- Brush gently into smooth S-shaped waves with a paddle brush.
- Set with strong-hold spray and a touch of shine serum.
Old Hollywood waves never go out of style at Christmas, because they catch candlelight and camera flashes in the most flattering way. The trick is patience: curl every section in the same direction, pin each curl to cool, and only then brush through with a soft paddle brush. Brushing transforms separate curls into one continuous, glossy wave. A deep side part adds drama and gives the style its signature sweeping shape across the forehead. Work in small sections and keep the iron temperature moderate, so the hair stays healthy and the waves stay glossy.
This look works best on freshly washed, well-conditioned hair, since shine is the whole point. Use a heat protectant before curling, and finish with a light mist of shine spray rather than heavy serum, which can flatten the waves. If one side keeps falling flat, clip it behind your ear with a jeweled barrette. Practice once before the party, and you will feel like a film star all evening. For more seasonal inspiration, take a look at Gisou's holiday hairstyles for medium-length hair before your next party. Practice once before the party for confidence.
Twisted Crown Braid

- Part hair down the middle and create two loose twists.
- Bring each twist around the head and pin at the back.
- Gently pull the twists apart for a fuller, softer shape.
- Leave the remaining waves loose and touchable.
A twisted crown braid looks impressively intricate, yet it takes barely ten minutes once you know the steps. Part your hair down the middle, take a section from each temple, and twist them back toward the crown. Cross the twists at the back of your head and pin them in place, then tug gently on each loop to make the braid look fuller. The loose waves underneath keep the style romantic instead of stiff, which is exactly right for a family gathering. A little dry shampoo at the roots adds grip before you begin twisting.
This style is wonderfully forgiving on second-day hair, and a little texture spray gives fine hair the grip it needs to hold. If your layers are short around the face, let those pieces fall free rather than forcing them into the twist. Add a few tiny gold pins along the braid for a festive sparkle. It pairs beautifully with both a cozy sweater and a dressy blouse, making it one of the most versatile looks here. A few tiny gold pins along the twists add a festive sparkle without any extra effort.
Pearl Pin Low Bun

- Gather hair low at the nape and twist into a neat bun.
- Secure with U-pins, then scatter pearl pins through the bun.
- Smooth flyaways with a light pomade or serum.
- Keep the front sleek with a deep side part.
Pearl pins are the quiet luxury of holiday hair: they catch the light without shouting, and they turn the simplest low bun into something celebration-worthy. Start with smooth, straight hair, gather it at the nape, and twist it into a compact bun. Once the shape is secure, scatter five or six pearl pins through the bun at different angles. The random placement looks more expensive than a perfect row, so trust your eye and step back to check the balance. Choose pins that match your hair color so the pearls, not the hardware, catch the eye.
This bun suits every face shape because the low placement elongates the neck and shows off earrings beautifully. If your hair is thick, split it into two twists before coiling so the bun sits flatter against the head. A pea-sized amount of pomade tames flyaways without making hair greasy. Wear it to a formal dinner or a candlelit church service, and it will still look perfect hours later. For extra polish, wrap a thin strand around the bun base before adding the pearl pins, and finish with a shine mist for evening light.
Bouncy Blowout Layers

- Apply volumizing mousse to damp roots before blow-drying.
- Use a large round brush, lifting each section upward.
- Flip the ends outward slightly for movement.
- Finish with a cool shot and light-hold spray.
Nothing says ready to celebrate quite like a bouncy blowout, and layered medium hair holds this shape better than any other length. Work volumizing mousse through damp roots, then blow-dry section by section with a large round brush, lifting each piece up and away from the scalp. Roll the ends around the brush for a soft flipped finish. The layers create natural movement, so the style looks full even without teasing or extensions. If your hair is thick, dry it in smaller sections so every layer gets equal lift and volume throughout the day.
To keep the bounce alive through a long evening, let each section cool on the brush for a few seconds before moving on. A quick blast of cool air seals the shape, and a light-hold spray adds memory without stiffness. If your hair tends to fall flat, sleep with it loosely pinned on top of your head the night before. This is the ideal choice for daytime parties, brunches, and office celebrations where you want polish without formality. If your hair is on the thinner side, these blowout styles for thin hair offer extra volume tricks worth trying.
Side Swept Curls

- Curl hair with a one-inch iron, working away from the face.
- Sweep all the curls to one side and pin discreetly underneath.
- Loosen the curls gently with your fingers for softness.
- Mist with flexible spray to keep movement without stiffness.
Sweeping your curls to one side instantly creates a red-carpet feeling, and it is especially flattering if you love wearing statement earrings. Curl the hair in medium sections, always winding away from your face, then brush the curls gently with your fingers until they blend into soft, flowing waves. Gather everything over one shoulder and anchor it underneath with two crossed pins. The pins stay hidden, so the style looks effortless rather than constructed. A touch of anti-frizz cream on the ends keeps the curls defined in warm, crowded rooms all evening long.
This look shines on medium hair because the length is enough to drape beautifully without pulling the style down. If one side feels heavy, pin a small section at the nape to balance the weight. A shine serum on the ends prevents frizz in warm, crowded rooms. Pair it with an off-shoulder dress to show off the neckline, and carry two spare pins in your bag for quick touch-ups after dancing. A small bottle of shine spray in your bag revives the curls if they dull or flatten during the night.
Textured High Ponytail

- Tease the crown lightly and smooth the top layer over it.
- Gather hair high and secure with a strong elastic.
- Wrap a small strand around the base to hide the elastic.
- Curl the ponytail lengths for texture and bounce.
A high ponytail is the party style that lets you dance all night without worrying about your hair. The festive upgrade is texture: tease the crown gently for lift, smooth the top layer over the teasing, and gather everything high on the head. Wrapping a strand around the elastic hides it completely and makes the ponytail look polished. Curl the lengths in alternating directions so the ponytail moves beautifully every time you turn your head. Two stacked elastics and a few upward pins will keep the ponytail high and secure while you dance.
For extra staying power, use two elastics stacked together, or anchor the ponytail with a couple of pins pushed upward into the base. A spritz of texturizing spray before gathering gives fine hair something to grip. This style works with a sequin top, a jumpsuit, or a cocktail dress, and it keeps hair off your neck in warm rooms. Add a sparkly scrunchie or jeweled tie for an instant holiday finish. A sparkly scrunchie or jeweled tie at the base turns this practical style into a party look instantly without extra effort.
French Twist Revival

- Brush hair to one side and pin a vertical row down the center.
- Fold the lengths over the pins and tuck the ends inside.
- Leave soft tendrils loose around the face.
- Secure with U-pins and finish with strong-hold spray.
The French twist is back, softer and more forgiving than the stiff version you may remember. Gather your hair to one side, pin a vertical line down the back of your head, then fold the lengths over the pins and tuck the ends neatly inside. The modern trick is volume: backcomb the crown lightly first so the twist looks plush rather than flat. Pull out a few tendrils around your face to keep the finish romantic and relaxed. Smooth a pea-sized amount of pomade over the surface to tame flyaways without flattening the twist.
Medium hair is actually ideal for this classic, because there is enough length to fold without the bulk that makes long hair hard to manage. Practice the folding motion once or twice before the event, and keep a handful of U-pins nearby. A pearl earring and a simple dress let the twist take center stage. If pieces slip during the evening, a quick pin and a mist of spray will restore the shape in seconds. Keep a few extra U-pins in your bag, since twists can loosen after hours of celebrating.
Braided Headband Waves

- Braid a small section from behind one ear across the forehead.
- Pin the braid end behind the opposite ear.
- Wave the remaining hair loosely with a curling wand.
- Pancake the braid gently for a fuller look.
A braided headband gives you the charm of an updo while leaving your waves free to move, which makes it perfect for cozy gatherings and daytime parties. Take a small section from behind one ear, braid it simply, and bring it across your forehead like a headband. Pin the end behind the other ear, then wave the rest of your hair loosely. Gently pulling the braid loops wider, called pancaking, makes the braid look thicker and more deliberate. Mist the finished style lightly so the braid stays in place but the waves keep their soft movement.
This style flatters round and oval faces especially well, since the braid draws the eye upward and the waves soften the jawline. If your layers are too short to reach across, braid from both sides and meet in the middle instead. A light texturizing spray keeps the waves from falling flat in humidity. Add a touch of gold shimmer to your parting for a subtle festive glow that photographs beautifully. For more braid inspiration, browse these braided styles for shorter hair that adapt well to medium lengths. Gold shimmer at the parting adds festive glow.
Messy Top Knot

- Gather hair high on the crown and twist loosely.
- Wrap the twist into a bun and pin it softly.
- Pull out wispy pieces around the face and nape.
- Finish with texturizing spray for an undone feel.
The messy top knot is the hero of Christmas morning, gift wrapping sessions, and any gathering where comfort matters as much as style. Gather your hair high on the crown, twist it loosely, and wrap it into a soft bun. The key word is loose: pull the bun slightly apart, tug out wispy pieces around your face, and let the nape pieces fall free. A perfect knot looks overdone here, while a slightly undone one looks effortlessly chic. A satin scrunchie at the base adds a festive touch and protects the hair from breakage.
Texture is your best friend for this style, so start with day-old hair or add dry shampoo and texturizing spray. If your bun feels small, use a small donut form underneath and cover it with your own hair for extra fullness. A satin ribbon tied around the base turns this casual knot into a festive look in seconds. It is also the perfect style for trying out bold holiday makeup. Pair it with bold holiday makeup and statement earrings, since the pulled-back shape puts your face front and center all evening.
Ribbon Woven Braid

- Thread a thin satin ribbon through one braid section.
- Braid loosely to one side, keeping the ribbon visible.
- Tie the ribbon into a small bow at the end.
- Pull the braid edges gently for fullness.
Weaving a ribbon into a braid is the simplest way to make your hair match the season, and it costs almost nothing. Choose a thin satin ribbon in red, green, or gold, and thread it through one of the three braid sections before you start. Braid loosely to one side so the ribbon stays visible along the length, then tie it into a small bow at the end. The ribbon catches the light as you move, adding color without any heat styling at all. Match the ribbon to your outfit for a pulled-together look that feels intentional.
This braid is wonderfully kind to hair that is still growing out or full of layers, because the ribbon holds shorter pieces in place. Start the braid behind one ear and work diagonally across the back for a romantic drape. If the ribbon slips, anchor its top end with a tiny clear elastic. It looks lovely with a plaid scarf or a simple sweater, and it is a great choice for outdoor markets and carol services. Davines shares even more easy Christmas hairstyles with step-by-step tutorials if you want extra ideas.
Polished Glass Lob

- Blow-dry hair straight with a paddle brush in sections.
- Pass a flat iron slowly over small sections for shine.
- Apply a drop of shine serum only to the ends.
- Tuck one side behind the ear for asymmetry.
The glass lob is pure understated glamour: a blunt, shoulder-length cut polished until it shines like a mirror. Achieving it is all about technique rather than products. Blow-dry in sections with a paddle brush, then pass a flat iron slowly over small pieces, keeping the iron moving so you never scorch one spot. A single drop of serum on the ends seals the cuticle and creates that reflective finish everyone notices under party lights. Trim split ends a week before the party so the blunt shape looks sharp and the shine reads clearly.
Healthy hair is essential here, so treat yourself to a deep conditioning mask in the week before the party. If your ends are split, a tiny trim makes an enormous difference to the final shine. Tucking one side behind the ear adds asymmetry and shows off an earring. This lob works beautifully for office parties and formal dinners alike, because it looks intentional without trying too hard. Sleeping on a silk pillowcase the night before helps the hair stay smooth, shiny, and frizz-free for the party the next day with minimal effort.
Curly Half-Up Bow
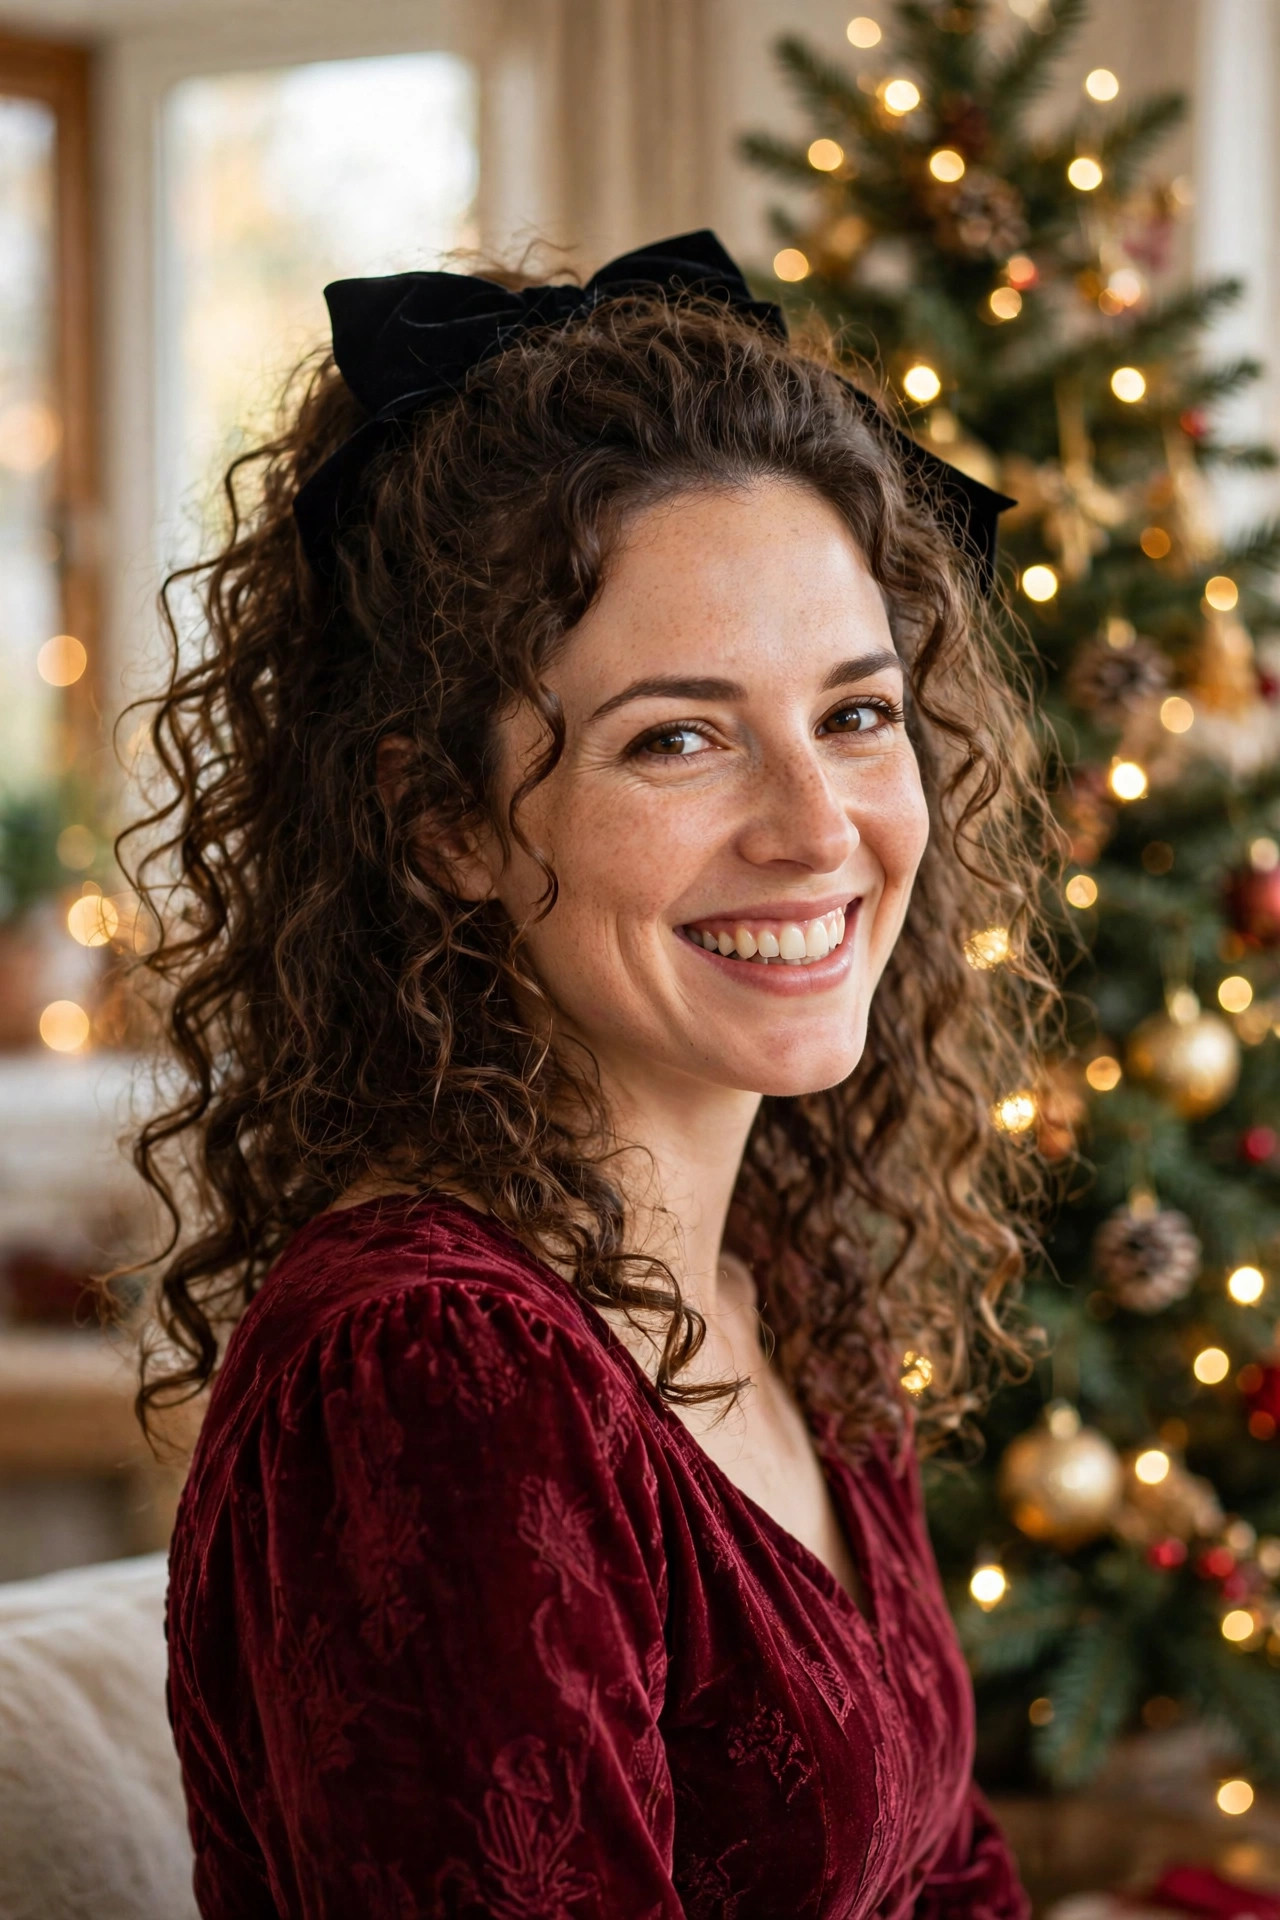
- Define curls with a curl cream on damp hair.
- Gather the top half and secure it loosely at the crown.
- Clip a large velvet bow over the elastic.
- Leave the bottom curls full and untouched.
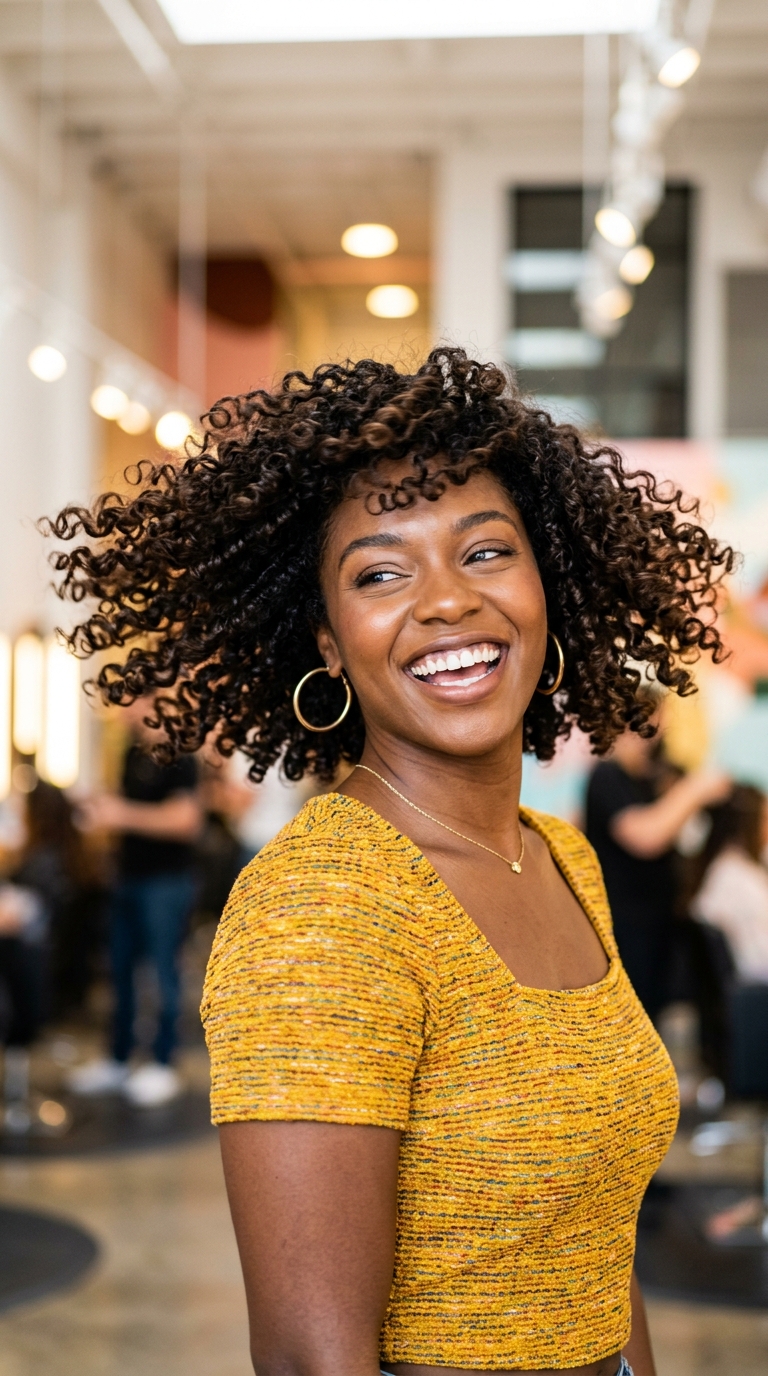
Curly hair and a velvet bow are a match made for the holidays, because the bow adds polish while your natural texture does the celebrating. Scrunch curl cream through damp hair and let it air-dry or diffuse until the curls are fully set. Gather just the top half loosely at the crown, secure it with an elastic, and clip a large bow over the top. Keeping the top section loose prevents the dreaded pulled-back look and lets your curls frame your face. Diffuse on low heat to protect the curl pattern and keep frizz under control.
The secret to curls that last through a party is not touching them once they are dry. Resist the urge to run your fingers through them, and carry a small bottle of curl-refreshing spray instead. A black velvet bow suits every outfit, while red or green adds a playful pop. This style is quick, joyful, and wonderfully photogenic, especially in front of a lit tree. Refresh the curls the next morning with a light mist of water and curl cream, then scrunch gently and let them air-dry completely before heading out.
Vintage Pin Curls

- Set damp hair in pin curls and let them dry fully.
- Remove pins gently and brush into soft finger waves.
- Shape the waves with a comb and setting lotion.
- Finish with shine spray and a jeweled clip.
Vintage pin curls bring a touch of old Hollywood romance to any holiday event, and they suit medium hair perfectly because the length sets quickly and holds well. Roll damp sections into flat pin curls, secure them close to the scalp, and let them dry completely before removing a single pin. Brushing the cooled curls gently with a soft brush transforms them into smooth, sculpted finger waves that look straight out of a classic film. Sleep with the pin curls secured under a silk scarf to keep them smooth without frizz until morning.
Patience is the whole technique here, so set your curls the night before if you can. A little setting lotion on damp hair gives the waves memory, and a jeweled clip at the side adds instant party sparkle. Pair this style with red lipstick and pearls for a timeless look. It is a wonderful choice for themed parties, formal balls, and New Year's Eve celebrations. Store your jeweled clips in a small pouch after the party so they stay sparkling and ready for the next celebration without tangling or tarnishing all season.
Fishtail Side Braid

- Divide hair into two sections and cross small strands alternately.
- Braid loosely over one shoulder for a relaxed drape.
- Pancake the braid edges for a thicker appearance.
- Secure with a clear elastic and wrap a strand over it.
A fishtail braid looks far more complicated than it is, which is exactly why it earns compliments all evening. Split your hair into two sections, then cross a small strand from the outside of one section into the inside of the other, alternating sides until you reach the ends. Smaller strands create a finer, more detailed pattern, while chunkier strands give a bolder, more relaxed braid. Drape it over one shoulder so the detail stays visible. A clear elastic matched to your hair color keeps the braid end nearly invisible and neat.
Medium hair gives you the perfect fishtail length: long enough to show the pattern, short enough that the braid stays light. Gently pulling the edges wider after braiding, known as pancaking, doubles the apparent thickness. A few face-framing layers pulled loose keep the style soft. This braid holds up beautifully through long dinners and dancing, and it looks lovely with both sweaters and evening dresses. Wrapping a silk scarf over the braid at night protects the woven pattern so it still looks fresh the next day with minimal frizz or flyaways.
Glitter Root Waves

- Style soft waves with a large-barrel curling iron.
- Apply cosmetic-grade glitter gel sparingly along the parting.
- Keep glitter away from the hairline and face.
- Set the style with light-hold hairspray.
A whisper of glitter along the parting is the easiest way to make simple waves feel like a celebration. Style your hair in soft, loose waves first, then dab a small amount of cosmetic-grade glitter gel along the parting with a clean makeup brush. Less is more here: a fine golden shimmer catches the light when you move, while a heavy stripe can look messy. Keep the glitter on the hair itself, well away from your face and eyes. Apply the glitter last, after styling, so it sits on top of the finished waves.
Choose glitter made for skin and hair, never craft glitter, so it washes out easily and will not irritate your scalp. A light-hold spray locks the shimmer in place without stiffening the waves. This look is made for New Year's Eve, but it also works for any evening party where you want a little extra magic. Pair it with simple jewelry, since the hair is the sparkle. Keep the rest of your accessories simple and understated, since the glittered parting is already the star of the look all night long.
Classic Center Part

- Blow-dry hair straight using a round brush for smoothness.
- Create a precise center part with the tail of a comb.
- Smooth flyaways with a tiny amount of serum.
- Add a shine mist for a healthy reflective finish.
Sometimes the most striking holiday look is also the simplest: sleek, straight hair with a precise center part. This style puts your face, makeup, and outfit front and center, which makes it perfect for evenings when your dress or jewelry deserves attention. Blow-dry with a round brush for smoothness, then use the tail of a comb to draw a perfectly straight part. A tiny amount of serum on the lengths seals flyaways without weighing hair down. Use a heat protectant every time you straighten, since repeated passes can dry the ends over time.
The center part suits oval and heart-shaped faces especially well, and it balances strong brows and bold lipstick beautifully. If your hair tends to frizz in winter weather, finish with an anti-humidity spray before stepping outside. This is the ideal low-effort choice for last-minute invitations, because it takes twenty minutes and looks deliberate. Add a bold red lip and you are ready for any celebration. A bold red lip and simple gold hoops complete this effortless look without adding any extra styling time at all on a busy party day.
Voluminous Shag Waves

- Apply texturizing spray to damp hair before drying.
- Scrunch sections while blow-drying with a diffuser.
- Flip the curtain bangs outward with a round brush.
- Tousle the finished waves with your fingers.
The shag is the cool-girl haircut of the season, and its choppy layers make voluminous waves almost effortless. Spray texturizer through damp hair, then scrunch each section while diffusing until the natural wave pattern appears. The layers do most of the work, creating lift at the crown and movement at the ends without any teasing. Flip your curtain bangs outward with a small round brush so they frame your face like a soft curtain. A wide-tooth comb through the waves after drying keeps them soft and touchable instead of frizzy or stiff.
This style is wonderfully low-maintenance, which makes it ideal for a full day of celebrations. If your waves fall flat by evening, flip your head upside down, mist with texturizing spray, and scrunch again for instant revival. It suits wavy and straight hair alike, and it looks great with both a leather jacket and a party dress. The shag proves that festive hair does not have to be fussy. Scrunching with a diffuser on low heat protects the layers and keeps the shag looking intentionally tousled rather than messy or frizzy.
Low Bubble Ponytail

- Gather hair into a low ponytail at the nape.
- Add elastics down the length, spacing them evenly.
- Gently pull each section outward to form bubbles.
- Tie tiny red bows over two or three elastics.
The bubble ponytail is pure holiday fun, and it stays put through shopping trips, baking sessions, and long evenings out. Gather your hair low at the nape, then add elastics down the length, spacing them evenly apart. Gently pull each section outward between the elastics until it puffs into a bubble shape. Tiny red bows tied over a few elastics turn an everyday ponytail into something unmistakably festive and photo-ready. Practice the spacing once before the event so the bubbles come out even and full on the day, not flat or uneven.
This style is a lifesaver for busy December days because it takes five minutes and survives hats, scarves, and winter wind. Use clear elastics so the bows stand out, and keep the bubbles soft rather than stretched tight. If your hair is fine, tease each section lightly before puffing it out. It is playful enough for a casual party yet neat enough for a family dinner. Clear elastics keep the focus on the bows, so the style reads festive and cheerful rather than fussy or overdone at any gathering this season.
Crystal Clip Waves

- Wave hair with a medium-barrel iron in large sections.
- Brush the waves gently for a polished finish.
- Clip a crystal barrette above one ear.
- Tuck the opposite side neatly behind the ear.
One crystal barrette can transform simple waves into a party look, which makes this the ultimate last-minute holiday style. Wave your hair in large sections with a medium-barrel iron, then brush through gently so the curls merge into polished, flowing waves. Slide a sparkling barrette above one ear and tuck the other side neatly behind your ear. The asymmetry draws the eye upward and shows off your cheekbones beautifully. Choose a barrette with a strong clasp and test it at home first, since a slipping clip will distract you all evening long.
The key is choosing a single statement piece rather than several competing accessories. A crystal barrette, a pearl comb, or a jeweled clip all work, but one is enough. If your waves drop during the evening, re-curl just the front sections and re-clip. This style flatters every face shape and works for office parties, dinners, and midnight celebrations alike. A good starting point is this roundup of the best hair accessories of 2026 for clips that actually stay put. Re-curl just the front sections if the waves drop, then re-clip and you are ready again.
Retro Flipped Ends

- Blow-dry hair smooth with a large round brush.
- Curl the ends outward with the brush or a flat iron.
- Add root lift with a light volumizing spray.
- Finish with flexible spray to hold the flip.
Flipped ends bring a delightful retro swing to a medium bob, and they are far easier than they look. Blow-dry your hair smooth with a large round brush, then curl just the last two inches outward, either with the brush or a quick pass of a flat iron. The flip adds movement and personality to an otherwise simple cut, and it catches the light beautifully as you turn your head. A little root lift keeps the style from looking flat on top. A round brush with natural bristles gives the smoothest finish for this retro shape.
This sixties-inspired finish suits bobs and lobs with blunt or lightly layered ends. If your ends are very thin, a small trim first will help the flip hold its shape. A flexible-hold spray keeps the ends bouncy without gluing them in place. Pair it with a vintage-style dress and winged eyeliner for a complete retro moment, or wear it with modern tailoring for a playful contrast. Winged eyeliner, a vintage-style dress, and a touch of red lipstick turn this simple flip into a complete retro moment for any themed party.
Soft Romantic Updo

- Curl the hair loosely and let it cool completely.
- Twist soft sections upward and pin them loosely.
- Pull out tendrils around the face and neck.
- Mist lightly so the style stays soft, not stiff.
A soft romantic updo is the answer when you want to look dressed up without feeling stiff or overdone. Curl your hair loosely first, then twist soft sections upward and pin them in place without pulling anything tight. The beauty of this style is its imperfection: loose pieces, gentle volume, and tendrils around the face make it look like you barely tried. It is especially flattering in candlelight, where the soft texture glows. Setting pin curls the night before will give the updo extra texture, softness, and staying power throughout the evening.
Work with your hair's natural texture rather than fighting it, and use pins that match your hair color so they disappear. If your updo feels too neat, gently tug a few loops looser until it looks relaxed. A spritz of light-hold spray keeps everything in place while preserving movement. This updo suits weddings, anniversary dinners, and any evening where romance is on the menu. A light-hold spray applied from arm's length keeps the updo soft and touchable while preventing stray pieces from falling loose throughout a long evening of dancing.
Snowflake Sparkle Bun

- Smooth hair up into a high ponytail and twist into a bun.
- Secure the bun firmly with pins and strong spray.
- Scatter tiny snowflake pins through the bun.
- Smooth the hairline with a light pomade.
A high bun scattered with tiny snowflake pins is winter magic in hairstyle form, and it is surprisingly easy to achieve. Smooth your hair up into a high ponytail, twist the lengths into a neat bun, and anchor it firmly with pins. Then scatter five or six snowflake pins through the bun at playful angles. Against dark hair, the silver pins look like falling snow, and the high placement shows off your neckline and earrings. A light mist of strong-hold spray over the finished bun keeps every pin secure for hours of dancing.
For a bun with real staying power, start with hair that has some grip, either second-day hair or hair misted with dry shampoo. Wrap the ponytail base with a strand of hair for a polished finish, and smooth the hairline with a touch of pomade. This style is perfect for winter weddings, New Year's Eve, and any celebration where you want to sparkle from every angle. Silver earrings, a white clutch, and a touch of shimmer echo the snowflake pins and pull the whole winter look together beautifully for photos.
With twenty-four ideas to choose from, there is no reason to wear the same old style to every holiday event. Try a velvet bow for a casual gathering, a sleek chignon for a formal dinner, or a sparkling bun for New Year's Eve, and remember that the best festive look is one you feel comfortable wearing all evening. Practice your favorite once before the big day, keep a few pins and a travel spray in your bag, and let your hair do some of the celebrating. These christmas hairstyles for medium hair prove that shoulder-length hair is made for the season, so pick your favorite, add a little sparkle, and enjoy every party.
FAQ
How long do festive party hairstyles usually last?
Most party styles last six to eight hours with the right preparation. Start with second-day hair or add dry shampoo for grip, let curls cool before brushing, and anchor updos with crossed U-pins instead of single pins. A flexible-hold spray and a few spare pins in your bag will handle touch-ups after dancing.
Are these styles good for fine or thin hair?
Yes, many of them actually make fine hair look fuller. Teasing the crown, pancaking braids, and using texturizing spray all create the illusion of thickness. Half-up styles and bouncy blowouts add lift at the roots, while sleek buns should be avoided if you worry about showing scalp.
How do I keep my hair looking good in winter weather?
Cold air and indoor heating can dry hair out, so use a hydrating mask weekly and a leave-in conditioner before styling. Anti-frizz serum protects against damp weather, and styles like braids and buns hold up better outdoors than loose waves. Carry a small brush for quick smoothing after removing hats or scarves.
What accessories work best for holiday hair?
Velvet bows, pearl pins, crystal barrettes, and satin ribbons are the most versatile choices this season. Pick one statement piece per style so your look stays elegant rather than busy. Match metals to your jewelry, and choose clips that grip well so they stay put through long evenings.