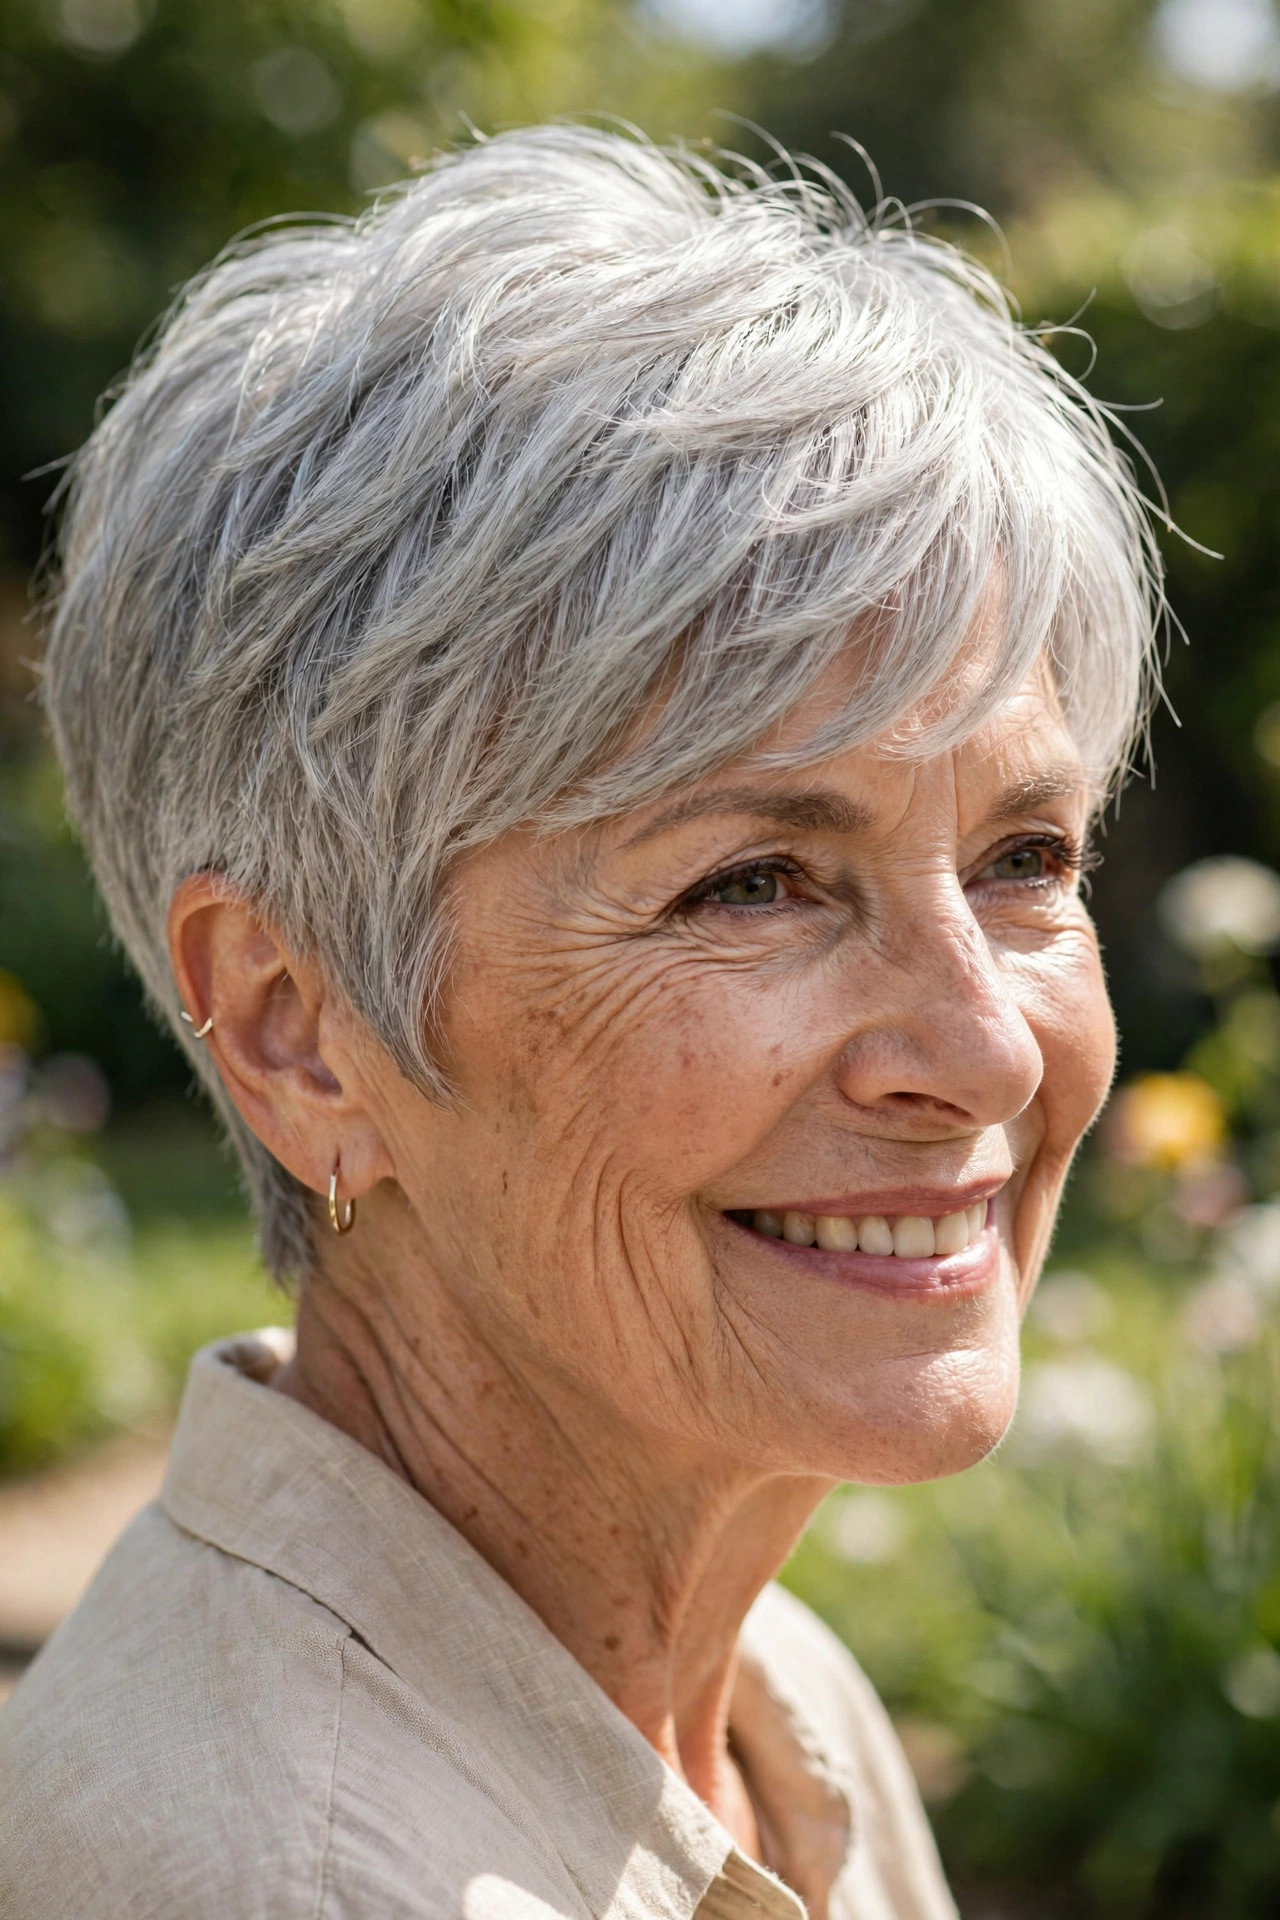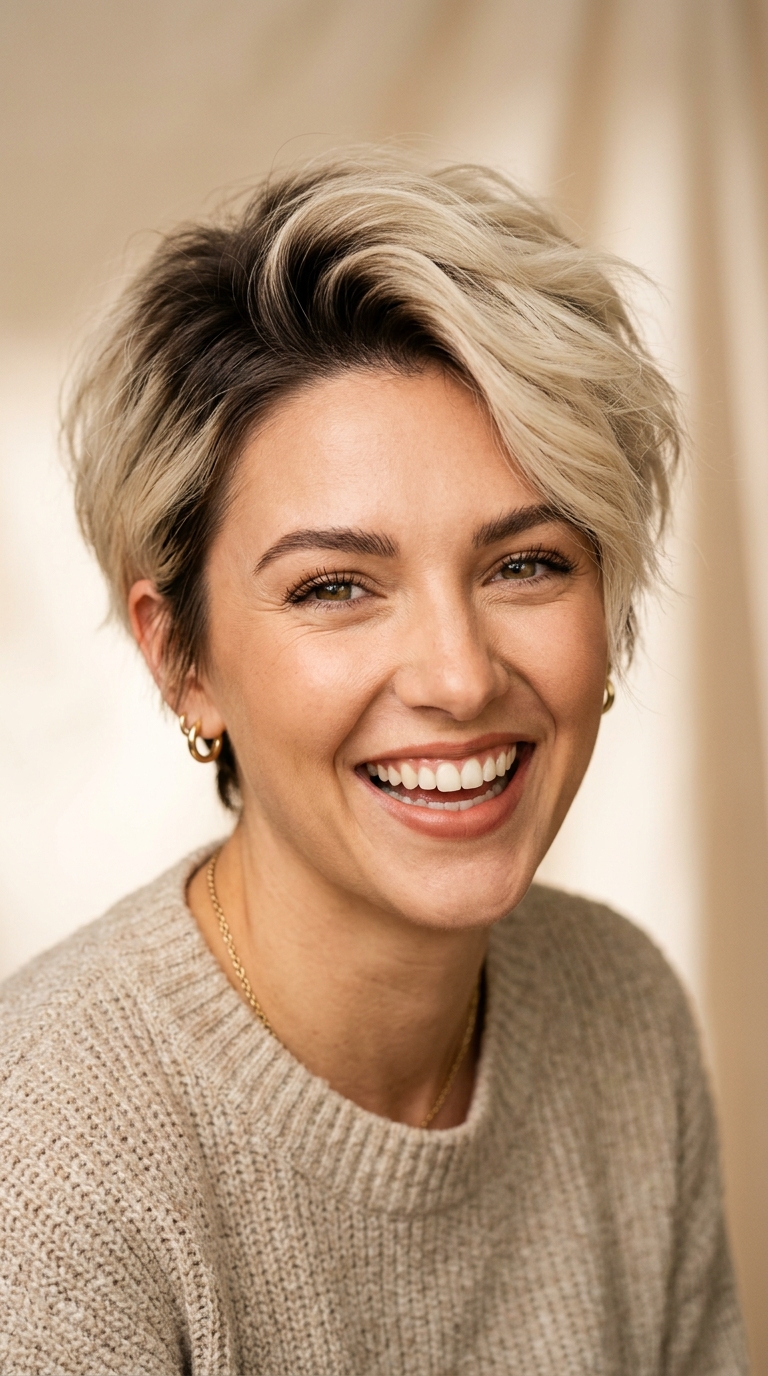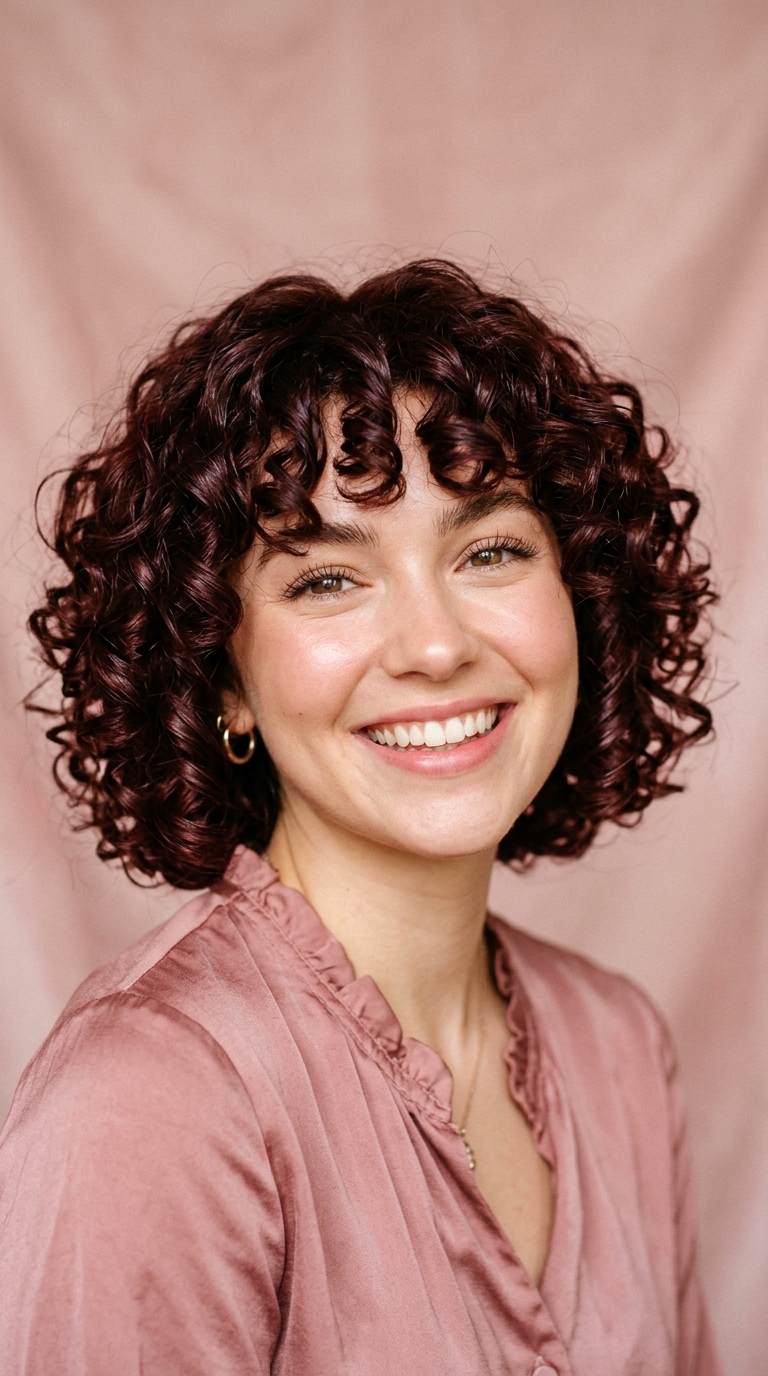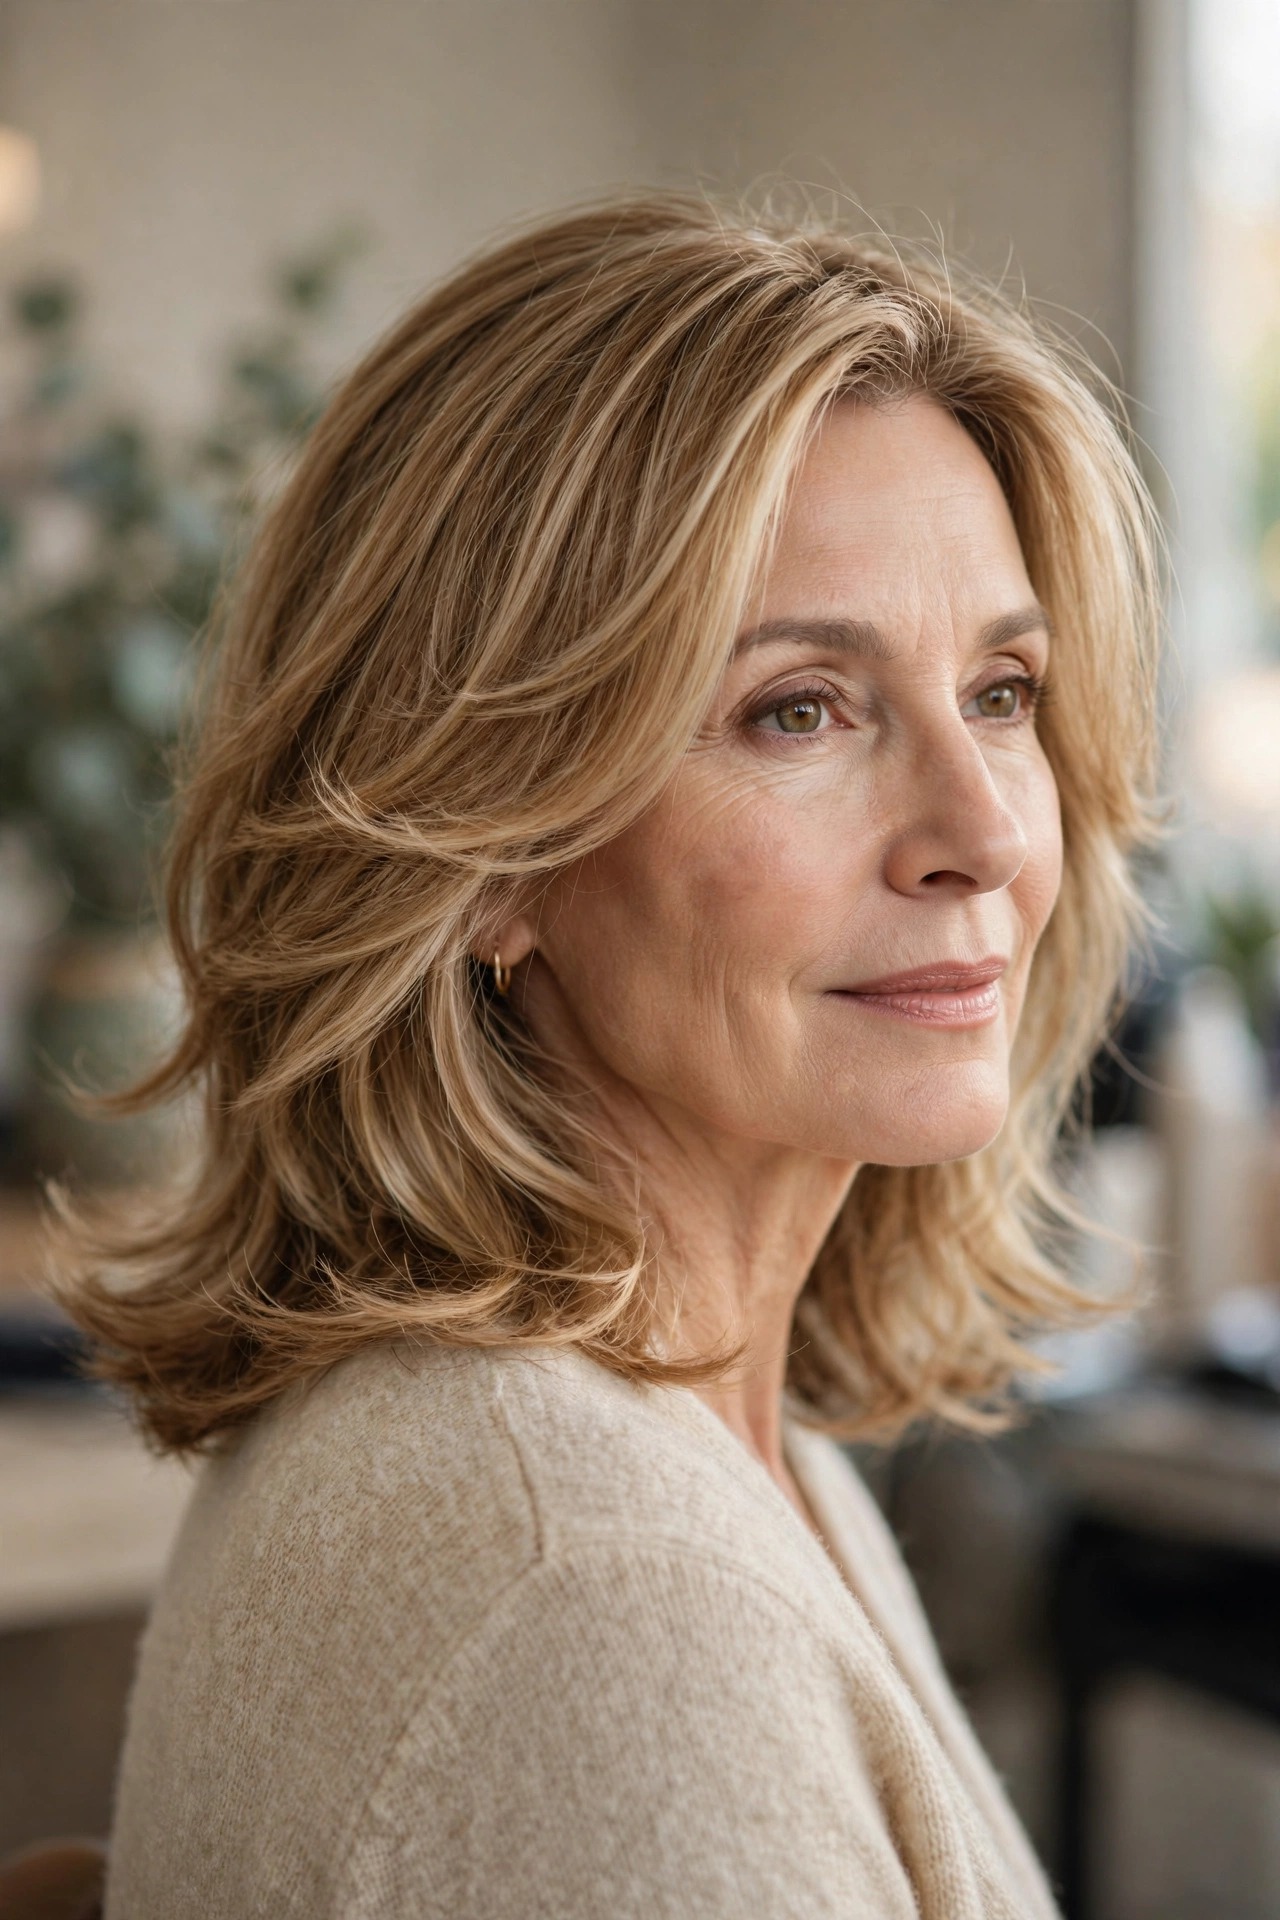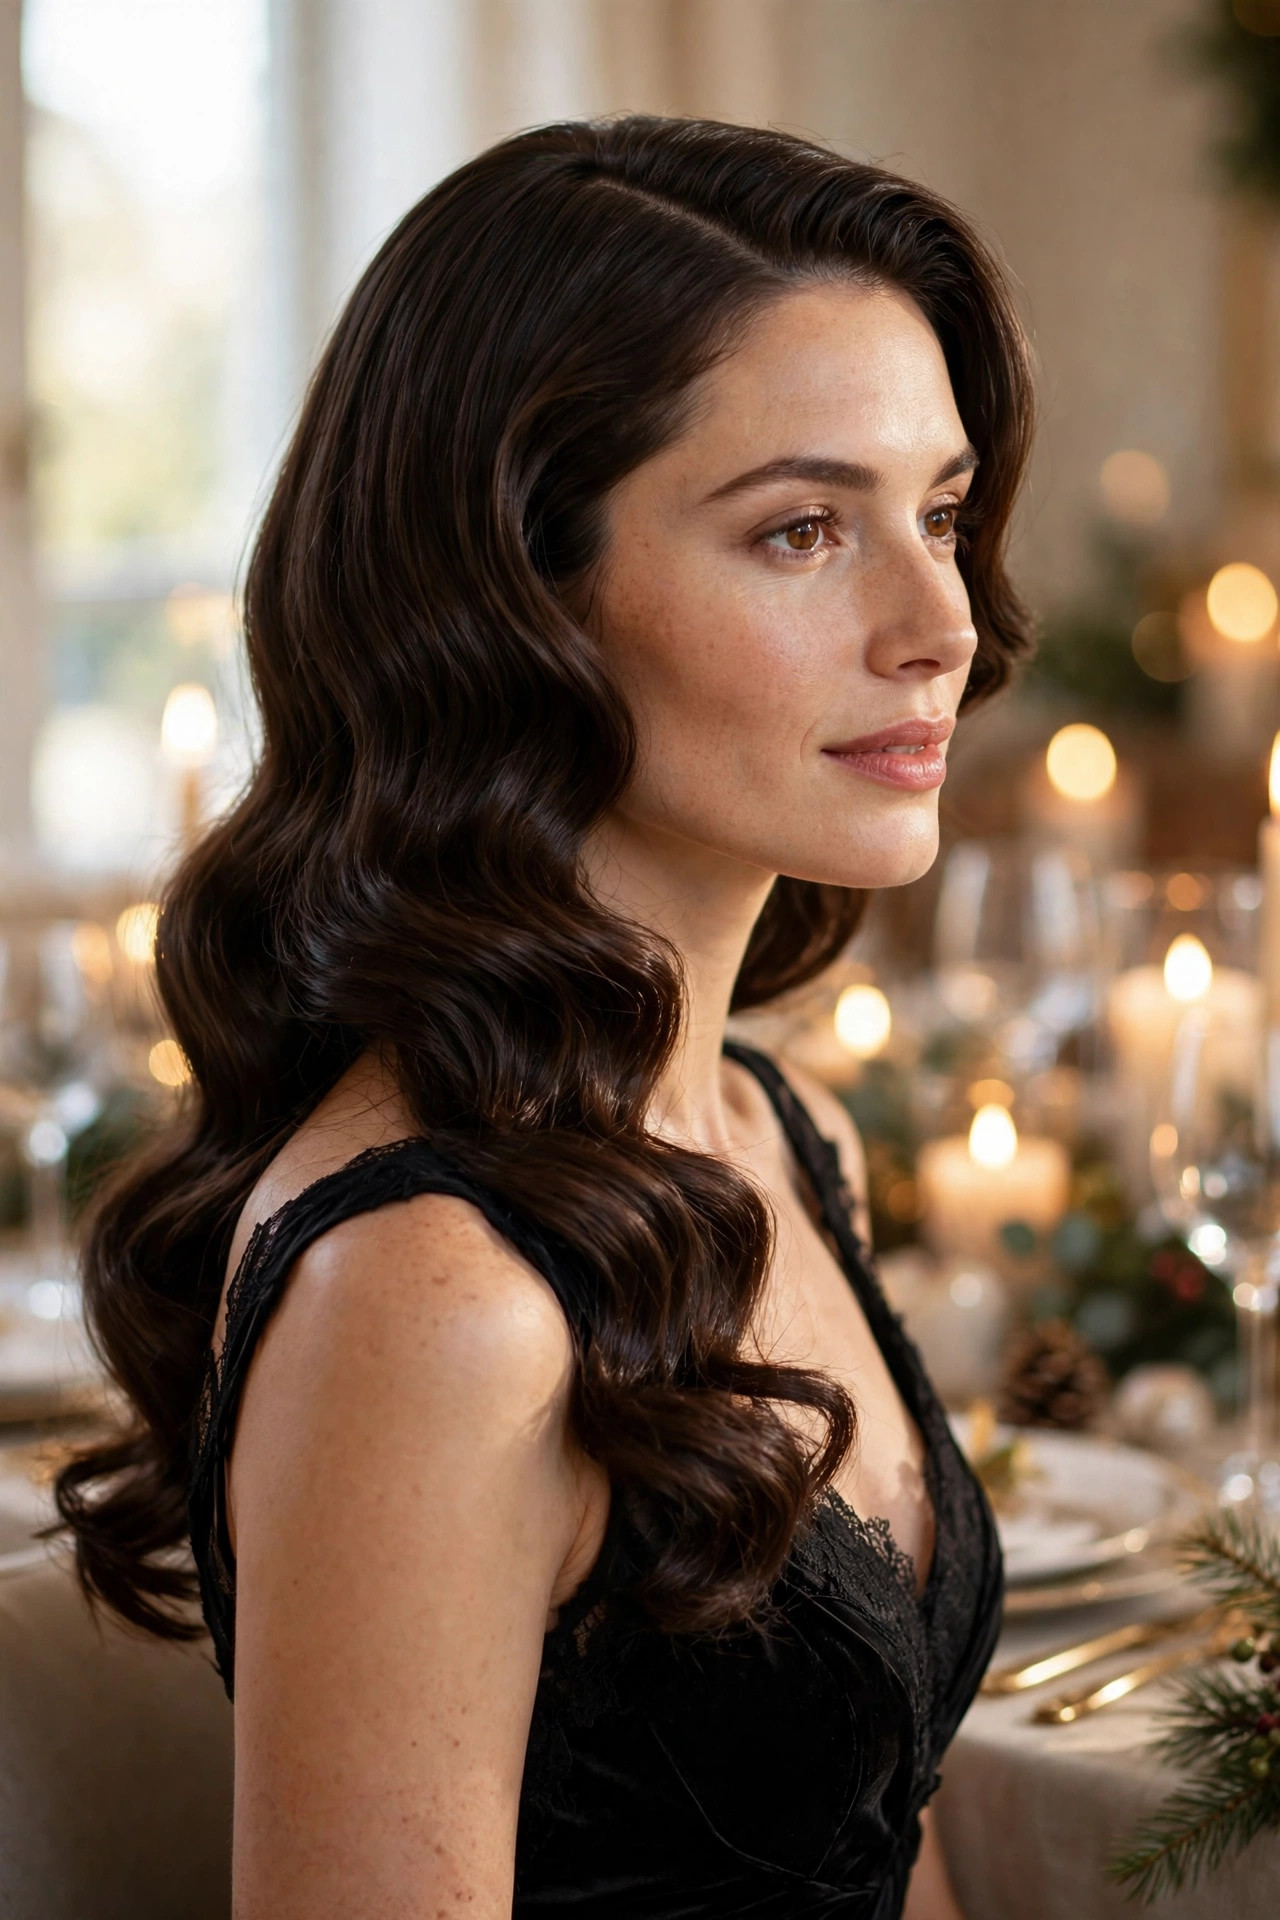
If you have formal hairstyles for medium length hair on your mind for an upcoming wedding, gala, or office party, you are in exactly the right place. Shoulder-length hair sits in a sweet spot for elegant styling: it is long enough for buns, twists, and braids, yet short enough to hold its shape without heavy pinning or extensions. In this guide, you will find twenty polished looks that suit different textures, face shapes, and dress codes, from sleek chignons to soft romantic curls. Each idea includes simple styling notes, accessory suggestions, and tips for making the finish last all evening. Whether you prefer a classic updo or a half-up style that shows off your length, these ideas will help you walk in feeling confident, camera-ready, and beautifully put together.
Classic Low Chignon

- Smooth hair with a light serum before gathering it low.
- Twist the length gently so the bun looks soft, not stiff.
- Leave two thin strands free around the face.
- Pin the bun flat against the nape for a neat profile.
The classic low chignon is the safest choice when you want to look polished without trying too hard, and it works beautifully on shoulder-length hair. Start with smooth, blow-dried hair, then gather it at the nape and twist it into a flat, rounded bun. Secure the shape with bobby pins that match your hair colour, and finish with a light-hold spray so the style moves naturally. This look pairs well with high necklines, statement earrings, and structured gowns, because it keeps the neckline clean and draws attention to your face.
To keep a chignon from looking severe, pull out a few soft strands around the temples and curl them lightly with a small iron. A pearl pin or a slim gold clip adds instant formality without overwhelming the style, and a centre or deep side part can change the whole mood. This updo suits fine hair especially well, since the twisted shape creates the illusion of fullness, while thicker hair benefits from sectioning the bun into two parts before pinning. It holds comfortably for hours and photographs beautifully from every angle.
Polished French Twist
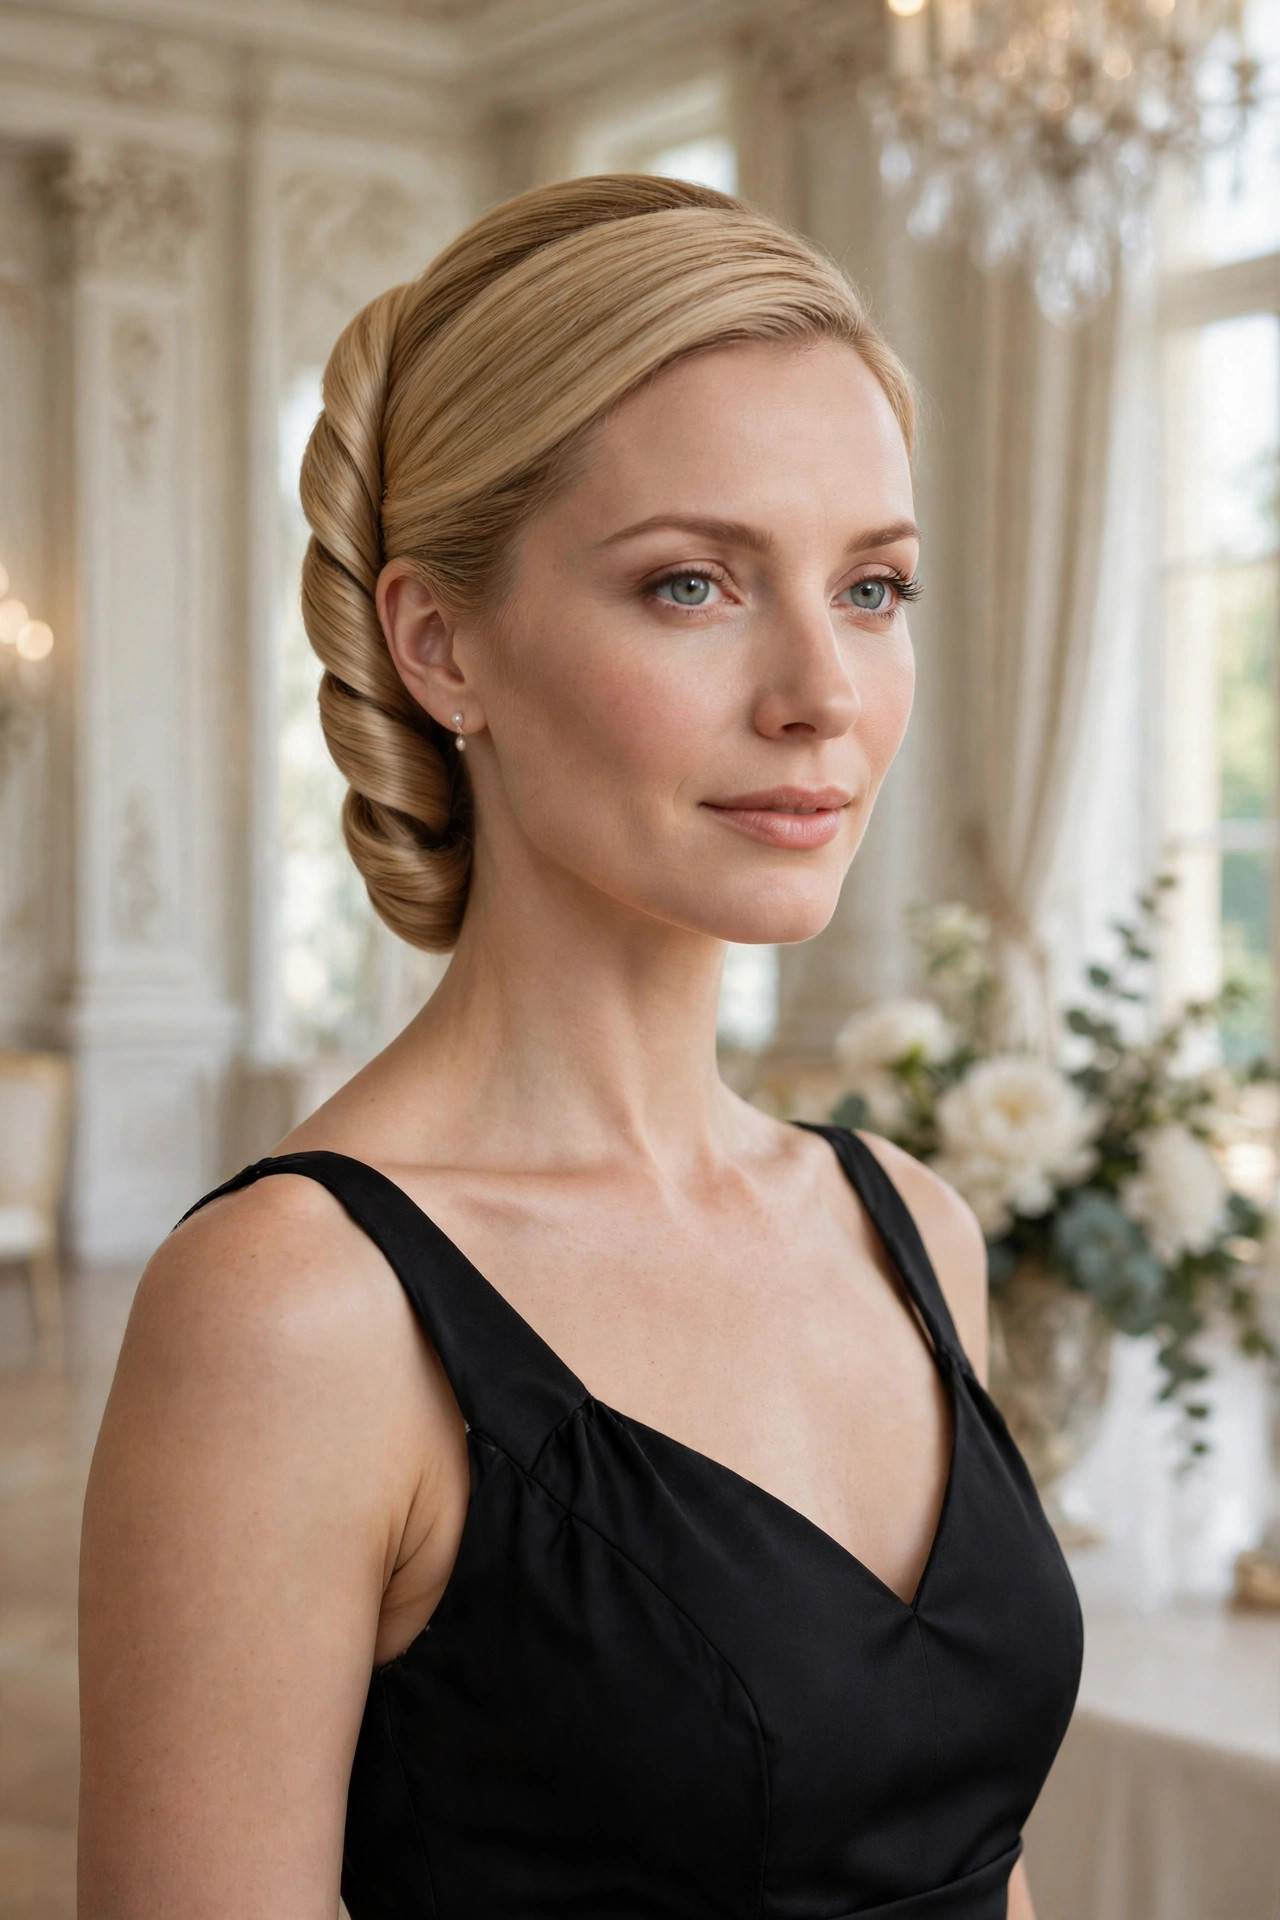
- Backcomb the crown lightly for gentle height before twisting.
- Roll the hair upward and tuck the ends inside neatly.
- Use strong pins along the seam to hold the twist.
- Smooth flyaways with a touch of pomade on your palms.
A French twist brings instant old-Hollywood glamour to a formal evening, and shoulder-length hair is actually ideal for it because there is less bulk to control. Begin by adding light volume at the crown, then sweep the hair to one side, roll it upward, and pin along the seam. The finished shape should look sleek from the front and sculpted from the back, with no loose ends poking out. It works wonderfully with one-shoulder dresses and bare shoulders, since the vertical line of the twist lengthens the neck beautifully. It photographs beautifully.
If your hair is layered, work in small sections and pin each layer as you roll, so shorter pieces cannot escape during the night. A strong-hold spray applied in layers, rather than one heavy coat, keeps the twist flexible and touchable instead of crunchy. For a softer modern version, loosen the top slightly with your fingers and leave a gentle wave near the face. This style suits oval, heart, and square face shapes, and it stays secure through dancing, dinner, and photographs. The result feels truly effortless. This finish suits almost every occasion.
Romantic Half-Up Curls

- Curl the hair in alternating directions for natural movement.
- Twist only the top third back and pin it loosely.
- Keep the front pieces soft and face-framing.
- Add a small jeweled clip where the twist meets.
Romantic half-up curls are perfect when you want the softness of wearing your hair down with the polish of an updo, and they flatter almost every face shape. Curl the lengths with a medium iron, alternating directions so the waves look natural rather than uniform, then gather just the top section and twist it gently back. Pin it loosely so the crown keeps a little height, and let the remaining curls fall over your shoulders. For more elegant inspiration, browse elegant hairstyles that show how small details change a whole look.
The secret to this style is balance: the top should feel secure while the ends stay touchable and light. Use a flexible spray before curling so the waves hold without stiffness, and run your fingers through the curls once they cool to break them into softer pieces. A delicate clip, a few pearl pins, or a thin braid woven into the twist can make the look feel wedding-ready. It works especially well for garden parties, engagements, and evening receptions where you want romance without fuss. A final mirror check completes the look.
Vintage Hollywood Waves

- Set large sections on a wide iron for uniform waves.
- Brush waves gently into smooth connected S-shapes.
- Pin each wave while it cools to set the shape.
- Finish with shine spray for a glossy red-carpet glow.
Vintage Hollywood waves never go out of style, and they turn shoulder-length hair into a true red-carpet moment. The trick is to curl every section in the same direction with a wide-barrel iron, then brush the curls out carefully until they join into smooth, sculpted waves. A deep side part adds drama and frames the cheekbones, while a glossy finish keeps the look expensive rather than retro-costume. This style is ideal for black-tie events, galas, and formal dinners where timeless glamour matters most. This polished finish lasts from dusk until midnight.
Patience is essential here, because rushing the brushing stage breaks the wave pattern into ordinary curls. Let each section cool completely before brushing, and use a soft bristle brush with light, even strokes to shape the S-curves. A small amount of smoothing cream on the ends prevents frizz, and a final mist of flexible spray locks the shape without dulling the shine. Pair the waves with classic makeup, a bold lip, and simple jewellery so the hair remains the star. A light spray keeps everything soft and touchable. The soft finish looks elegant in every photograph.
Sleek Low Ponytail

- Straighten hair fully and smooth the crown with serum.
- Secure the ponytail low at the nape, not high.
- Wrap a strand of hair around the elastic band.
- Tame flyaways with a light-hold finishing spray.
A sleek low ponytail proves that simple can still feel luxurious, especially when the finish is glass-smooth and the parting is precise. Straighten the hair in thin sections, brush it back without bumps, and secure it low at the nape with a strong elastic. Wrapping a small strand around the band hides the elastic and instantly makes the style look intentional. This look suits sharp tailoring, satin dresses, and minimalist jewellery, and it keeps hair neatly away from the face all evening long. This careful preparation keeps the style fresh for hours.
The difference between an everyday ponytail and a formal one is all in the details, so take time to polish the crown and the ends. A centre part feels modern and symmetrical, while a deep side part adds softness and drama for evening events. If your hair is fine, backcomb the ponytail lightly before smoothing the outer layer, which adds fullness without visible texture. Finish with shine spray on the lengths only, keeping the roots clean and fresh for photographs. Practice once beforehand so the evening feels completely stress-free. It holds beautifully all evening long.
Twisted Side Bun
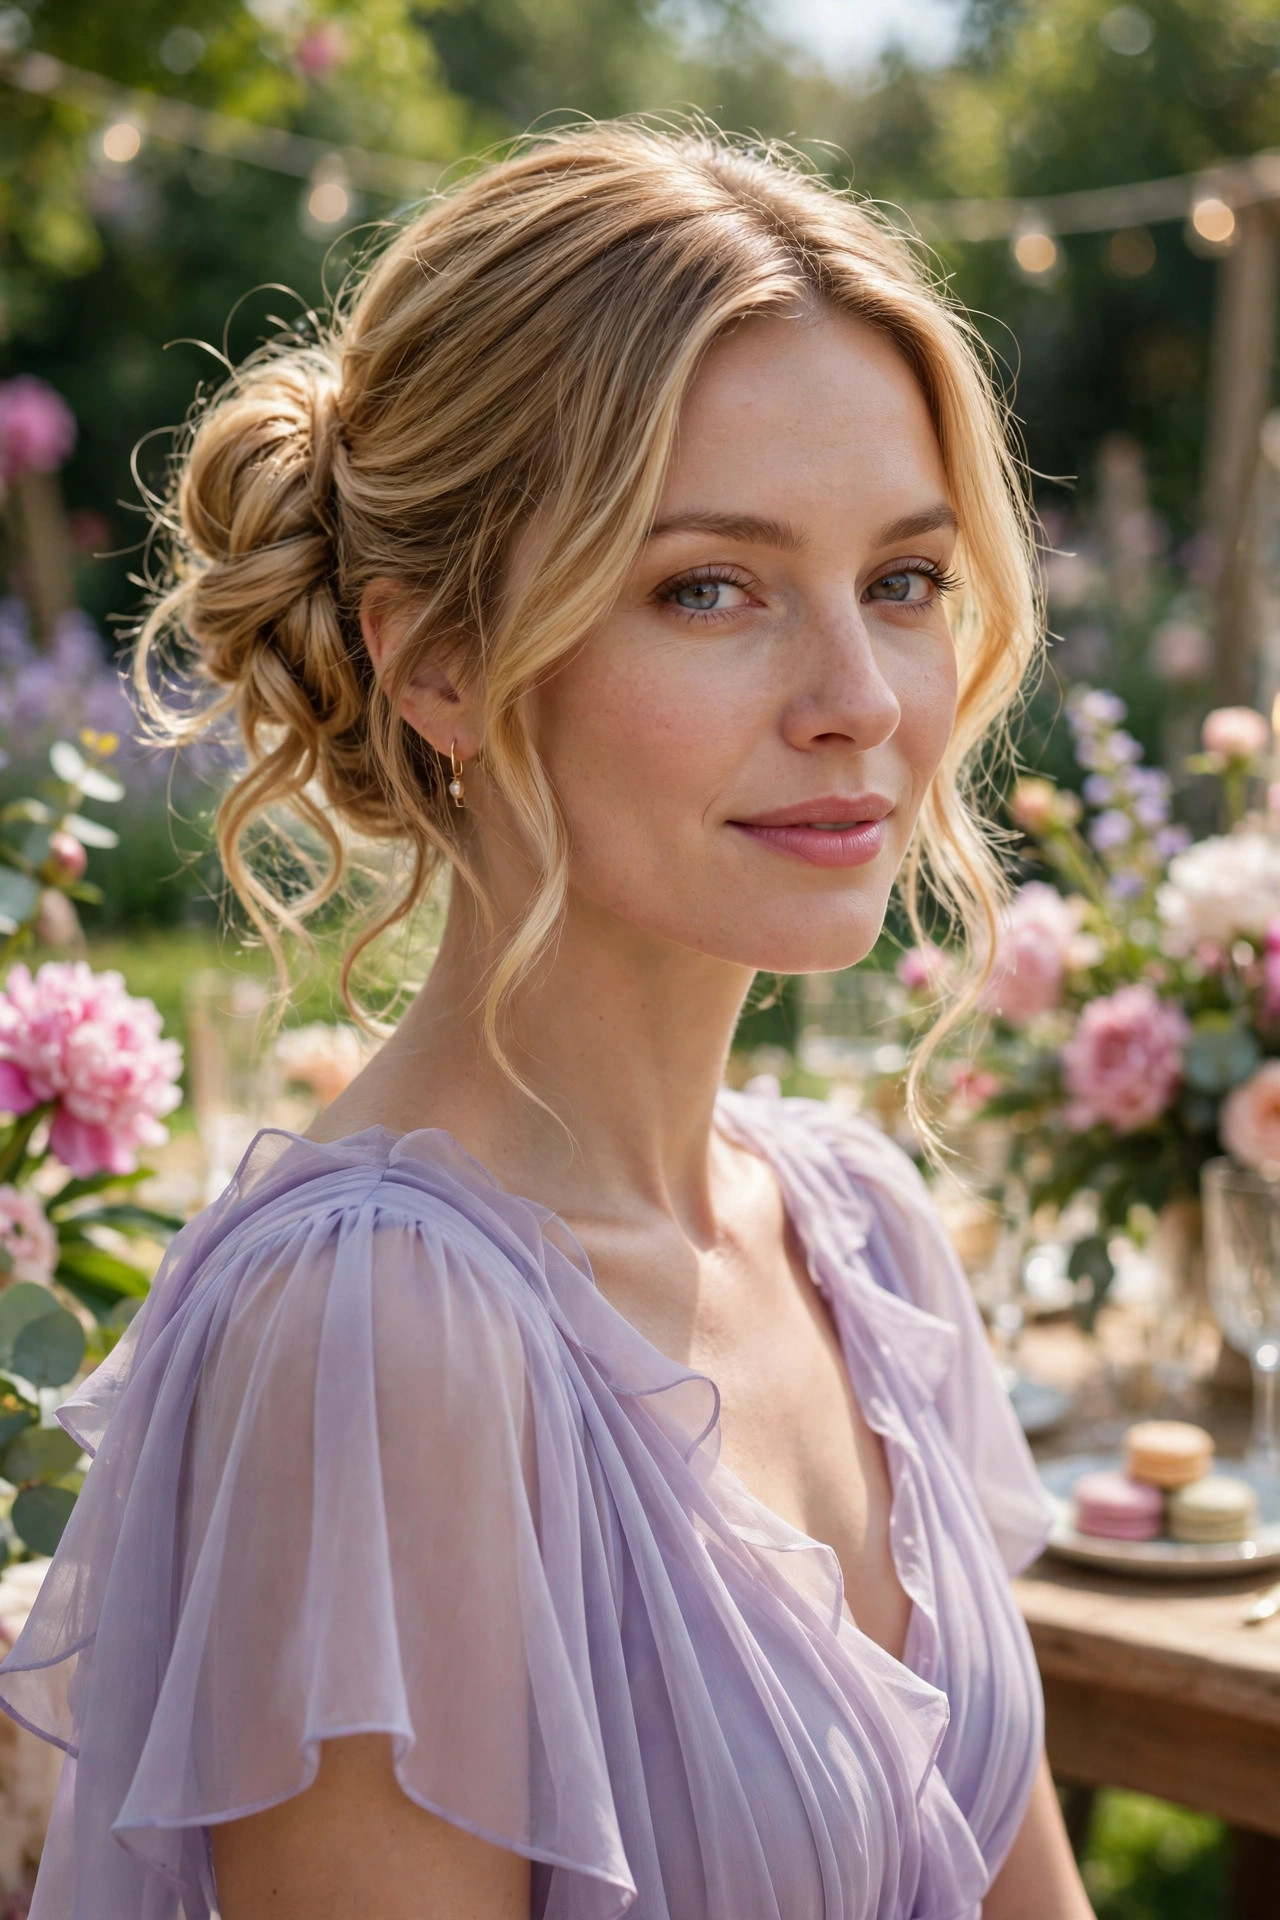
- Part hair deeply and sweep it to one side.
- Twist two sections loosely toward the bun.
- Pin the bun just above the shoulder point.
- Pull a few curls free for softness.
A twisted side bun feels romantic and a little unexpected, because most formal updos sit at the centre back, while this one draws the eye to one shoulder. Sweep the hair to your preferred side, twist two loose sections together, and coil them into a soft bun just above the collarbone. The asymmetry flatters one-shoulder and strapless necklines beautifully, and it gives photographers a lovely angle from the front. Keep the twists loose rather than tight, so the bun looks airy and touchable instead of severe. A quick touch-up before photographs restores perfect polish.
This style is forgiving on layered hair, since shorter layers blend into the twists instead of sticking out. Curl the ends lightly before twisting to add texture, and secure the bun with crossed pins for extra hold through dancing. A sprig of baby's breath, a gold cuff, or a crystal pin tucked into the twist adds a wedding-ready touch. If the bun feels heavy on one side, balance it with a statement earring on the opposite ear. This versatile look works for weddings, galas, and dinner parties alike. It photographs beautifully.
Braided Crown Updo
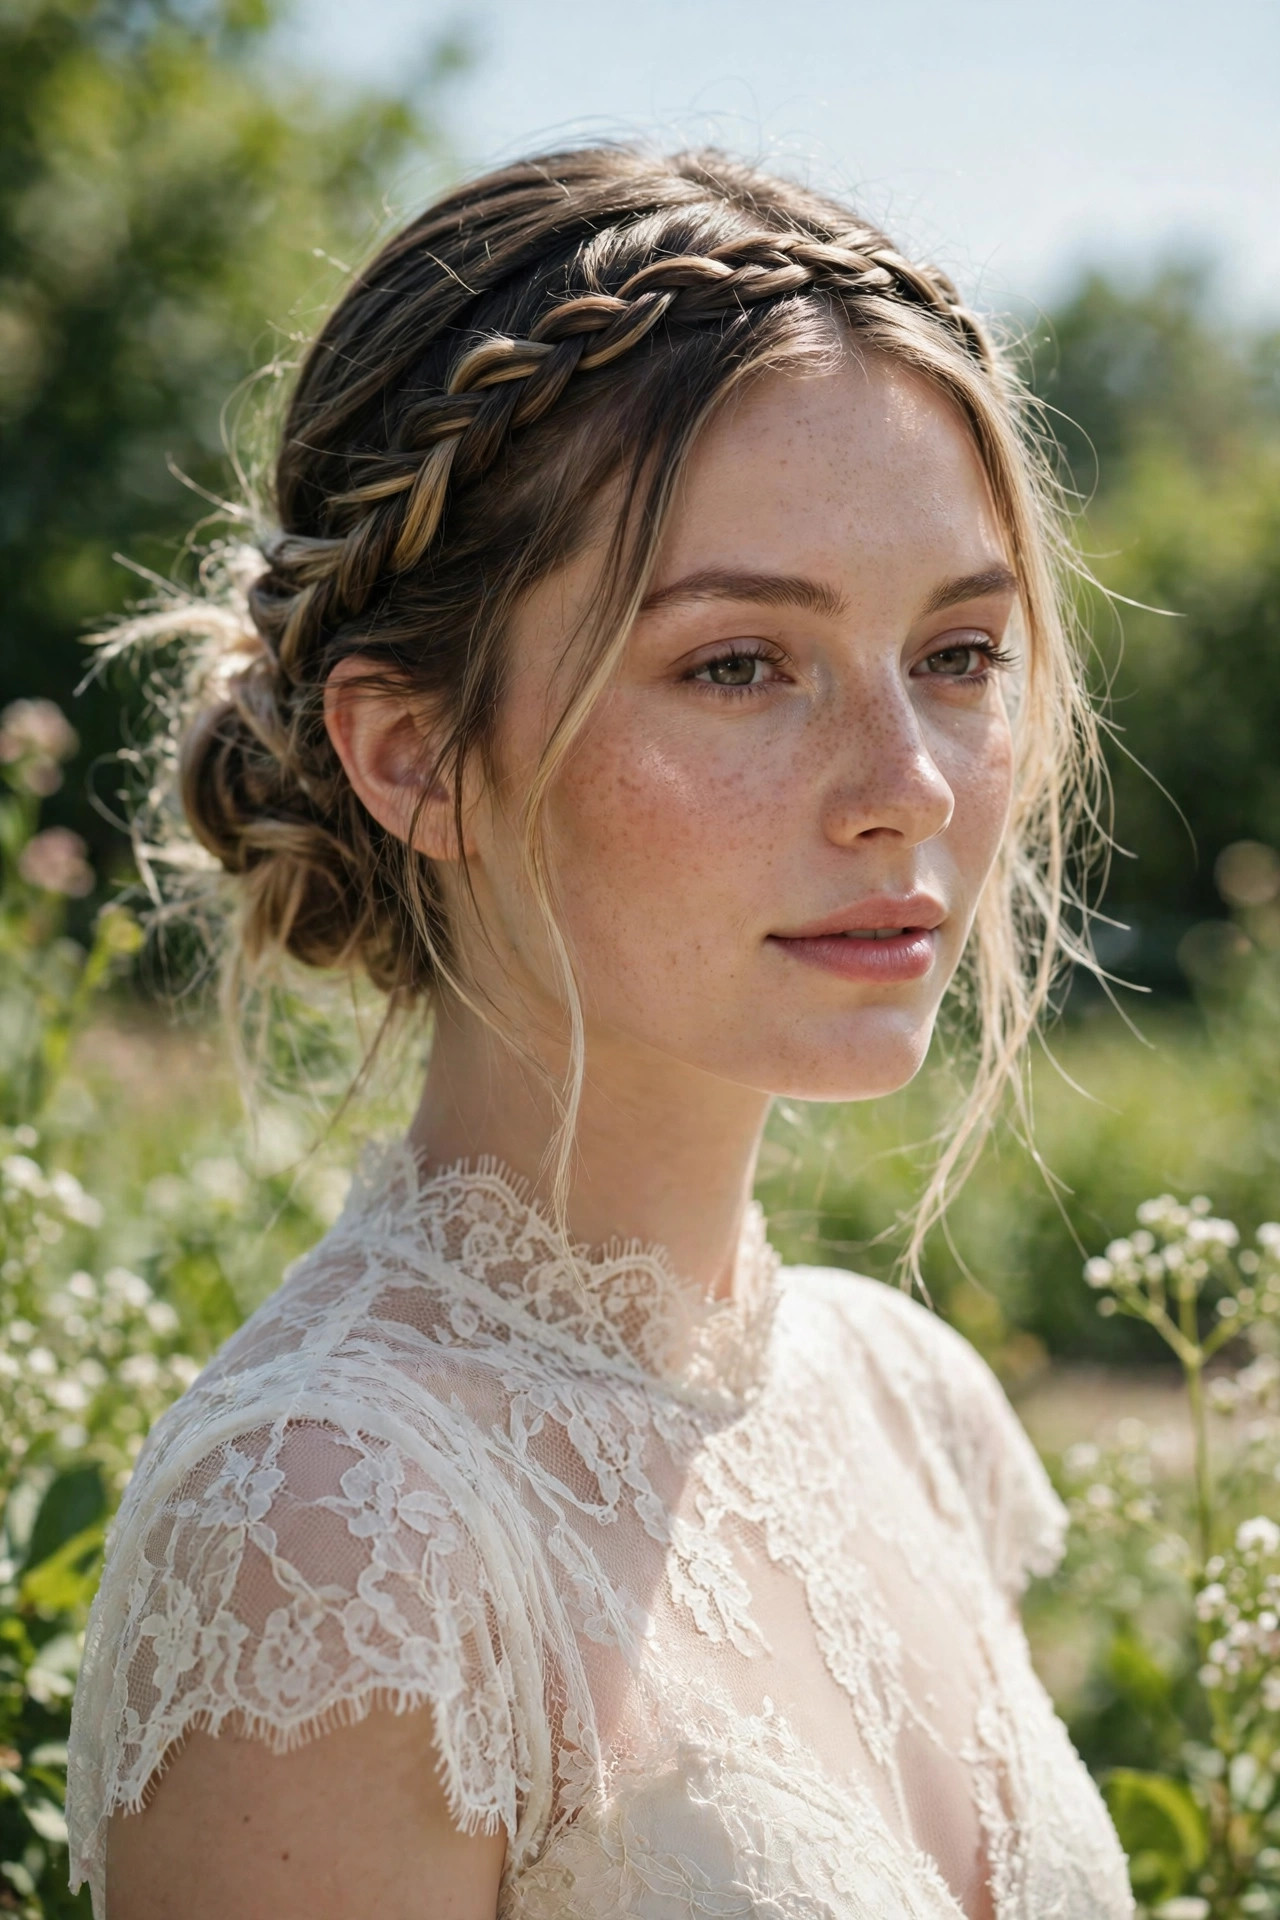
- Braid a section along the hairline from ear to ear.
- Pin the braid flat so it reads as a crown.
- Gather the remaining hair into a loose low bun.
- Loosen the braid edges slightly for a soft finish.
A braided crown updo combines the romance of a braid with the polish of a formal bun, making it a favourite for weddings and garden celebrations. Braid along the hairline from one ear toward the other, then pin the braid flat so it frames the face like a headband. Gather the rest into a loose bun at the nape, and gently loosen the braid for a soft, lived-in texture. For more braided occasion ideas, see the styling guides at Byrdie alongside your favourite formal looks. The result feels truly effortless.
Medium-length hair works well here because the braid needs just enough length to cross the forehead without pulling. If your braid feels thin, pancake it carefully by tugging each loop outward, which makes it look fuller without adding extensions. Secure the ends underneath the bun so nothing unravels, and finish with a flexible spray. This updo suits round and oval faces particularly well, since the crown draws the eye upward and lengthens the overall silhouette. This finish suits almost every occasion. A final mirror check completes the look. Small details make this style feel special.
Soft Glam Blowout
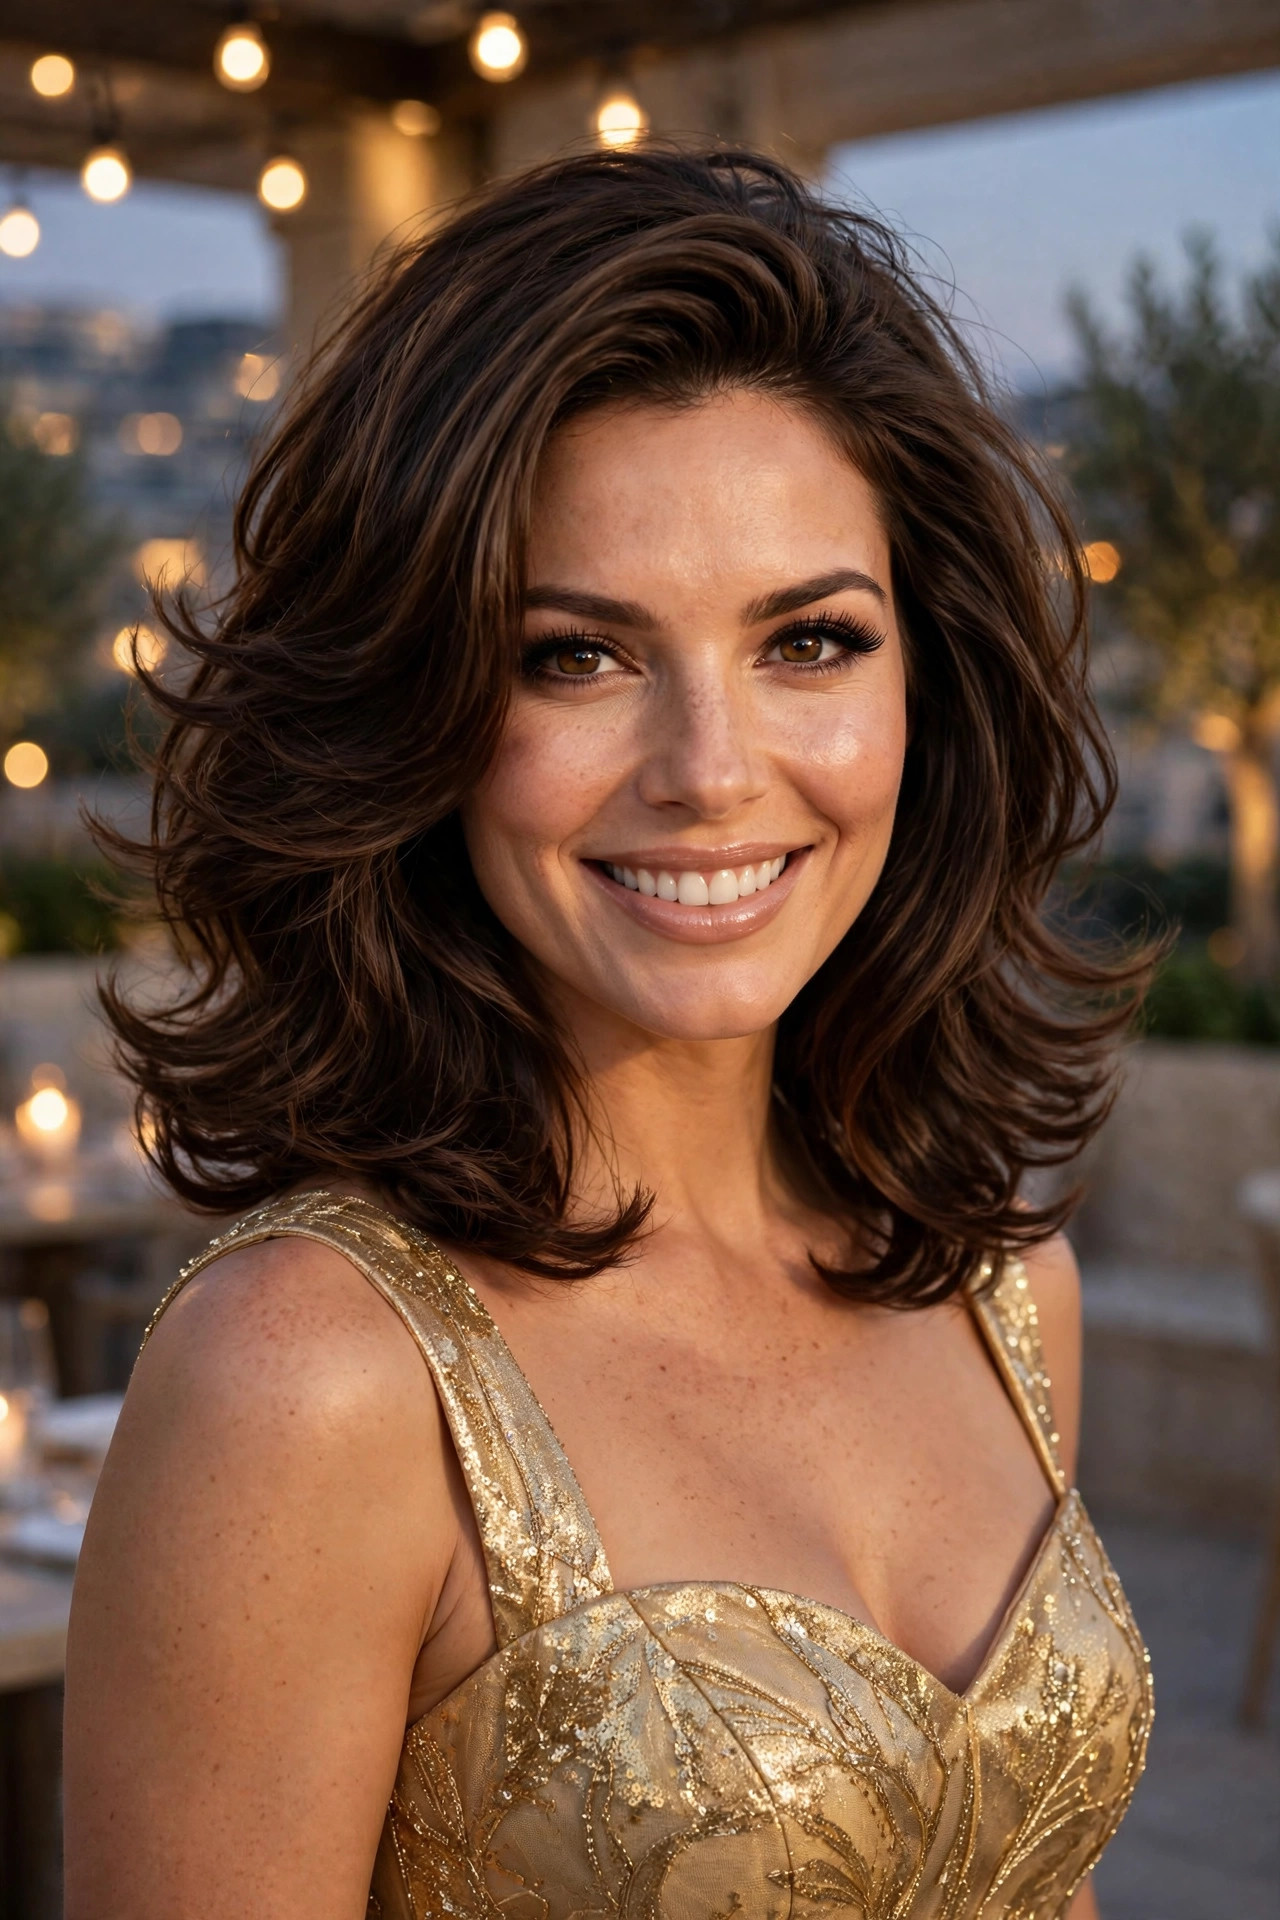
- Blow-dry with a round brush for lift at roots.
- Roll the ends under for a bouncy polished shape.
- Use a large iron to add soft bends mid-length.
- Finish with a light shine mist, not heavy oil.
A soft glam blowout is the ultimate confidence style: bouncy, shiny, and polished without looking overdone. Blow-dry the hair with a round brush, lifting at the roots and rolling the ends under for movement, then add a few soft bends with a large iron through the mid-lengths. The result should move when you walk, with layers that catch the light beautifully. It pairs well with cocktail dresses, bold earrings, and evening makeup, and it suits almost every hair texture with the right products. A light spray keeps everything soft and touchable.
Volume is the key, so start with a volumising mousse on damp roots and avoid heavy creams that flatten the crown. Dry the hair in sections, directing the airflow upward at the roots for lasting lift, and let each section cool before brushing it out. A light texturising spray at the crown adds grip for fine hair, while thicker hair benefits from a smoothing serum on the ends only. Refresh the blowout the next morning with dry shampoo at the roots. The soft finish looks elegant in every photograph. Extra pins and a travel spray handle quick touch-ups.
Elegant Top Knot
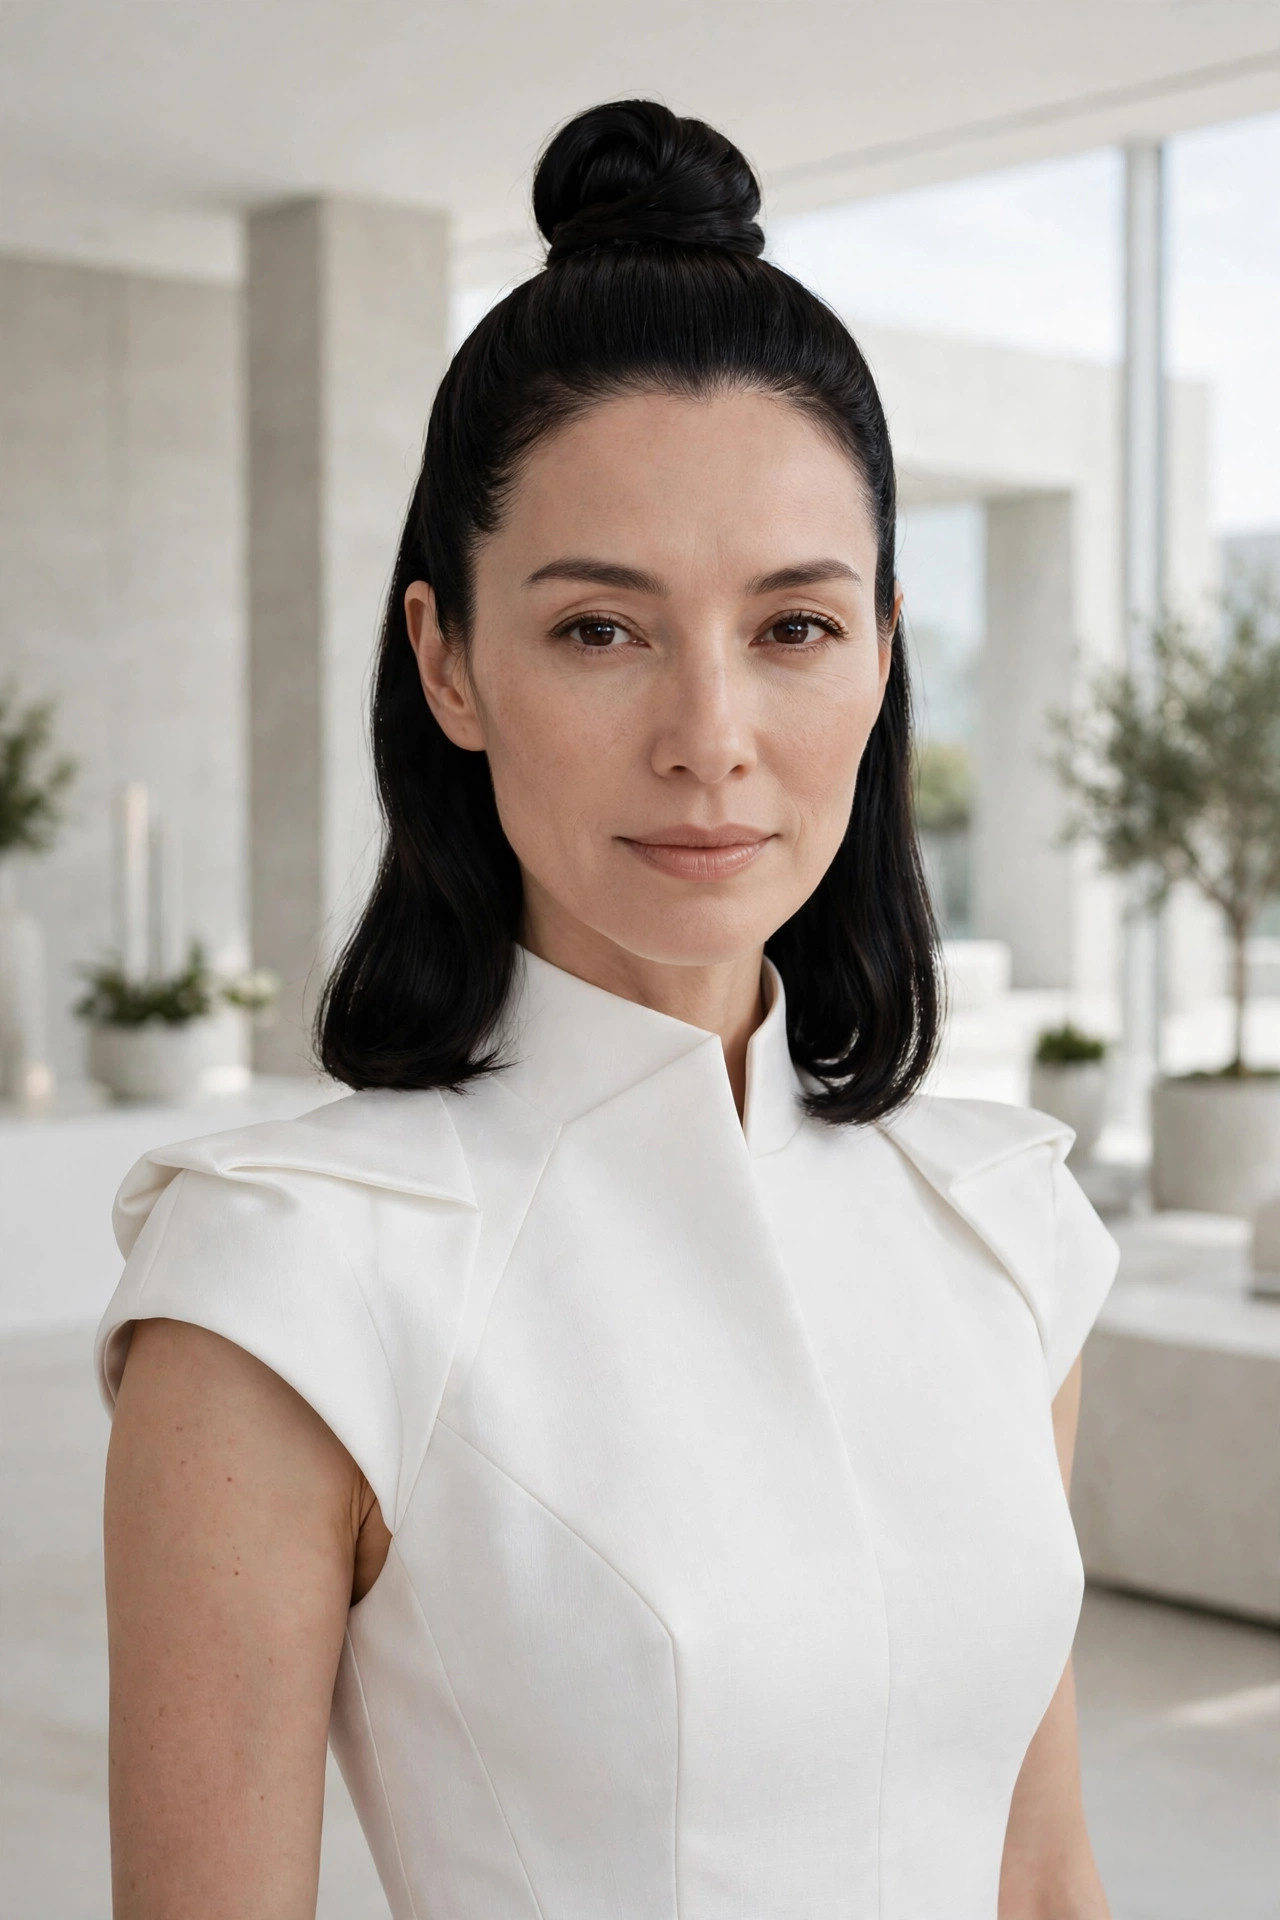
- Gather hair high and smooth the sides firmly.
- Twist the length into a compact neat knot.
- Pin the knot flat and hide all ends.
- Add a slim metallic cuff for evening polish.
An elegant top knot lifts the whole look, literally and visually, by opening up the face and showing off the neckline and shoulders. Gather the hair high on the crown, smooth the sides firmly with a brush, and twist the length into a compact knot that sits neatly on top. Unlike a casual messy bun, the formal version should look intentional: smooth edges, hidden ends, and a balanced shape. It is a wonderful choice for warm venues, long evenings, and dresses with interesting backs or high collars. Practice once beforehand so the evening feels completely stress-free.
Shoulder-length hair can absolutely hold a top knot, especially if you use a small bun maker or a doughnut form for extra structure. Wrap the hair around the form, pin the ends underneath, and smooth the crown with a touch of gel for a sleek finish. For a softer take, leave a gentle wave near the temples and choose a slightly looser knot. This style suits women who love minimal jewellery, since the clean silhouette lets earrings and necklines shine. It holds beautifully all evening long. The gentle shape flatters the face from every angle.
Pearl Pinned Waves

- Create loose waves with a medium barrel iron.
- Place pearl pins asymmetrically along one side.
- Keep the waves brushed out and touchably soft.
- Use a flexible spray so pins stay secure.
Pearl pins turn simple waves into something truly special, adding a touch of vintage glamour without any complicated updo work. Start with loose, brushed-out waves that fall naturally over the shoulders, then place three to five pearl pins along one side, following the curve of the wave. The asymmetry keeps the look modern, while the pearls catch the light beautifully in photographs. This style is perfect for bridesmaids, wedding guests, and anyone who wants elegance with very little effort. This versatile look works for weddings, galas, and dinner parties alike.
Placement matters more than quantity, so step back and check the balance in a mirror before adding more pins. Cluster them near the temple or just above the ear, rather than scattering them evenly, which can look busy. If your hair is slippery, criss-cross two pins at each point for grip, and choose pins with a flat back so they sit flush. Pair the look with pearl earrings or a simple bracelet for a coordinated, refined finish that never feels overdone. It photographs beautifully. The result feels truly effortless. This finish suits almost every occasion.
Side Swept Curls
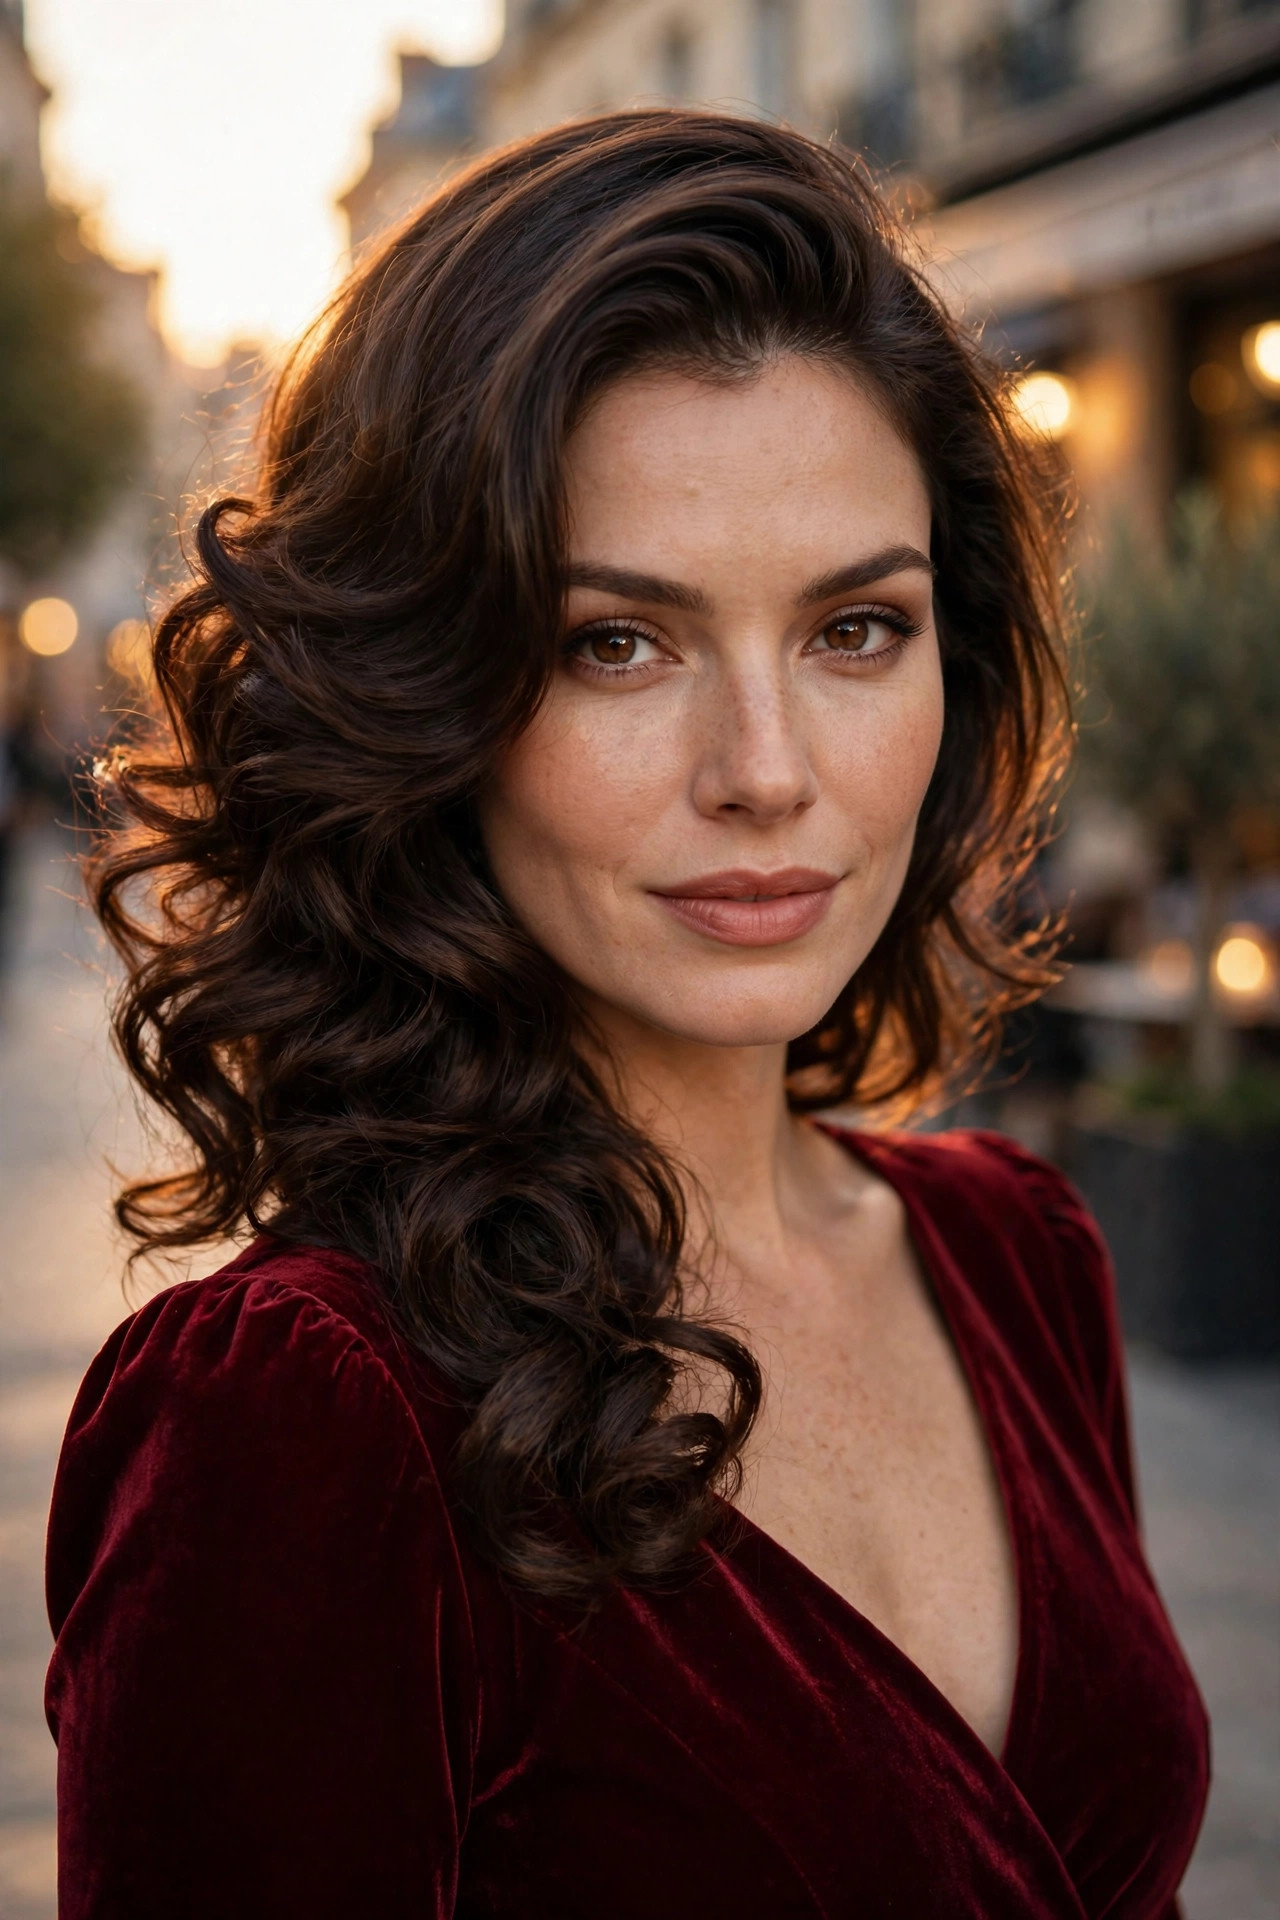
- Create a deep side part before curling sections.
- Curl away from the face for an open look.
- Sweep all curls over one shoulder and pin.
- Set the style with flexible spray for movement.
Side swept curls are pure glamour, channelling old red-carpet energy while remaining easy to achieve on shoulder-length hair. Make a deep side part, curl the hair away from the face in medium sections, and sweep everything over one shoulder, pinning discreetly at the back. The heavy side should look full and bouncy, while the lighter side stays sleek against the head. This style flatters most face shapes and pairs beautifully with strapless, off-shoulder, and one-shoulder dresses for evening events. A final mirror check completes the look. Small details make this style feel special.
To keep the sweep secure all night, pin the hair at the nape in a hidden row, rather than relying on a single pin. Backcomb the roots on the full side lightly before curling, which gives the curls lasting height and prevents them from falling flat. A shine spray on the outer layer adds polish, and a statement earring on the exposed side completes the look. If curls drop quickly in your hair, set them with clips while cooling for extra memory. This polished finish lasts from dusk until midnight.
Textured Low Roll

- Add texture spray before rolling the hair under.
- Roll sections inward and pin along the nape.
- Keep the finish intentionally soft, not perfect.
- Pull out wisps around the face for ease.
A textured low roll is ideal when you want an updo that feels relaxed rather than rigid, with soft movement and a touch of bohemian charm. Start by adding texture spray to dry hair, then roll sections inward along the nape, pinning as you go to form a loose, pillowy roll. The beauty of this style is its imperfection: a few wisps and gentle bumps make it look effortless and modern. It suits outdoor weddings, daytime receptions, and rustic venues where a sleek bun might feel too formal. The soft finish looks elegant in every photograph.
This roll works wonderfully on hair with natural wave or a previous-day blowout, since the existing texture helps the pins grip. If your hair is very straight, curl it lightly first and brush the curls out for soft body before rolling. For more updo inspiration, explore elegant hairstyles that suit shoulder-length cuts and special occasions. Finish with a texturising spray rather than a hard-hold product, so the roll keeps its soft, touchable feel through the evening. Extra pins and a travel spray handle quick touch-ups. This careful preparation keeps the style fresh for hours.
Half-Up Bouffant Twist

- Backcomb the crown section for bouffant height.
- Smooth the top layer gently over the volume.
- Twist the side sections back and pin neatly.
- Leave the lengths wavy or softly curled.
The half-up bouffant twist brings a touch of retro glamour to formal styling, with height at the crown and soft length left down. Backcomb the crown section gently, smooth the top layer over it, and twist the side sections back to meet in the middle. The lifted crown lengthens the face and adds drama, while the loose lengths keep the look youthful and romantic. It is a lovely choice for milestone birthdays, anniversary dinners, and vintage-themed parties where a little drama feels right. It holds beautifully all evening long. The gentle shape flatters the face from every angle.
The key to a bouffant that lasts is building it in layers: tease small sections, spray lightly, then smooth only the outer layer so the volume underneath stays intact. Avoid over-brushing the crown, which collapses the shape, and choose pins that match your hair colour for a seamless finish. A velvet bow or a crystal clip at the twist point adds vintage charm. This style suits fine hair especially well, since the teasing creates fullness that lasts for hours. A quick touch-up before photographs restores perfect polish. This versatile look works for weddings, galas, and dinner parties alike.
Sleek Vintage Bob

- Straighten the bob fully for a glassy finish.
- Curve the ends under with a flat iron.
- Keep the part sharp and the silhouette clean.
- Add shine serum sparingly on the lengths.
A sleek vintage bob proves that you do not need an updo to look formal, because a perfectly polished bob carries its own quiet drama. Straighten the hair fully, curve the ends gently under, and keep the parting sharp for a clean, graphic silhouette. The shine is essential here: healthy, glossy hair reflects light and looks expensive in photographs. This style suits tailored dresses, beaded gowns, and art deco jewellery, and it frames the jawline beautifully for a sculpted, confident profile. The result feels truly effortless. This finish suits almost every occasion.
Maintenance matters with this look, so trim the ends regularly and use a heat protectant every time you straighten. A flat iron with rounded plates makes curving the ends easier, and a tiny amount of serum on the lengths adds gloss without weighing the bob down. If your bob has layers, smooth them in the same direction to avoid flicked-out pieces. Pair the sleek finish with a bold lip and defined brows for a complete vintage-inspired evening look. A final mirror check completes the look. Small details make this style feel special.
Loose Braided Bun

- Braid the hair loosely before wrapping it up.
- Wrap the braid into a low relaxed bun.
- Loosen braid loops gently for fullness.
- Secure with pins hidden inside the bun.
A loose braided bun feels romantic and approachable, combining the texture of a braid with the neatness of a formal updo. Braid the hair loosely down the back, then wrap the braid into a low bun and pin it securely, loosening a few loops for softness. The braid adds visual interest from behind, which matters at events where people see you from every angle. This style is perfect for outdoor weddings, brunches that run into evening, and anyone who wants an updo without a stiff, overworked finish. This polished finish lasts from dusk until midnight.
For extra polish, start with lightly curled hair so the braid has natural texture and grip, and use a texturising spray before braiding. If your hair is layered, braid over a small elastic at the nape first to catch shorter pieces, then wrap and pin. Expert styling advice from Allure often recommends finishing braided updos with a flexible spray for movement. A few face-framing curls softened with an iron complete this gentle, wedding-ready look beautifully. A light spray keeps everything soft and touchable. The soft finish looks elegant in every photograph.
Voluminous Layered Curls

- Curl layers separately to build even volume.
- Use a volumising mousse on damp roots.
- Break curls apart gently once fully cool.
- Finish with a light flexible-hold spray.
Voluminous layered curls turn shoulder-length hair into a celebration, with bounce, movement, and shape that photographs beautifully. Curl each layer separately with a medium iron, working from the bottom up so the volume builds evenly rather than sitting only at the ends. Once the curls cool, break them apart gently with your fingers for a full, touchable finish. Layers are the secret here, because they stop the curls from forming one heavy mass and instead create shape that moves naturally as you dance and mingle. This careful preparation keeps the style fresh for hours.
To keep volume lasting all evening, avoid heavy oils and creams that pull curls down, and choose a light mousse applied to damp roots instead. Diffuse or blow-dry the roots upward for lift before curling, and pin the crown sections while they cool for extra height. A root-lifting spray touched up before photographs revives the shape instantly. This look suits round and square faces especially well, since the height and width balance the proportions beautifully. Practice once beforehand so the evening feels completely stress-free. It holds beautifully all evening long.
Classic Gibson Tuck

- Create a low ponytail and loosen it slightly.
- Tuck the length up through the ponytail loop.
- Roll and pin the tuck flat at the nape.
- Smooth the crown for a clean vintage line.
The classic Gibson tuck is a vintage treasure that looks far more complicated than it actually is, making it perfect for last-minute formal plans. Gather the hair into a low ponytail, loosen it slightly, then tuck the length up and through the loop, rolling it neatly against the nape. Pin the roll flat and smooth the crown for a clean, elegant line. The result is a soft, rounded updo with a beautiful vintage silhouette that suits lace dresses, tea-length gowns, and heritage venues wonderfully. A quick touch-up before photographs restores perfect polish.
This tuck works best on hair that is not freshly washed, since a little grip helps the roll stay in place without slipping. If your hair is slippery, add texture spray and backcomb the ponytail lightly before tucking. Secure the roll with pins placed vertically along the seam, and hide the ends completely inside the tuck for a seamless finish. A small decorative comb or a vintage brooch pinned at one side adds period charm without overwhelming the simplicity. This versatile look works for weddings, galas, and dinner parties alike.
Modern Sleek Chignon

- Smooth hair with gel for a flawless base.
- Gather the hair low and twist tightly.
- Pin the bun flat for a graphic shape.
- Set with strong spray for all-night hold.
The modern sleek chignon strips the classic bun back to its purest form: smooth, graphic, and effortlessly chic. Apply a light gel through damp hair, blow-dry it smooth, then gather it low and twist it into a tight, flat bun with no stray strands. The beauty of this version is its precision, which pairs perfectly with minimalist gowns, architectural jewellery, and strong evening makeup. It is the ideal choice for galas, award nights, and corporate black-tie events where polish matters most. The result feels truly effortless. This finish suits almost every occasion.
Precision requires the right tools, so use a fine-tooth comb for the parting, a boar bristle brush for smoothing, and a strong-hold spray applied in short bursts. If flyaways appear in humid weather, smooth them with a tiny amount of pomade on your fingertips rather than adding more spray. A centre part feels editorial and modern, while a slicked side part adds drama. This chignon also photographs crisply from the side, making it a favourite for red-carpet moments. A final mirror check completes the look. Small details make this style feel special.
Romantic Waterfall Twist
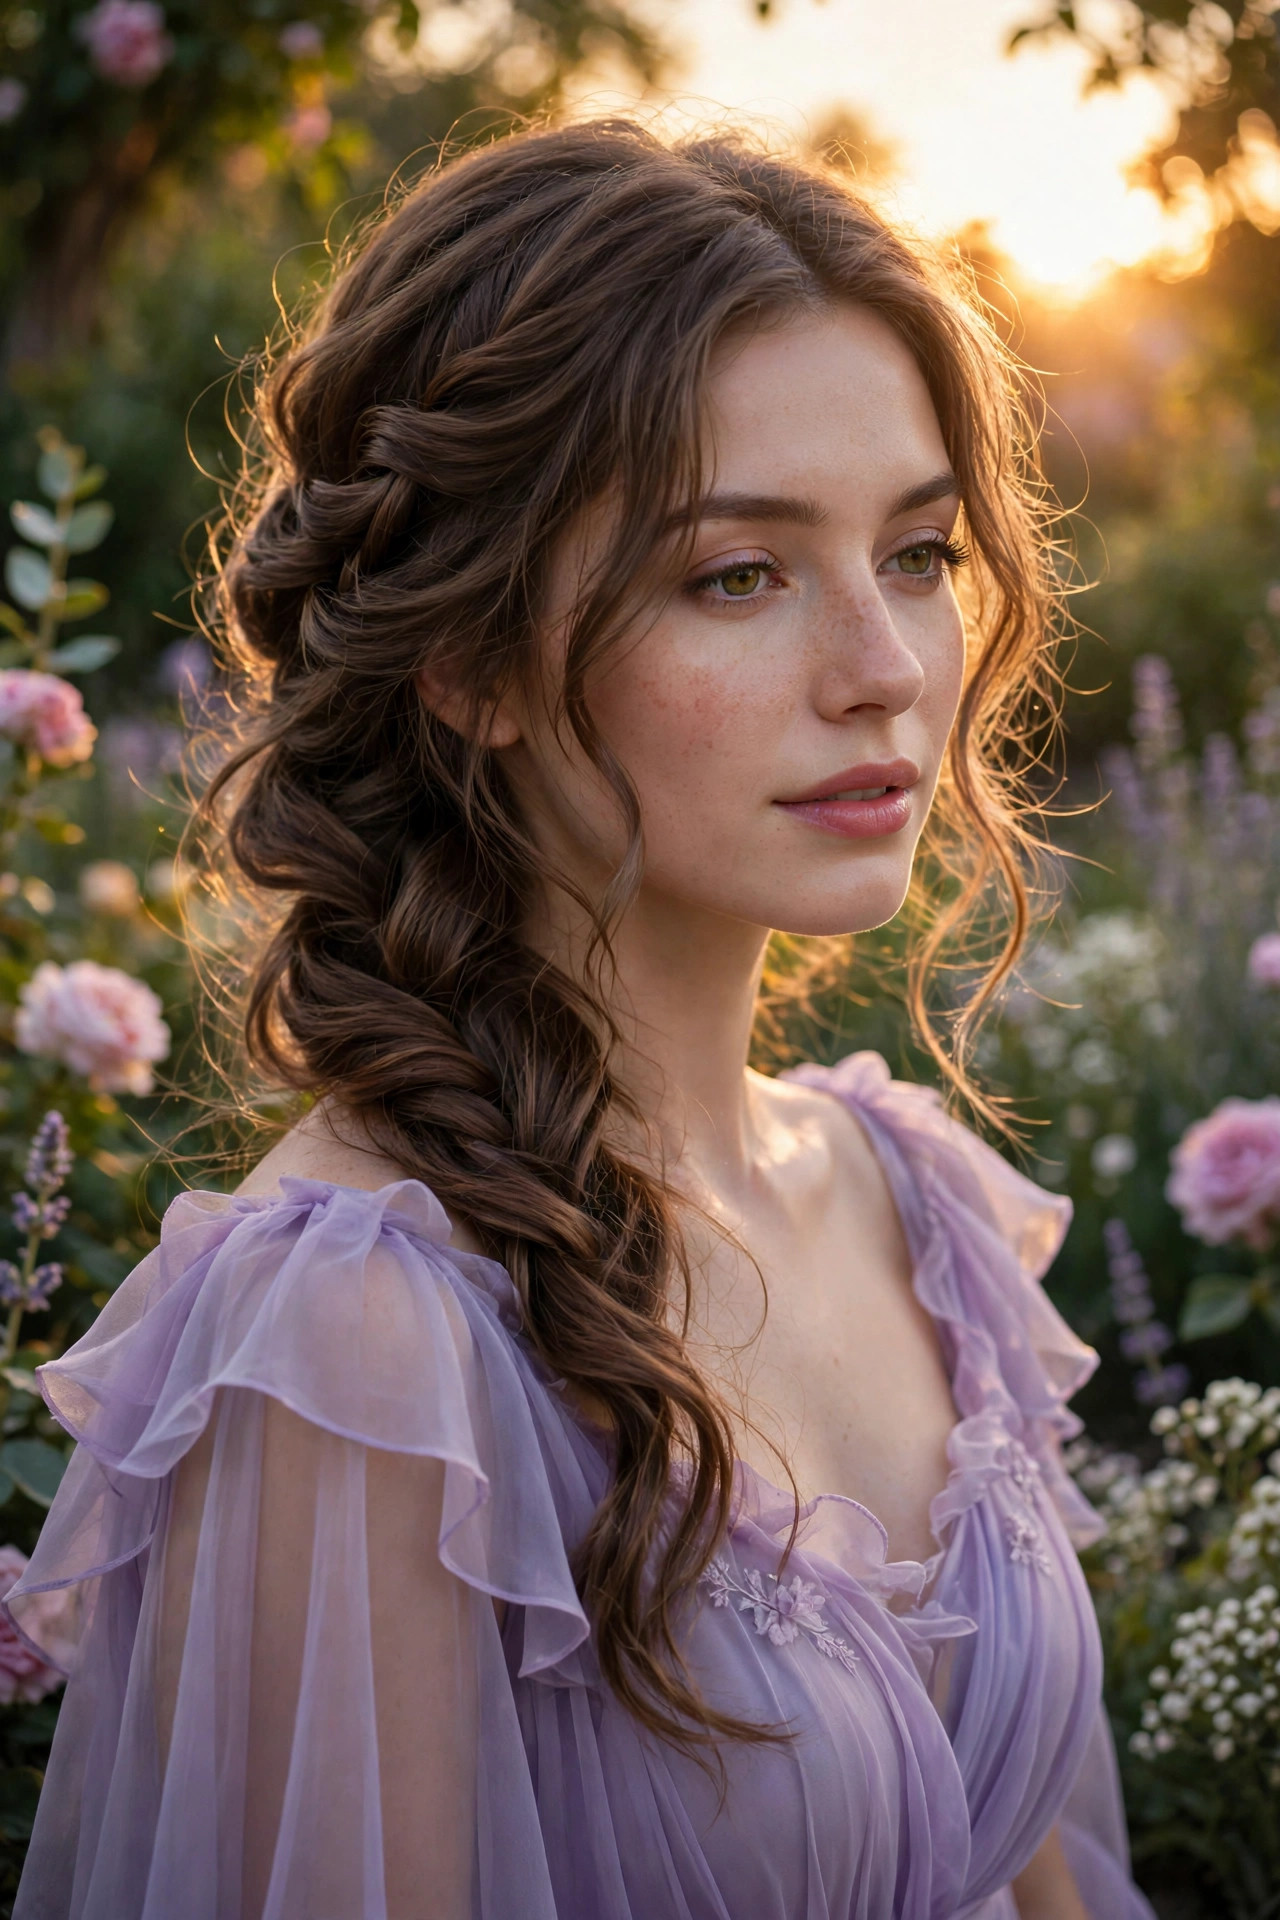
- Twist the front section back, dropping strands.
- Let dropped strands fall as waterfall pieces.
- Repeat the twist on the other side evenly.
- Curl the waterfall pieces softly for flow.
A romantic waterfall twist looks intricate and dreamy, yet it is simply a twist that lets strands cascade down like water through the hair. Twist the front sections back on each side, dropping a strand with every turn so the dropped pieces fall freely over the waves below. The result is soft, whimsical, and wonderfully photogenic, especially for garden weddings and sunset receptions. It keeps hair away from the face while still showing off length, texture, and natural movement beautifully. A light spray keeps everything soft and touchable. The soft finish looks elegant in every photograph.
The trick is to keep the twists even on both sides and to drop strands of similar thickness, so the waterfall looks intentional rather than messy. Curl the lengths first for a soft wave that blends with the dropped pieces, and pin the twists where they meet at the back with crossed pins. A few tiny flowers or crystal pins woven into the twists add a bridal touch. Finish with a light spray, since a heavy product would weigh down the delicate falling strands. Extra pins and a travel spray handle quick touch-ups.
Glamorous Retro Waves

- Set waves with clips for a defined pattern.
- Use strong gel to sculpt the wave shape.
- Dry fully before removing clips and brushing.
- Finish with shine spray for festive sparkle.
Glamorous retro waves are popular formal hairstyles for medium length hair, with sculpted curves that catch the light as you move. Set the waves with clips and a strong styling gel, shaping each curve carefully before drying fully, then brush gently to soften the pattern into polished finger waves. The defined shape feels celebratory and confident, making it perfect for New Year parties, milestone galas, and winter balls. Pair the waves with sequins, metallic accessories, and a classic red lip for maximum impact. Practice once beforehand so the evening feels completely stress-free.
Retro waves reward patience, because removing the clips too early collapses the shape before it sets. Allow the hair to dry completely, then brush with a soft brush using long, even strokes to join the waves smoothly. A shine spray adds festive sparkle without disturbing the pattern, and a final mist of strong spray locks the shape for dancing. If your hair resists holding waves, set it the night before with pin curls for extra memory and staying power. It holds beautifully all evening long. The gentle shape flatters the face from every angle.
Choosing among formal hairstyles for medium length hair comes down to your dress, your comfort, and how much time you want to spend styling, so pick the idea that makes you feel most like yourself. The twenty styles above prove that shoulder-length hair can do everything: sleek buns, romantic twists, glamorous waves, and soft half-up looks that suit weddings, galas, and parties alike. Save your favourites, practise once before the big day, and pack a few extra pins plus a travel-size spray for touch-ups. With the right preparation, your hair will look just as beautiful in the last photograph as it did in the first.
FAQ
How long do these elegant styles usually last at an event?
Most of these updos and waved styles last eight to ten hours with good preparation, strong pins, and a flexible spray. Hair that is slightly unwashed holds better than freshly washed hair, and a light texture spray adds grip. Carry two extra pins and a travel spray for quick touch-ups during long celebrations.
Are these looks suitable for thin or fine hair?
Yes, many of these styles flatter fine hair beautifully, especially chignons, bouffants, and twisted buns that create the illusion of fullness. Backcombing at the crown, using a volumising mousse, and choosing looser twists all add body. Avoid heavy oils, which can flatten delicate strands quickly.
How do I keep curls from falling flat during the evening?
Curl smaller sections, let each curl cool completely before touching it, and set the shape with clips while cooling for extra memory. A flexible spray applied before and after curling helps without stiffness. Avoid brushing curls out too much, and refresh the roots with dry shampoo if needed.
What accessories work best for a formal evening look?
Pearl pins, slim gold clips, crystal combs, and delicate headbands all elevate a formal style without overwhelming it. Match the metal to your jewellery, keep the accessory count low, and place pieces where they catch light in photographs. Simple, well-placed accessories always look more expensive than many competing pieces.