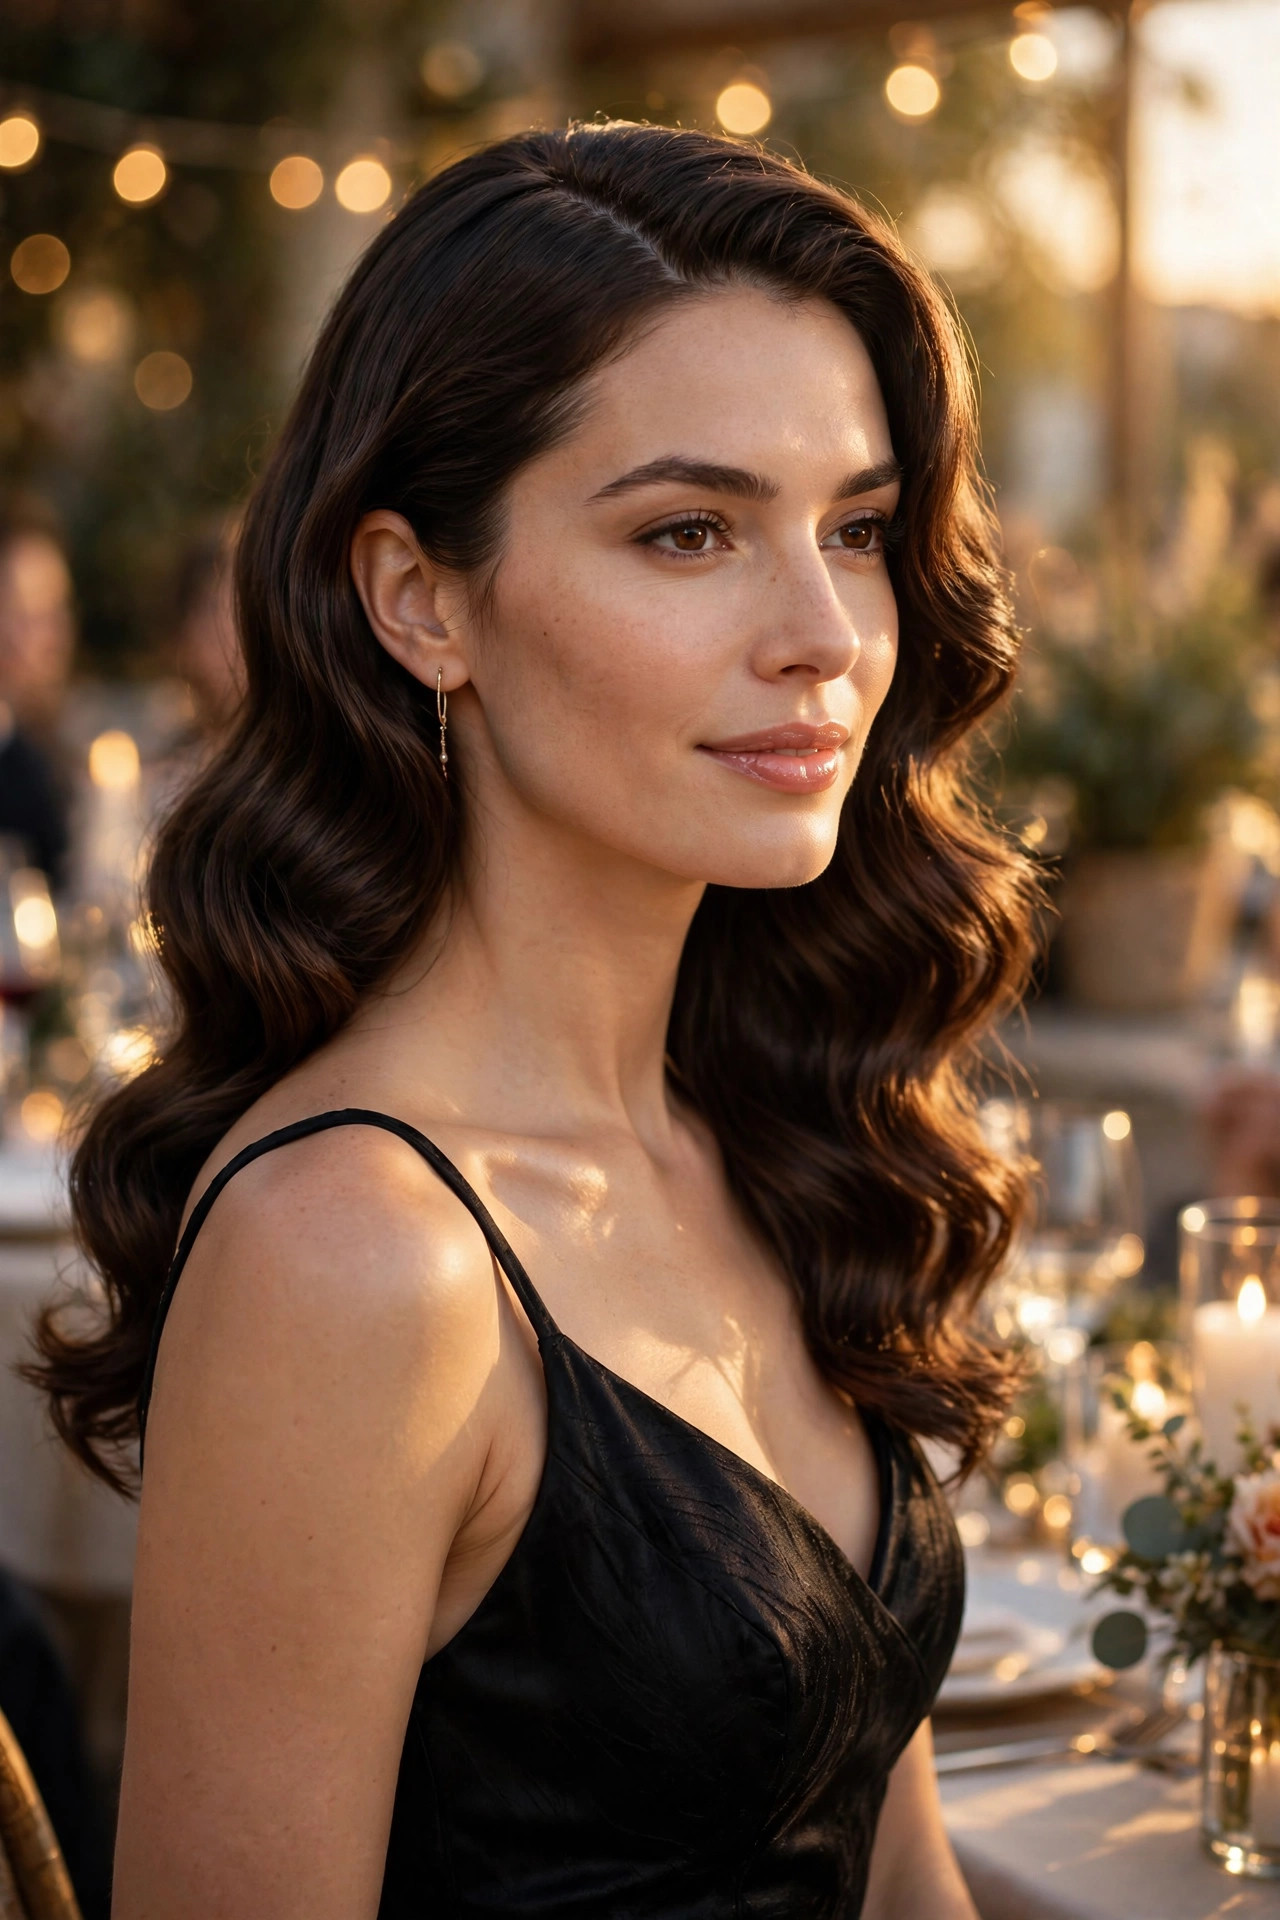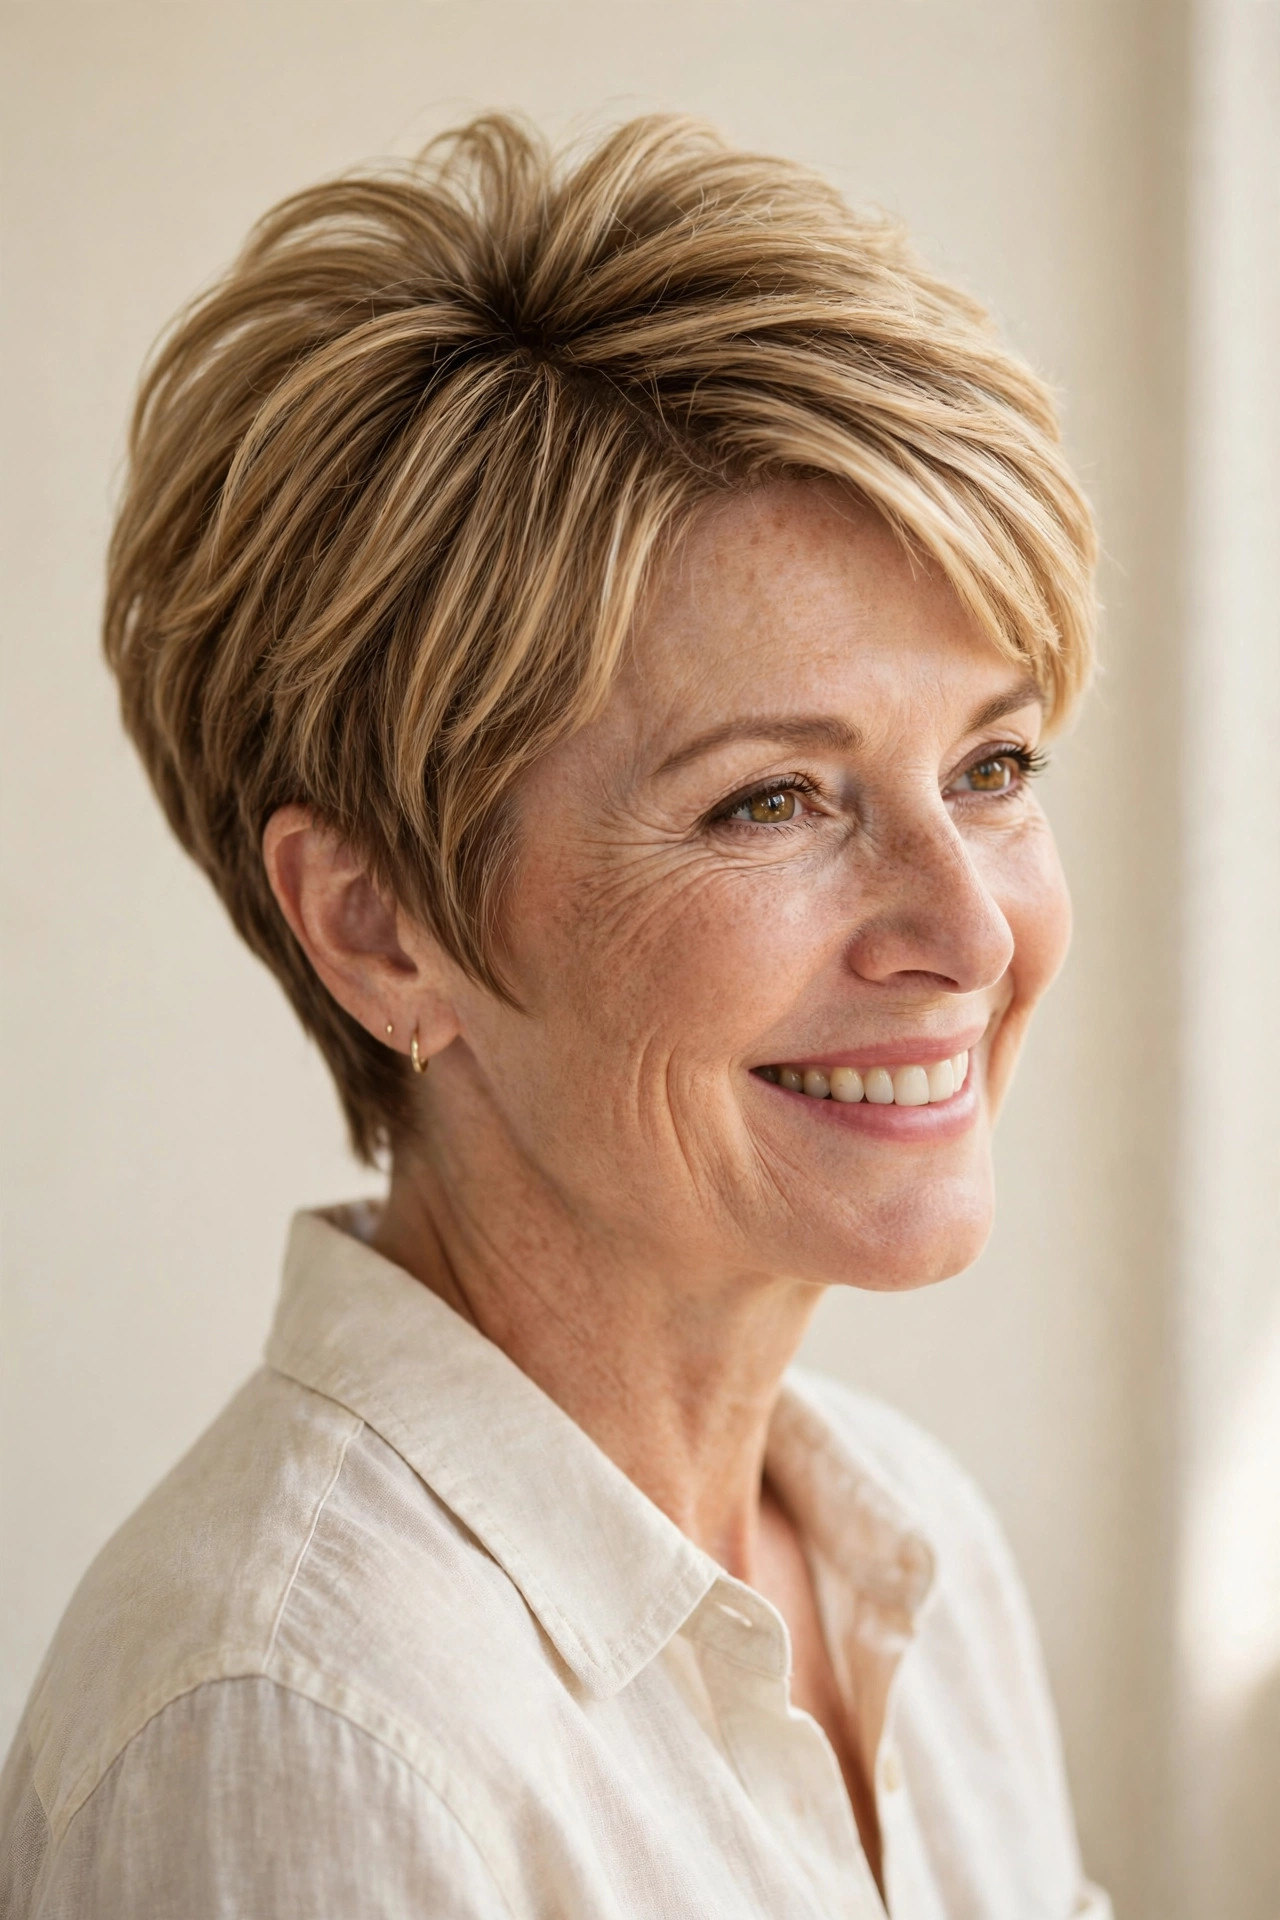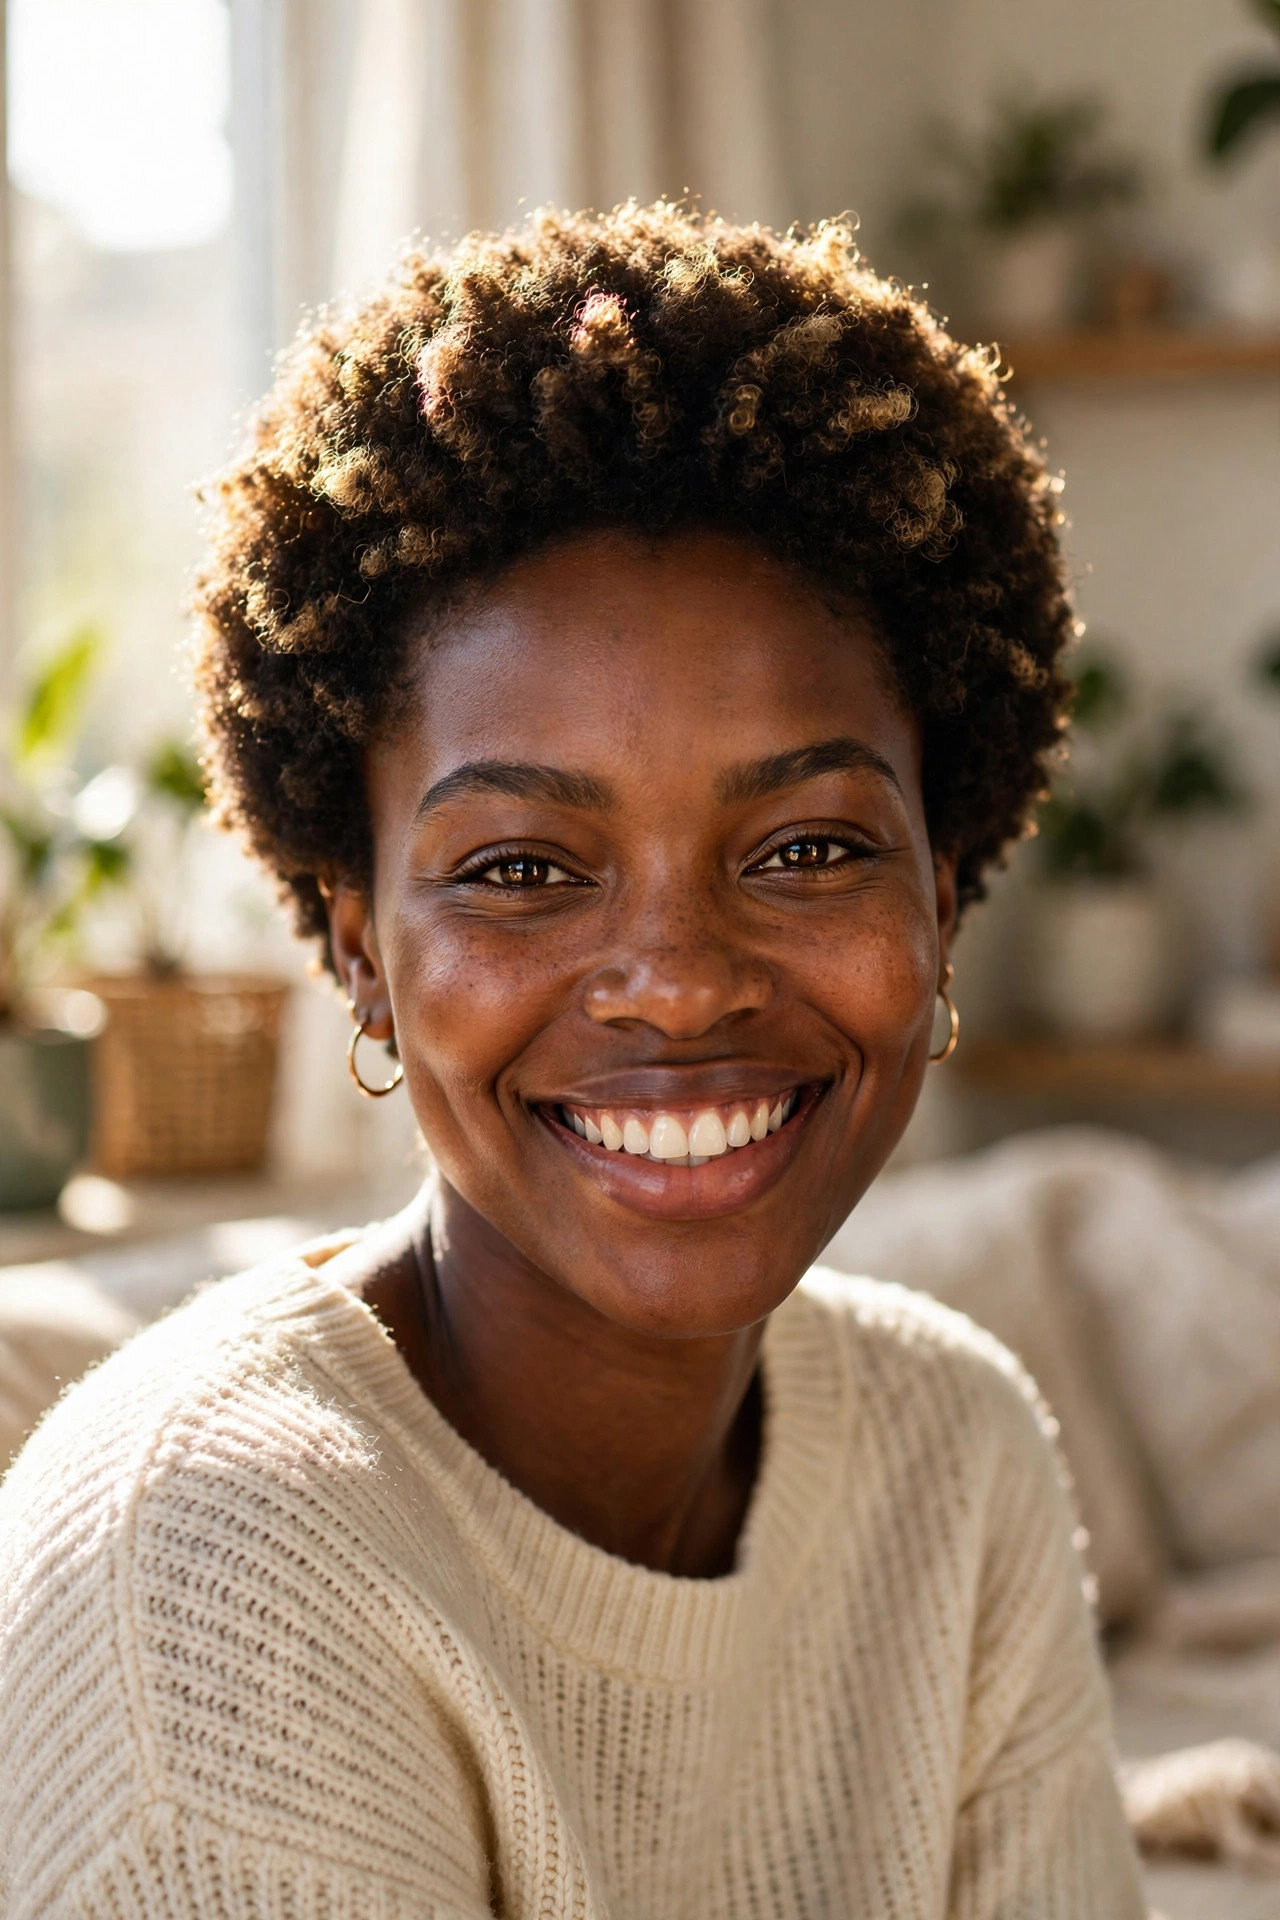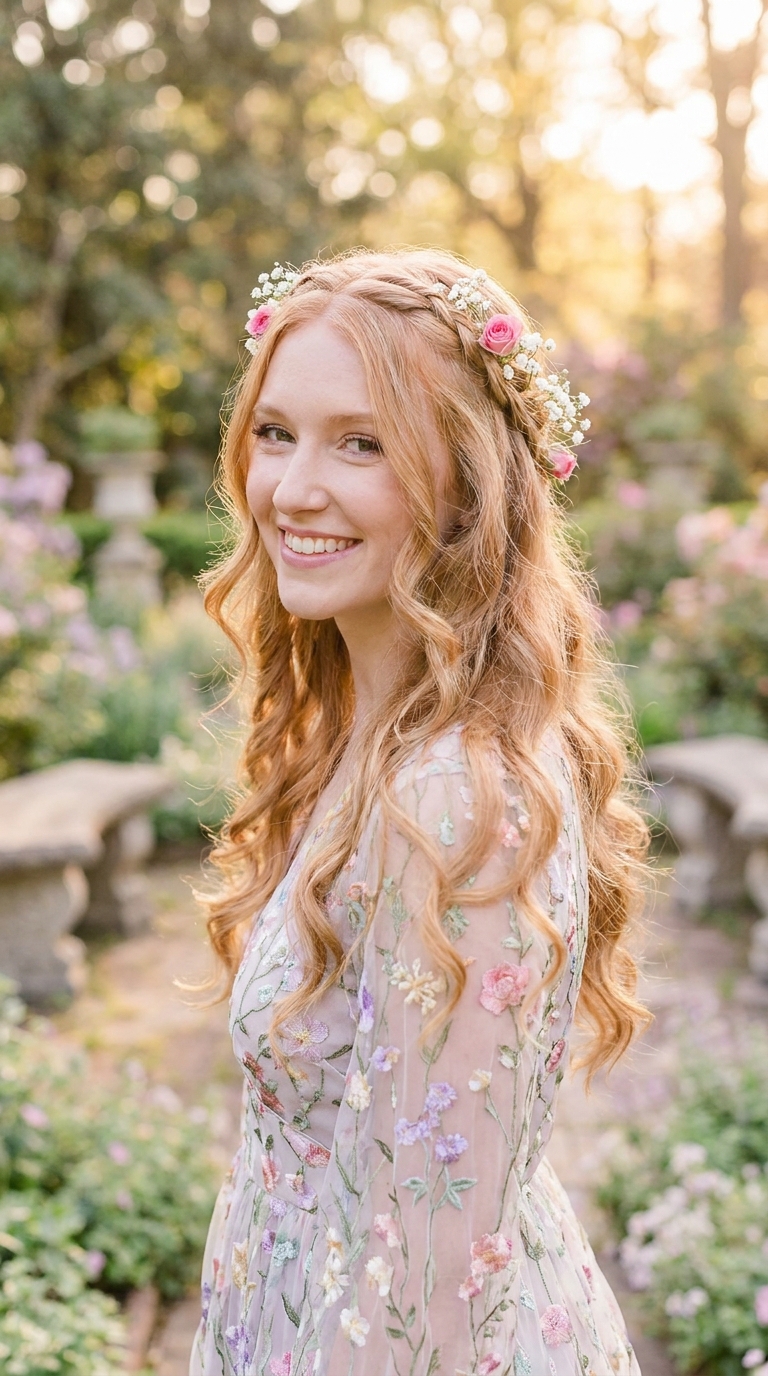
Few looks balance polish and romance quite like formal half up half down hairstyles, which keep hair swept gracefully away from the face while letting soft length cascade down the back. Whether you are a bride, a bridesmaid, a prom guest, or simply dressing for a gala dinner, this versatile style adapts to every dress code, hair texture, and face shape with effortless elegance. In this guide, you will discover twenty-three refined ideas, from twisted crowns and waterfall braids to pearl-adorned knots and old-Hollywood waves, each paired with practical styling tips. Use these ideas to find a look that photographs beautifully, holds comfortably for hours, and feels unmistakably you.
Classic Twisted Crown

- Twist two front sections back and pin them at the crown for instant polish.
- Leave soft face-framing strands loose to keep the look romantic, not severe.
- Mist with flexible-hold spray so the twists stay neat through dancing and photos.
The classic twisted crown earns its place at the top of this list because it flatters nearly everyone and takes little effort to create. Begin by parting your hair softly down the middle or slightly to one side, then twist a section from each temple backwards and secure both twists where they meet at the crown. The result frames your face beautifully while keeping hair out of your eyes all evening long. Add a touch of texturising spray before twisting so fine hair grips better and holds its shape for hours.
What makes this style so reliable for weddings and galas is its quiet versatility, since it pairs just as well with a beaded gown as with a simple satin dress. You can dress it up with pearl pins or a slim jeweled comb, or keep it minimal for a modern, understated finish that lets your dress do the talking. It also works beautifully on medium and long hair, straight or wavy, and it photographs from every angle without fuss. Ask your stylist to hide the pins beneath the twists for a seamless, expensive-looking result that feels effortless.
Voluminous Hollywood Curls
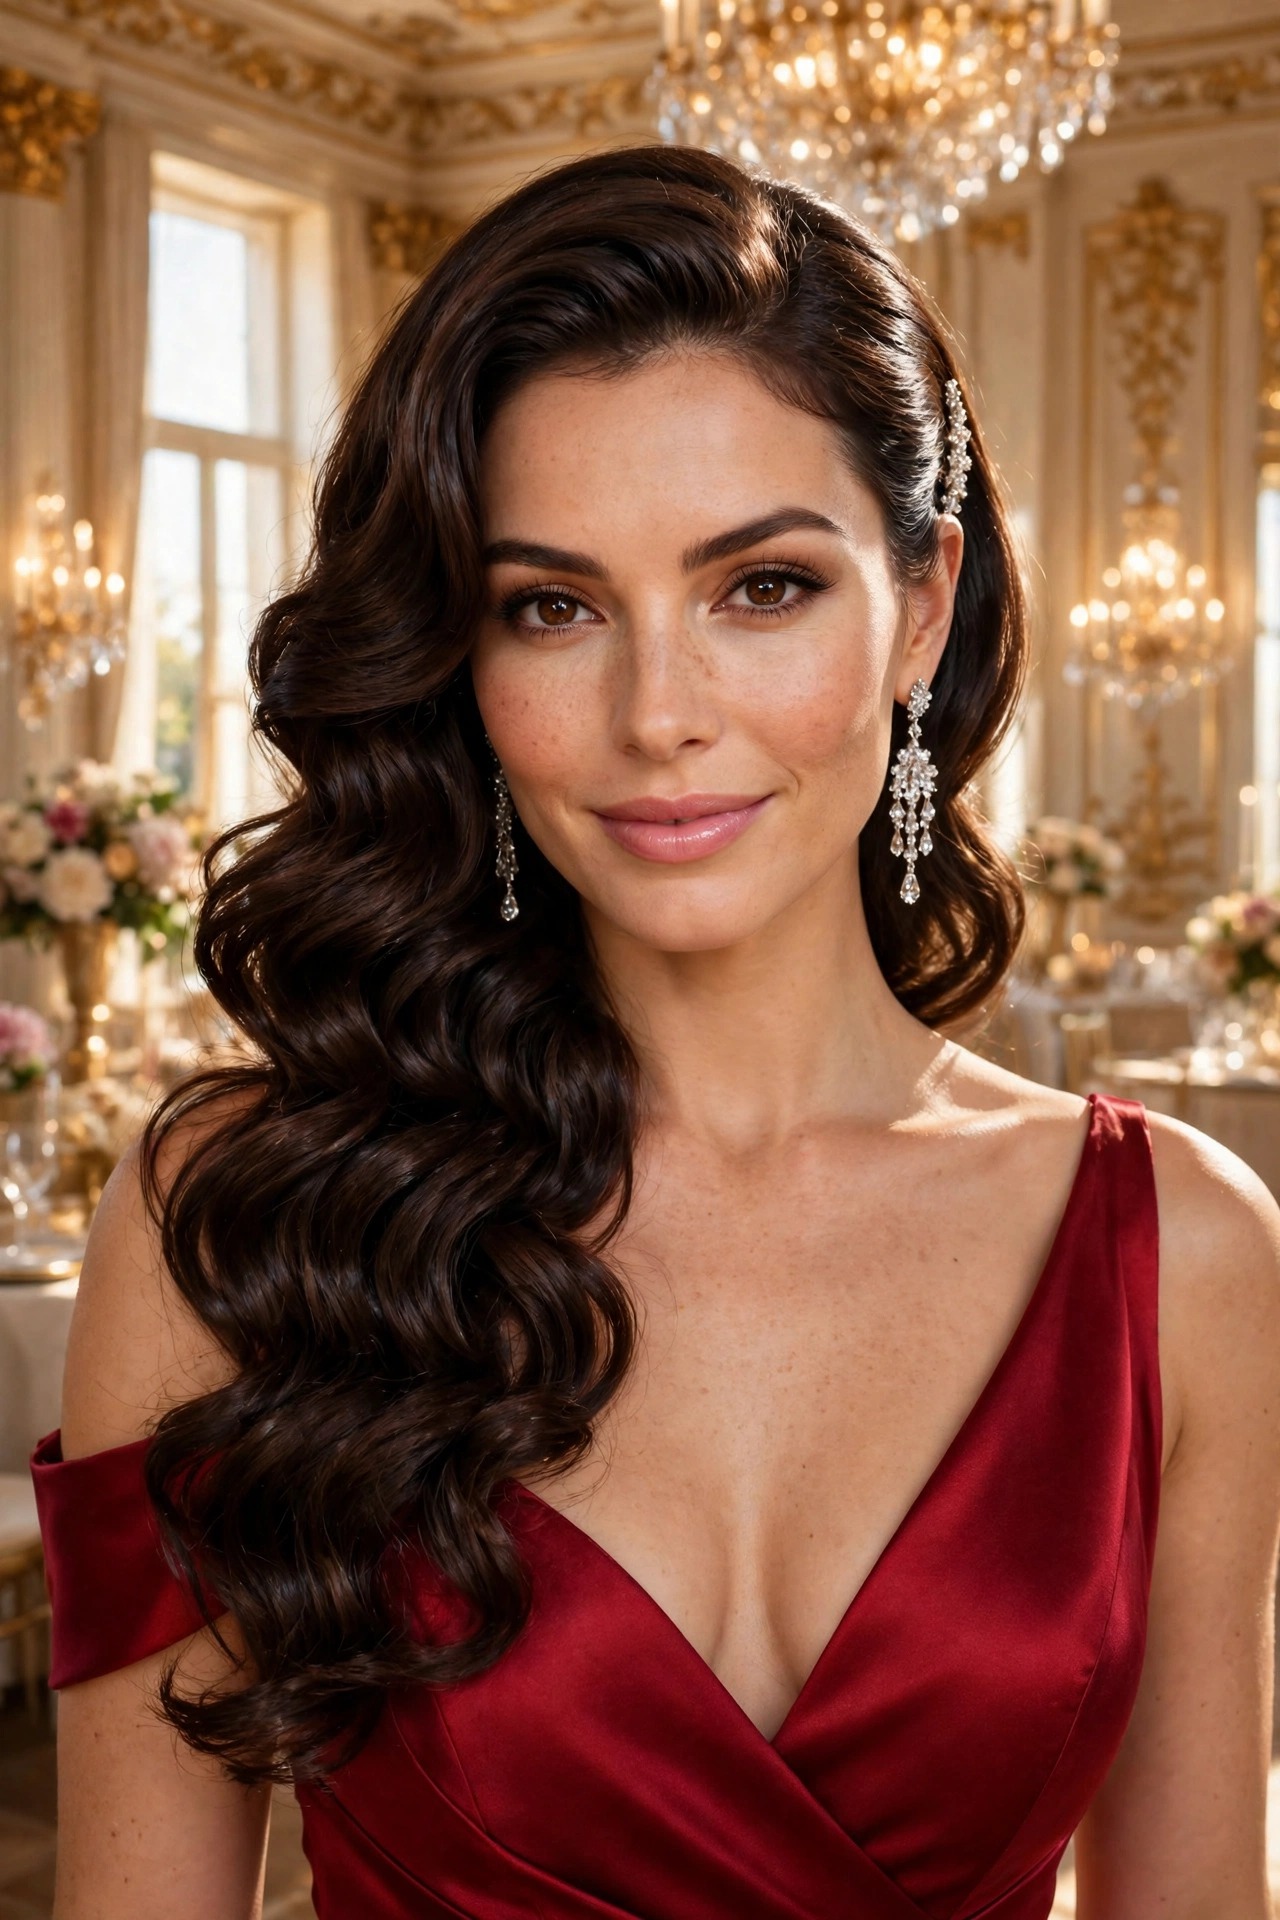
- Curl large sections with a wide-barrel iron for bouncy, uniform waves.
- Brush curls gently with a paddle brush to soften them into glamorous waves.
- Pin the top section back smoothly to show off your cheekbones and earrings.
Nothing says old-Hollywood glamour quite like big, bouncy curls paired with a smoothly pinned crown, and this look never fails to turn heads at a black-tie event. The secret lies in setting each curl in the same direction and letting it cool before you touch it, which builds volume that lasts instead of falling flat within an hour. Once the curls are brushed into waves, gather the top section and pin it back with hidden grips for a clean, lifted finish. The contrast between the sleek crown and the full, flowing lengths creates a silhouette that feels dramatic and timeless.
This style is especially flattering if you have thick or medium-density hair, because the natural fullness supports the curl shape without much teasing or product build-up. If your hair is fine, a volumising mousse at the roots and a few well-placed clip-in extensions can deliver the same red-carpet effect without weighing anything down. Finish with a shine spray rather than heavy hairspray so the curls keep moving naturally as you dance. Pair the look with statement earrings and a bold lip, since the swept-back crown leaves your face completely open.
Sleek Braided Topknot
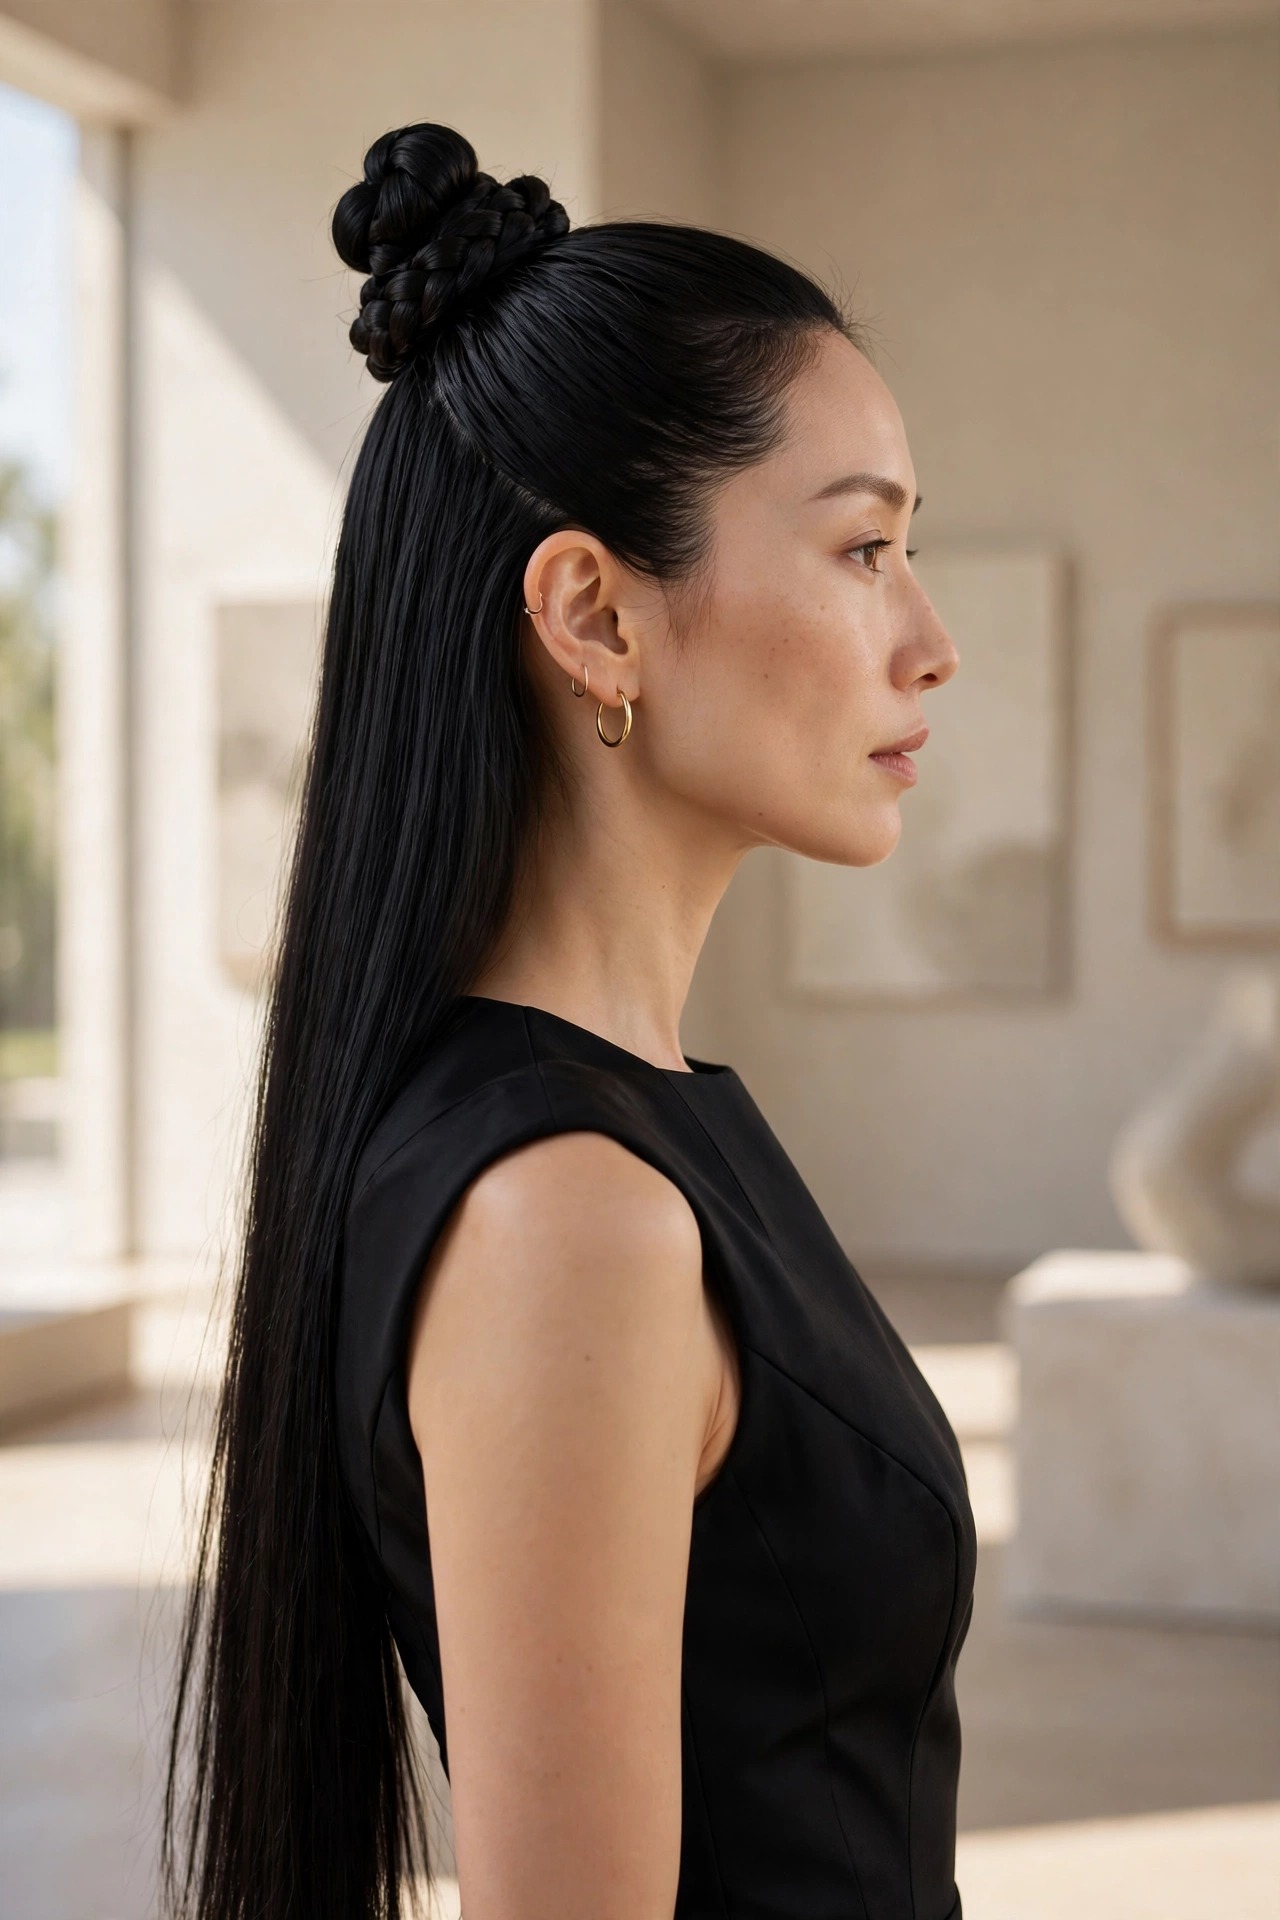
- Braid a small section at the crown and coil it into a neat knot.
- Smooth flyaways with a light pomade for a clean, editorial finish.
- Keep the lower lengths straight and glossy to contrast with the textured knot.
For anyone who loves a modern, architectural look, the sleek braided topknot delivers drama without sacrificing elegance or comfort. A single braid woven across the crown and coiled into a compact knot becomes the focal point, while the remaining hair falls straight and glossy down the back for a striking contrast. This style suits minimalist gowns and sharp tailoring beautifully, and it keeps every strand controlled through long ceremonies, dinners, and late-night dancing. It also photographs crisply from the side, where the braid detail and the sleek lengths show to best advantage.
Preparation matters more than complexity here, so start with freshly washed, professionally blow-dried hair and a smoothing serum to tame frizz before you braid. Work the braid tightly enough to hold its shape but not so tightly that it pulls at your hairline or causes discomfort by midnight. A few drops of shine oil on the lower lengths will keep them looking freshly styled rather than dry under camera flashes. If your hair is shorter, a small discreet padding piece inside the knot can add the fullness this polished style deserves.
Romantic Waterfall Braid

- Braid across the back of the head, dropping one strand with each stitch.
- Keep the braid loose so the falling strands create a soft, ribbon-like effect.
- Tuck tiny flowers or pearl pins along the braid for a garden-party finish.
The waterfall braid feels like it was made for romance, with strands tumbling through the braid like ribbons in a breeze. It is a favourite for outdoor weddings and garden parties because it looks intricate yet soft, never stiff or overworked. To create it, braid across the back of your head, dropping the lower strand each stitch and picking up a section above, so the dropped pieces cascade freely. The result frames the back of your head with detail while loose waves below keep everything fresh and youthful. Browse wedding guest hairstyle ideas that pair beautifully with this braid.
This look works best on long hair with some natural wave or a light curl added beforehand, since texture helps the dropped strands hold their shape instead of slipping straight. If your hair is very fine, a texturising spray worked through the lengths before braiding will give the braid something to grip and add visible fullness. Secure the braid ends with small clear elastics and a few discreet pins, then pull gently at the braid edges to widen it for a fuller, more romantic silhouette. A light mist of shine spray finishes the look without flattening the delicate, airy movement.
Elegant Chignon Twist

- Twist both side sections toward the centre and pin them into a low chignon shape.
- Leave the lower lengths softly curled so the style stays romantic, not severe.
- Add pearl pins at the twist for a timeless bridal or gala detail.
The elegant chignon twist borrows the polish of a classic updo while keeping the softness of loose hair, making it ideal for brides and mothers of the bride alike. Two side sections are twisted toward the centre and pinned into a low, rounded shape at the back, creating a focal point that looks refined from behind during the ceremony. Below it, softly curled lengths fall gracefully over the shoulders, so the style never feels too formal or rigid. It is a wonderful option when you want photographs from the back to look just as considered as those from the front.
Because the twist sits low, this style suits high necklines and detailed backs beautifully, since nothing competes with the dress itself. It also holds up well through long events, as the pinned sections anchor the style while the loose lengths are free to move naturally. For extra staying power, backcomb the crown very lightly before twisting and use U-shaped pins rather than standard grips for a firmer hold. A touch of smoothing cream on the lengths will keep curls defined and frizz-free, even in humid ballrooms or outdoor evening air.
Soft Vintage Waves

- Set waves with a curling iron and pin each curl to cool for definition.
- Brush out gently to turn tight curls into smooth, sculpted vintage waves.
- Pin the top section back to reveal the sculpted wave pattern at the crown.
Soft vintage waves bring a sense of timeless glamour to any formal occasion, echoing the screen sirens of decades past without feeling like a costume. The key is sculpted, uniform waves that flow in one direction, brushed out until they ripple like silk rather than springing into separate curls. Pinning the top section back shows off the wave pattern at the crown and keeps the style feeling intentional and polished from every angle. It pairs beautifully with vintage-inspired gowns, red lipstick, and delicate jewellery for a look that feels both nostalgic and completely current.
Achieving this finish takes patience, so allow extra time and set each section with clips while it cools to lock in the wave shape. A medium-hold setting lotion applied before curling will help the waves survive hours of wear without turning stiff or crunchy. If your hair is naturally straight, a smaller barrel iron will give you the defined curls you need before brushing them into waves. Finish with a light shine mist and avoid touching the waves too often during the evening, since handling is what breaks the sculpted pattern apart.
Pearl-Adorned Half Knot

- Gather the top section into a loose knot and secure it with pins.
- Scatter small pearl pins through the knot for a luminous bridal detail.
- Curl the lower lengths softly so they fall gracefully over the shoulders.
Pearls have long been the finishing touch for formal hair, and a pearl-adorned half knot uses them to beautiful effect without ever looking fussy. The top section is gathered into a soft, slightly loose knot at the back of the crown, then dotted with small pearl pins that catch the light each time you turn your head. Below, the remaining hair falls in gentle curls that keep the look romantic and approachable rather than stiff. It is an ideal choice for brides who want something polished yet soft, and it works equally well for wedding guests.
The beauty of this style is how easily it scales up or down depending on your event and your jewellery. Add more pearls and a pair of pearl earrings for a full bridal moment, or keep just three or four pins for a dinner party where you still want to look special. Make sure the knot itself is secure before adding pins, since pearls add a little weight and can pull a loose knot apart over hours. A light-hold spray over the finished style will keep flyaways smooth while letting the curls below move naturally all evening.
Textured Boho Waves

- Add loose waves with a large iron, then tousle them gently for texture.
- Twist the two front sections loosely and pin them back at the crown.
- Weave in tiny dried flowers or a slim gold cuff for bohemian charm.
Textured boho waves prove that formal hair does not have to mean stiff or overly sculpted, and this relaxed style suits outdoor weddings and rustic venues perfectly. Loose, tousled waves give the hair natural movement, while the twisted front sections keep it neatly away from the face so you can enjoy the celebration without fussing. A few dried flowers or a slim gold cuff woven through the twists adds personality without overpowering the dress. The overall effect feels effortless and modern, as though you simply have wonderful hair rather than a complicated style.
To keep this look from sliding into messiness, the key is controlled texture rather than freedom, so use a sea-salt spray and a light-hold product before you begin styling. Twist the front sections loosely but pin them firmly with grips that match your hair colour, hiding them beneath the twists for a finish. If your hair is naturally straight, add waves the night before and sleep in loose braids to build texture with less heat. For extra guidance on relaxed styling, see Byrdie’s hairstyling guides for expert tips on waves that hold beautifully through long evenings.
Polished Low Bun

- Smooth the top section back and coil it into a low, neat bun.
- Keep the lower hair straight and glossy for a sleek contrast.
- Anchor the bun with U-pins so it stays secure for hours.
The polished low bun offers a quietly confident option for formal evenings when you want structure without giving up the beauty of loose length. The top section is smoothed back and coiled into a neat bun that sits low at the nape, creating a clean line that flatters high necklines and statement necklaces alike. Beneath it, straight glossy lengths fall down the back, giving the style movement and softness that a full updo cannot offer. It is a favourite among mothers of the bride and gala guests who prefer timeless elegance over trend-driven detail.
This style rewards good preparation, so blow-dry hair smooth with a round brush and apply a light smoothing serum before you begin pinning. Keep the bun compact rather than large, since a neat, modest bun reads more expensive and formal than an oversized one that competes with your dress. Secure it with U-shaped pins crossed over each other for a grip that survives hugging, dancing, and hours of photographs. A final veil of shine spray over the lengths will keep the glossy finish looking freshly styled until the very end.
Glamorous Side Sweep
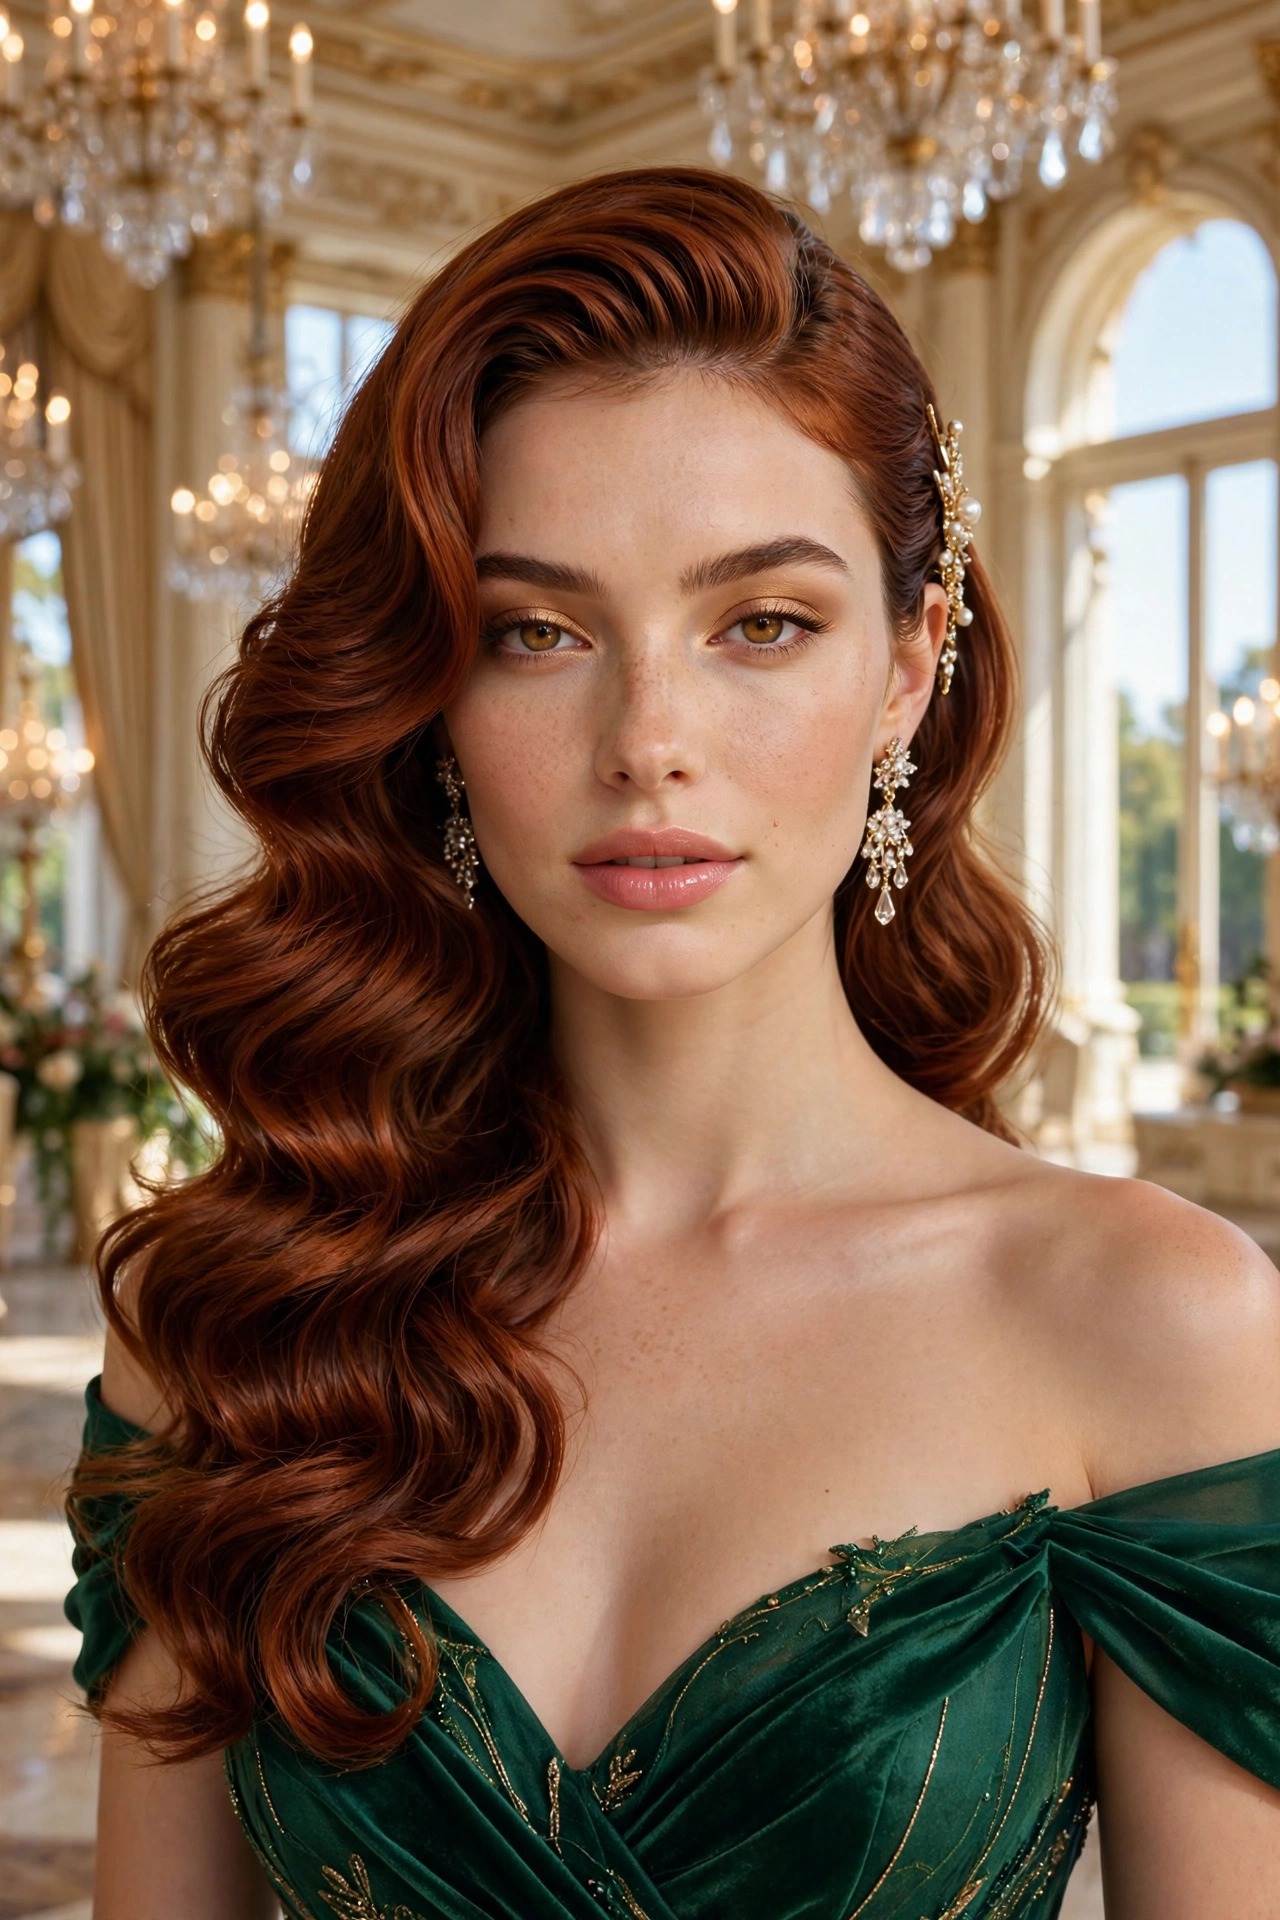
- Create a deep side part and sweep the bulk of hair over one shoulder.
- Pin the smaller side neatly behind the ear with decorative grips.
- Curl the swept lengths into large, glossy waves for red-carpet drama.
A glamorous side sweep is pure red-carpet drama, sweeping all that beautiful length over one shoulder so your neckline, earrings, and collarbones become part of the look. The deep side part adds instant volume at the roots, while the pinned-back smaller side keeps the style secure and shows off your profile from the best angle. Large, glossy waves on the swept side catch the light with every movement, making this an unforgettable choice for galas, award-style dinners, and formal dances. It is also wonderfully photogenic, since the asymmetric shape creates interest in every single photograph.
Volume is everything here, so lift the roots on the heavier side with a volumising powder or backcombing before you sweep the hair across. Pin the smaller side behind the ear with grips that disappear into the hair, and use a strong yet flexible spray on that side only so the waves on the other side keep moving. If your hair tends to slip, a few pins along the sweep line will anchor the shape without showing. Finish with a shine mist and a bold lip colour, since the open side of the face invites a confident, glamorous make-up look.
Delicate Floral Pins
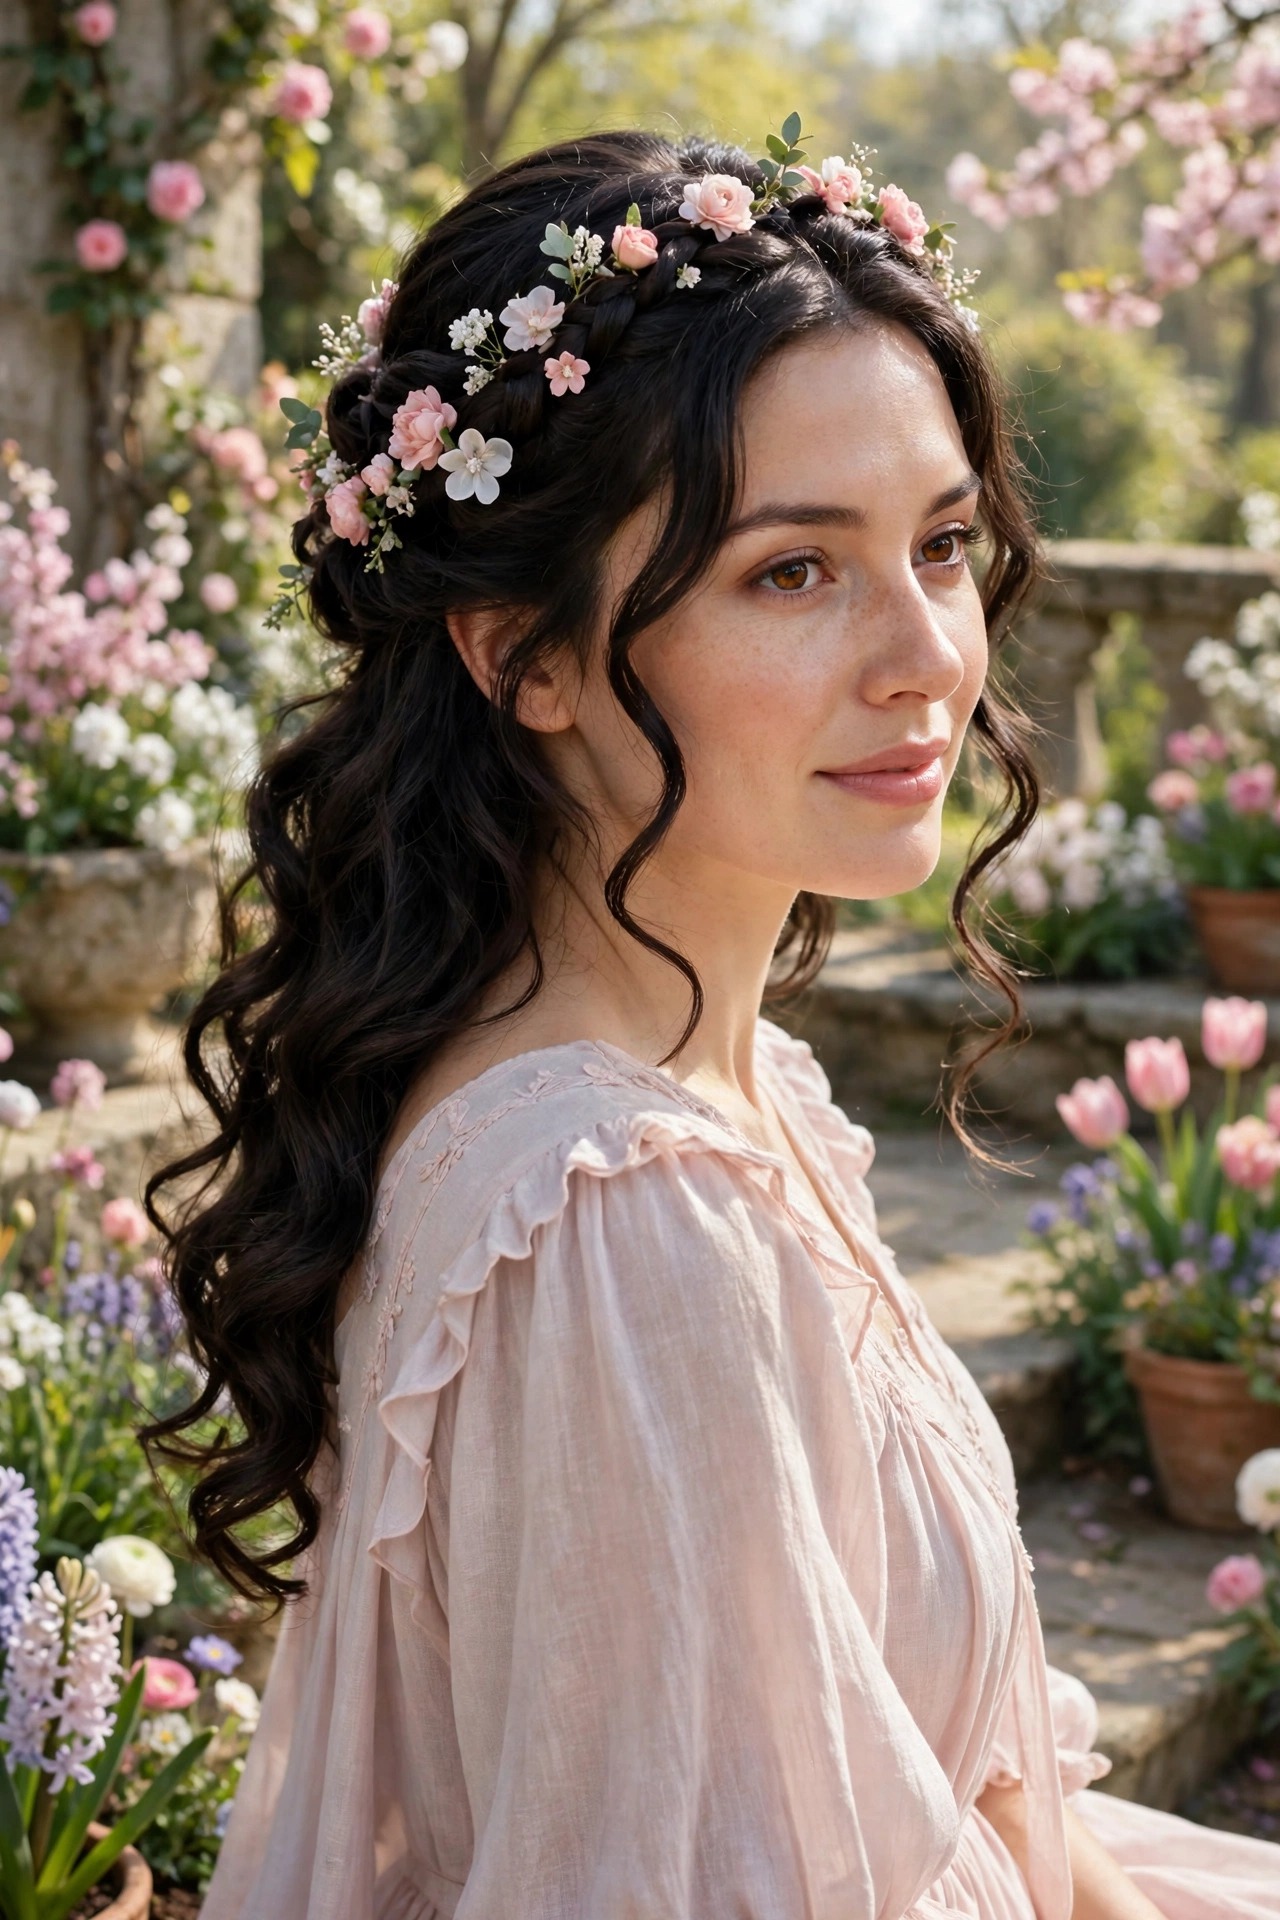
- Curl the hair softly and pin the top section back loosely.
- Place small floral pins along the pinned section, spaced evenly.
- Keep the flowers small and tonal so they complement, not overwhelm, the dress.
Delicate floral pins turn a simple pinned-back style into something truly enchanting, perfect for spring weddings, garden ceremonies, and romantic evening receptions. Small fabric or fresh flowers placed along the crown add colour and softness without the weight or commitment of a full floral crown, which can overwhelm a formal dress. The pinned top section keeps hair tidy and out of your face, while soft curls below maintain a dreamy, feminine finish. Choose blooms that echo your bouquet or your dress details for a thoughtful, coordinated look that guests will remember.
Placement is what separates a charming result from a cluttered one, so start with just three or four pins and step back to check the balance before adding more. Space the flowers unevenly rather than in a rigid line, since a slightly organic arrangement looks more natural and expensive. If you choose fresh flowers, ask your florist for hardy varieties and keep them cool until the last moment so they stay fresh through the ceremony. Secure each pin through both the pinned section and a little of the loose hair beneath, which stops them shifting as you move.
Sophisticated French Twist

- Smooth the top section and roll it into a vertical French twist.
- Pin the twist firmly from top to bottom with long hairpins.
- Leave the lower lengths softly waved for a graceful, modern balance.
The sophisticated French twist brings couture polish to the half-up world, rolling the top section into a sleek vertical shape that looks impeccable from behind. It is a style with real heritage, favoured for decades at weddings and state occasions because it photographs beautifully and holds its shape for hours without constant attention. The softly waved lengths below stop the twist from feeling severe, adding movement and youth to an otherwise classic silhouette. Wear it with pearls, a high neckline, or a detailed dress back for a look of quiet, confident luxury.
Technique matters here, so practise the roll before your event or book a stylist who has mastered this classic shape, since a neat twist takes a steady hand. Gather the top section cleanly, comb it smooth, and roll it inward while tucking the ends beneath, pinning from the top down with long pins that grip firmly. A light smoothing cream will control flyaways without making the hair look wet or heavy, which is important under bright lights. Check the twist in a hand mirror from behind before you leave, because this style is most often admired from the back.
Bouncy Blowout Layers

- Blow-dry with a large round brush, flicking the ends outward softly.
- Lift the crown with a volumising spray before pinning the top back.
- Keep layers feathered and light so the style moves naturally all night.
A bouncy blowout is the secret weapon of formal hair because it looks expensive, feels comfortable, and suits almost every dress code from cocktail parties to weddings. Feathered layers give the hair natural movement, while a lifted crown pinned back adds polish and keeps the front neat for photographs. The trick is to blow-dry in sections with a large round brush, rolling each section away from the face and letting it cool before you release it. That cooling step is what locks in the bounce, so resist the urge to brush everything out too soon.
This style is wonderfully forgiving on medium and long hair, and it flatters round and oval faces especially well because the lifted crown lengthens the silhouette. If your hair falls flat quickly, a root-lifting spray and a cool shot from the dryer at the end will extend the life of the blowout considerably. Avoid heavy oils near the roots, since they drag the volume down, and save shine products for the mid-lengths and ends only. A final brush-through with a soft bristle brush will blend the layers into one smooth, flowing shape.
Twisted Rope Braids

- Twist two sections in the same direction, then coil them together oppositely.
- Secure the rope braids where they meet with pins and a small cuff.
- Keep the lower lengths sleek so the rope detail stands out clearly.
Twisted rope braids offer a fresh alternative to classic plaits, with a clean, sculptural look that feels both modern and timeless at formal events. Each rope is made by twisting two sections in one direction and then winding them together in the opposite direction, which creates a neat, cable-like texture that holds beautifully. When the two ropes meet at the back, they form an elegant frame above the loose lengths, giving the style structure without stiffness. A small silver or gold cuff at the join adds a jewellery-like detail that elevates the whole look instantly.
Rope braids are surprisingly secure, which makes them a smart pick for long celebrations where you will dance, hug guests, and move between venues. They work best on smooth, detangled hair, so apply a light smoothing cream first and keep tension even as you twist to avoid lumps or loose loops. If your hair is layered, a few pins along the ropes will tuck in shorter pieces that try to escape. Finish the lower lengths with a shine serum so the contrast between the detailed ropes and the sleek, flowing hair stays crisp in photographs.
Crystal Clip Glamour

- Wave the hair softly and pin the top section back smoothly.
- Place two or three crystal clips on one side for asymmetric sparkle.
- Keep the rest of the style simple so the crystals become the focal point.
Sometimes the simplest styling trick makes the biggest impact, and crystal clips are proof that a few well-chosen accessories can transform soft waves into gala-ready glamour. Pin the top section back smoothly, wave the lengths into gentle, glossy curls, and then place two or three sparkling clips along one side for an asymmetric detail that catches the light beautifully. The crystals act like jewellery for your hair, drawing attention to your face without competing with your earrings or necklace. For more prom hairstyles for long hair, explore looks that shine under evening lights.
The key to wearing crystal clips well is restraint, so choose clips in a single finish and keep them clustered on one side rather than scattered all over the head. Match the crystal tone to your other jewellery where possible, since mixed metals can make the look feel busy rather than intentional. Press each clip firmly over a small pinned section so it grips securely, and carry one spare clip in your clutch for quick fixes later. With the right placement, this style moves effortlessly from the ceremony to the dance floor, sparkling in every photograph along the way.
Smooth High Ponytail Blend
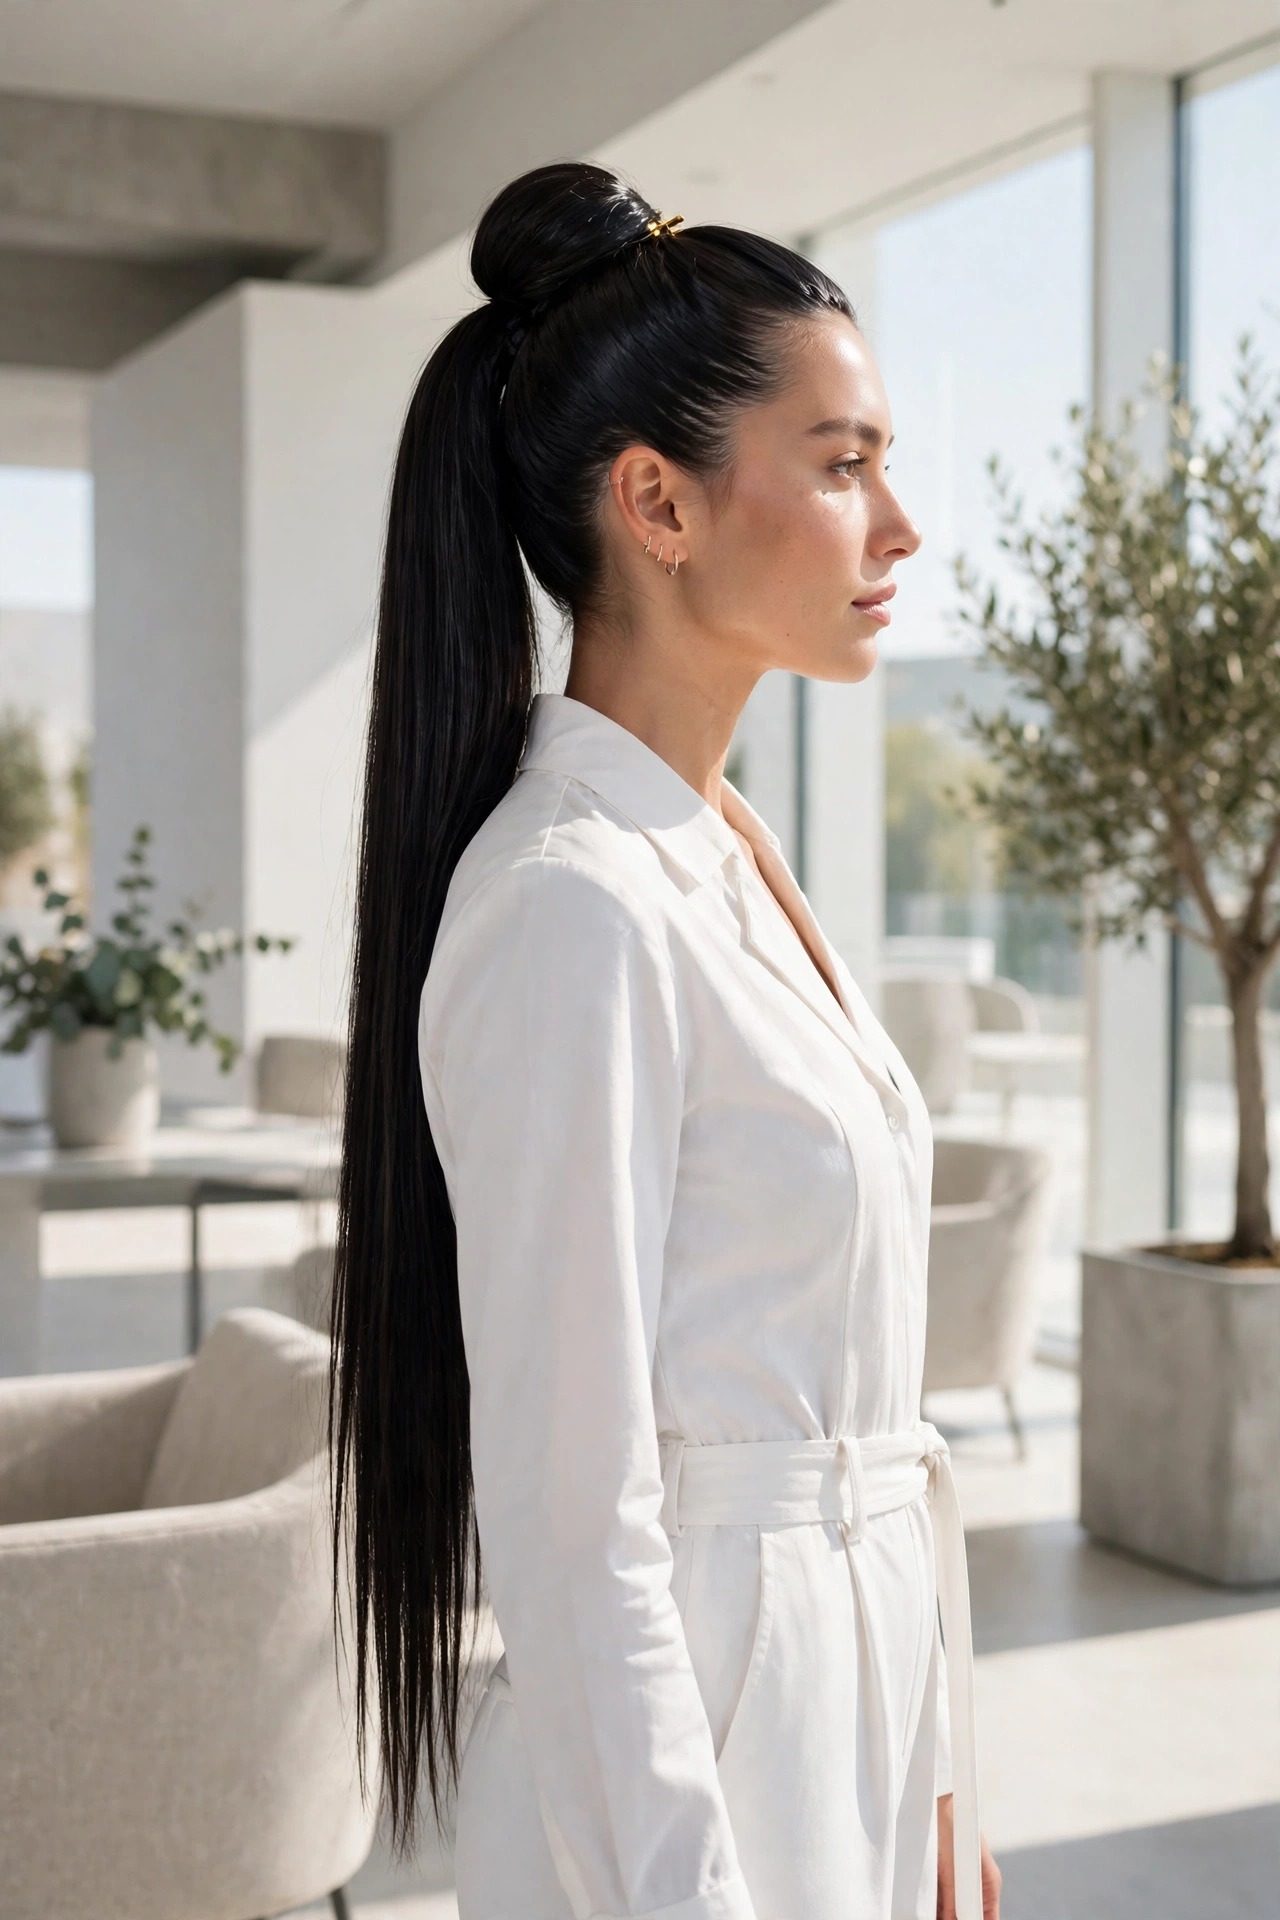
- Gather the top section high at the crown and secure it firmly.
- Wrap a small strand around the elastic to hide it completely.
- Straighten the lower lengths for a sleek, seamless blend.
The smooth high ponytail blend is a modern formal favourite because it combines the lift of a ponytail with the softness of loose hair in one seamless shape. Gathering the top section high at the crown instantly elongates the face and gives the style a confident, editorial edge, while the straight lengths below keep it graceful rather than sporty. Wrapping a strand around the elastic hides all evidence of how the style is held, which is the detail that makes it look salon-finished. It pairs beautifully with tailored jumpsuits, sleek gowns, and bold earrings alike.
Smoothness is the whole point here, so start with a thorough blow-dry and a flat iron pass over the lengths before you gather anything up. Use a fine-tooth comb to smooth the crown without creating bumps, and secure the ponytail with a strong elastic that will not loosen as the evening goes on. A light pomade pressed over the crown will tame flyaways without leaving residue, and a shine spray on the lengths keeps the blend looking polished. If your hair is fine, a little backcombing at the crown before gathering adds the height this style needs.
Wavy Bridal Elegance

- Create soft, romantic waves through the lengths before pinning anything back.
- Pin the top section loosely, leaving room to attach a veil beneath.
- Secure the veil under the pinned section so it sits naturally and stays put.
Wavy bridal elegance is the look most brides picture when they imagine walking down the aisle, with romantic waves and a softly pinned crown that holds a veil perfectly. The waves give the hair a dreamy softness that photographs beautifully in natural light, while the pinned section provides a secure anchor for the veil so it never slips during the ceremony. Keeping the top section slightly loose, rather than pulled tight, creates a gentle, ethereal frame around the face that suits almost every veil style. It is timeless, photogenic, and wonderfully comfortable to wear all day.
If you plan to wear a veil, bring it to your hair trial so your stylist can practise the exact placement and check how it moves when you turn your head. Choose a veil weight that suits your hair density, since a heavy veil can drag down fine hair while a very light veil may float oddly on thick hair. Pin the veil beneath the pinned section with grips, and ask a bridesmaid to check it before photographs and before the reception. A flexible-hold spray over the waves will keep them defined through happy tears, hugs, and hours of celebration.
Sleek Straight Sophistication

- Straighten the hair in small sections for a truly pin-straight finish.
- Pin the top section back smoothly, keeping the parting crisp and clean.
- Apply shine serum sparingly to the lengths for a glass-like gloss.
Sleek straight sophistication proves that sometimes the most striking formal look is also the simplest, with glass-like lengths and a perfectly smooth pinned crown. There is nowhere for frizz or flyaways to hide in this style, which is exactly why it reads as so expensive and intentional when done well. The crisp parting and smooth crown frame the face beautifully, while the pin-straight lengths create a long, elegant line that complements column gowns and minimalist tailoring. It is a confident choice for black-tie events, galas, and any evening where you want to look effortlessly polished.
The foundation of this look is healthy, well-prepped hair, so use a heat protectant and straighten in small sections rather than rushing through large ones. A flat iron with consistent heat will give a smoother result than repeated passes at high temperature, which only damages the hair and creates frizz later. Keep serums light and apply them to the lengths only, since heavy product at the crown will flatten the pinned section and attract dust. Check the back with a hand mirror before leaving, because sleek styles show every bump and stray pin.
Cascading Spiral Curls

- Define curls with a small-barrel iron, working in small sections.
- Pin the crown softly to add volume without flattening the curls.
- Separate curls gently with fingers and finish with a light shine spray.
Cascading spiral curls bring undeniable drama to formal occasions, with defined ringlets tumbling past the shoulders in a way that feels both glamorous and full of life. The pinned crown gives the style its formal structure, lifting the face and keeping the front neat, while the spirals below provide all the movement and personality. This look is especially stunning on naturally curly or permed hair, where the curl pattern already exists and simply needs definition. For straight hair, a small-barrel iron and patience will build the same beautiful cascade from scratch.
Definition is the difference between polished spirals and frizz, so work with a curl-defining cream on damp hair and avoid brushing the curls once they are set. Scrunch the curls gently while drying, then pin the crown back loosely, allowing a few shorter curls to frame the face for softness. A diffuser on low heat will protect the curl shape far better than rough towel-drying or high-heat blasting. Finish with a flexible-hold spray that lets the spirals bounce as you move, rather than freezing them into a stiff, unnatural shape.
Braided Halo Charm

- Braid two sections from each side and wrap them around the crown.
- Pin the halo securely where the braids meet at the back.
- Leave soft waves below and add tiny pearl accents along the braid.
A braided halo wraps romance right around the crown, creating a circlet of detail that looks beautiful from every angle at weddings and formal dinners. Two braids worked from each side and pinned where they meet form a continuous halo, while soft waves below keep the style feeling gentle and feminine rather than severe. Tiny pearl accents dotted along the braid add a bridal sparkle without overwhelming the dress, and the halo itself acts as a natural frame for veils or decorative combs. It is a charming choice for bridesmaids, flower girls, and any guest who loves romantic detail.
Halo braids suit medium to long hair best, since you need enough length for the braids to travel comfortably around the head and meet at the back. Keep the braids slightly loose and pull gently at their edges to widen them, which makes the halo look fuller and more romantic. Pin at several points along the halo, not just at the join, so the shape stays even through hours of dancing and photographs. If your hair is fine, a texturising powder at the roots will give the braids grip and stop them sliding as the evening goes on.
Vintage Pin Curls

- Set pin curls the night before for deep, lasting vintage definition.
- Brush the set gently into sculpted waves with a soft bristle brush.
- Pin the top section back to show off the retro volume at the crown.
Vintage pin curls channel the glamour of a bygone era, with sculpted waves and retro volume that feel made for black-tie balls and themed galas. The technique is beautifully old-fashioned: hair is set in flat pin curls, left to cool completely, and then brushed into smooth, rippling waves that hold their shape for hours. Pinning the top section back reveals the sculpted pattern at the crown and keeps the look formal rather than costume-like. Pair it with pearls, a velvet gown, and a classic red lip for a complete vintage moment that never looks dated.
Patience is the price of this polish, so set the curls the night before or allow several hours before your event for setting and cooling. Use a setting lotion for hold, and resist brushing too aggressively at first, since the waves emerge gradually as you brush with a soft bristle brush. A light pomade smoothed over the surface will add shine and control flyaways without disturbing the wave pattern underneath. Once set, avoid rain and humidity where possible, and carry a few pins for quick repairs if a curl loosens during the evening.
Tousled Evening Waves

- Wave the hair loosely with a large iron, alternating curl directions.
- Tousle with fingers and a texturising spray for effortless texture.
- Pin the top section loosely so the style stays relaxed, not rigid.
Tousled evening waves are the answer when you want to look polished without looking overdone, offering relaxed glamour that suits cocktail parties, dinners, and modern weddings alike. The waves are intentionally imperfect, with alternating directions and finger-tousled texture that create movement and a sense of ease. Pinning the top section loosely keeps hair out of your face while preserving that just-stepped-out-of-the-salon softness. It is a forgiving style too, since a little natural movement during the evening only makes it look better, never messier. It also photographs beautifully in evening light.
The trick to tousled waves is stopping before they become too perfect, so curl loosely, let each section cool, and then break the curls apart with your fingers rather than a brush. A texturising spray worked through the mid-lengths will hold the tousle without stiffness, and a small amount of dry shampoo at the roots adds grip and volume for fine hair. Keep the pinned section soft by leaving a few face-framing pieces free, which flatters most face shapes and softens the overall effect. Finish with a light mist of flexible spray, then forget about it and enjoy your evening.
Regal Tiara Finish

- Style the crown smoothly and pin the top section back firmly.
- Place the tiara slightly back from the hairline for a regal angle.
- Curl the lower lengths softly so the tiara remains the star detail.
Nothing completes a truly formal look quite like a tiara, and this regal finish pairs a sparkling crown jewel with a smooth pinned section and soft curls below. The tiara sits slightly back from the hairline at a flattering angle, drawing the eye upward and giving the whole style a sense of occasion that no other accessory can match. Soft curls beneath keep the look romantic rather than theatrical, so it works for brides, pageant evenings, and milestone celebrations alike. Choose a tiara that suits the scale of your dress, since a delicate tiara pairs best with simpler gowns.
Placement and security matter most with a tiara, so pin the top section firmly first and then anchor the tiara with grips that match its metal, hiding them within the pinned hair. Try the full look with your dress and jewellery before the event, because a tiara changes how necklines and earrings read in photographs. Keep the curls below soft and touchable rather than stiff, so the contrast between the sparkling crown and the flowing lengths feels balanced. With everything secured, you can dance, pose, and celebrate confidently knowing your crowning detail will not budge.
Choosing the right look comes down to balancing structure with softness, so pick a pinned crown, braid, or twist that suits your dress, venue, and comfort level. Practise your favourite style at least once before the big day, gather quality pins and a flexible-hold spray, and photograph the result in natural light to check every angle. With the right preparation, formal half up half down hairstyles can carry you gracefully from the first photograph to the last dance without slipping or losing shape. Save this guide, share it with your stylist, and step into your celebration feeling polished, confident, and beautifully yourself.
FAQ
How long will a pinned-back formal style last through a wedding day?
With good preparation, most pinned styles last ten to twelve hours comfortably. Start with clean, dry hair, use a volumising mousse or texturising spray for grip, and anchor pins in crossed pairs. A flexible-hold spray over the finish keeps curls and twists intact through ceremonies, meals, photographs, and dancing without stiffness.
Are these styles good for thin or fine hair?
Yes, many of these looks flatter fine hair beautifully, especially twisted crowns, low buns, and softly waved finishes. Add root-lifting spray, light backcombing at the crown, and a few clip-in extensions if you want extra fullness. Avoid heavy oils near the roots, and choose styles with texture, since braids and twists create visible volume.
Which face shapes suit a swept-back crown best?
A swept-back crown suits oval, round, heart, and square faces, with small adjustments making all the difference. Round faces benefit from extra crown height, while heart faces look lovely with soft face-framing strands. Square faces soften with loose waves, and oval faces can wear almost any variation, from sleek crowns to voluminous curls.
How do I keep curls from falling flat before the reception?
Let each curl cool completely before touching it, since cooling locks the shape in place. Use a medium-hold spray on each section, avoid brushing curls out aggressively, and carry a travel-size spray for touch-ups. For humid venues, choose an anti-humidity product and a slightly tighter curl, which relaxes into perfect waves by evening.