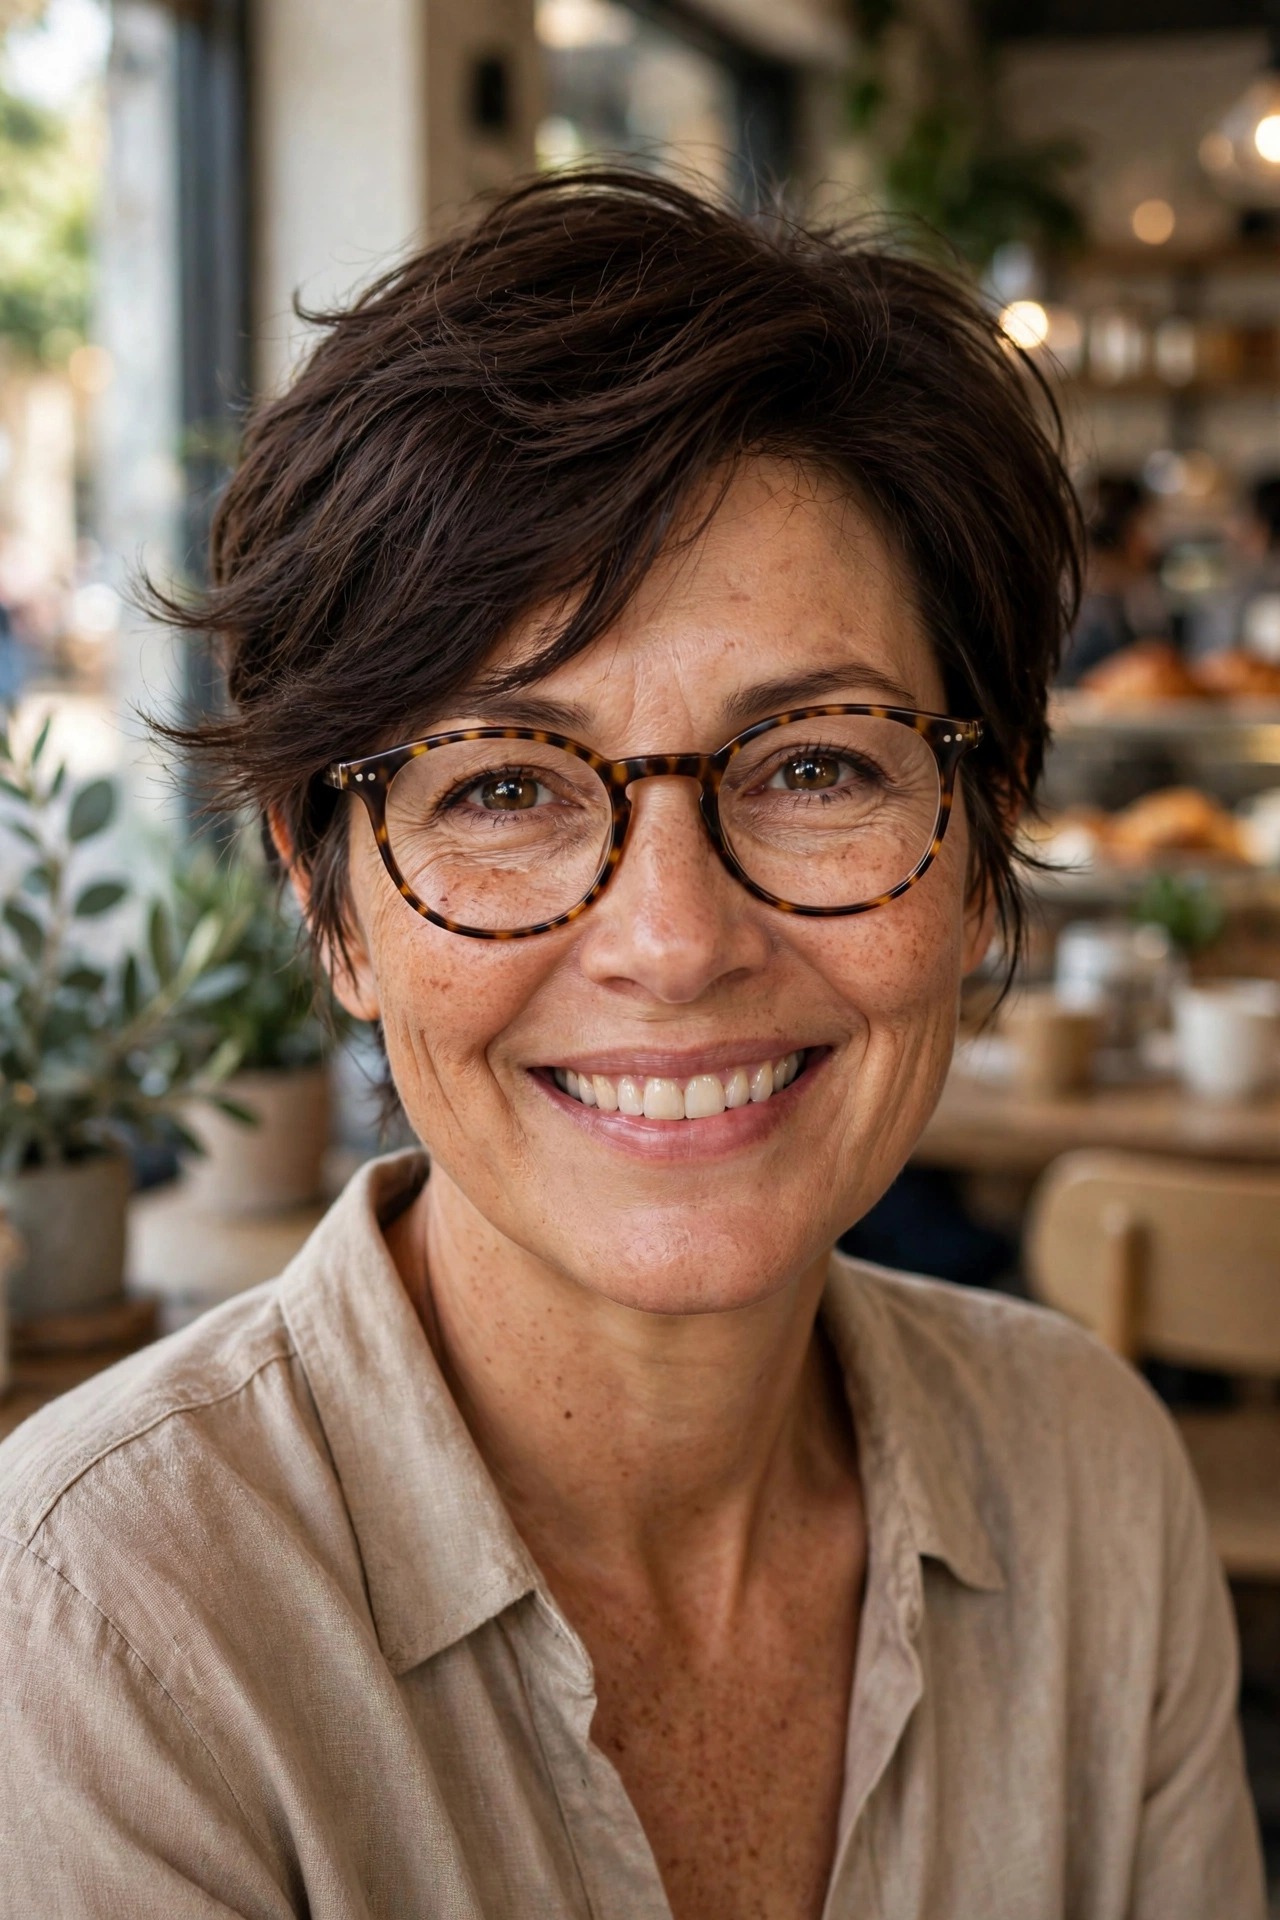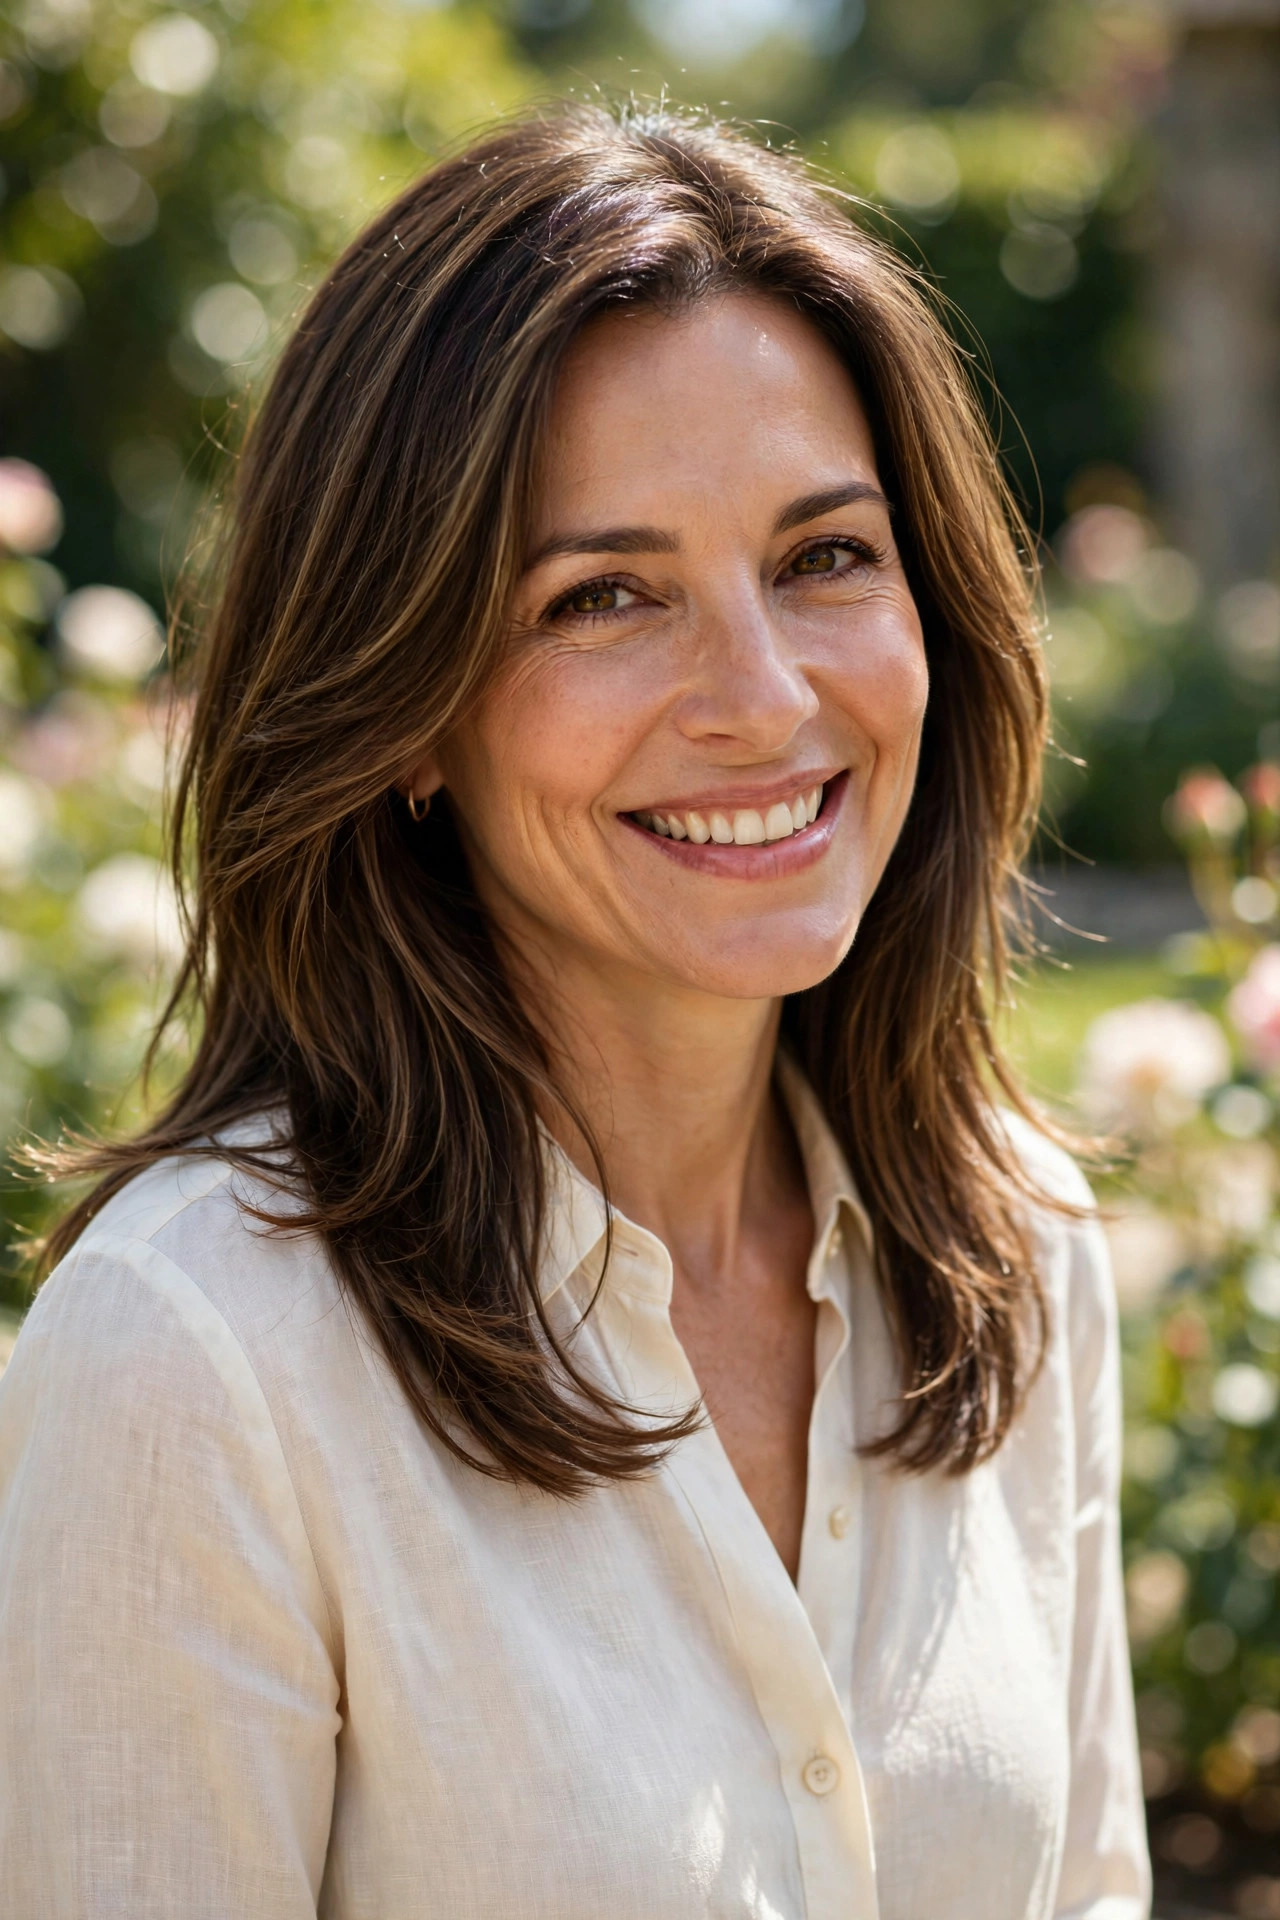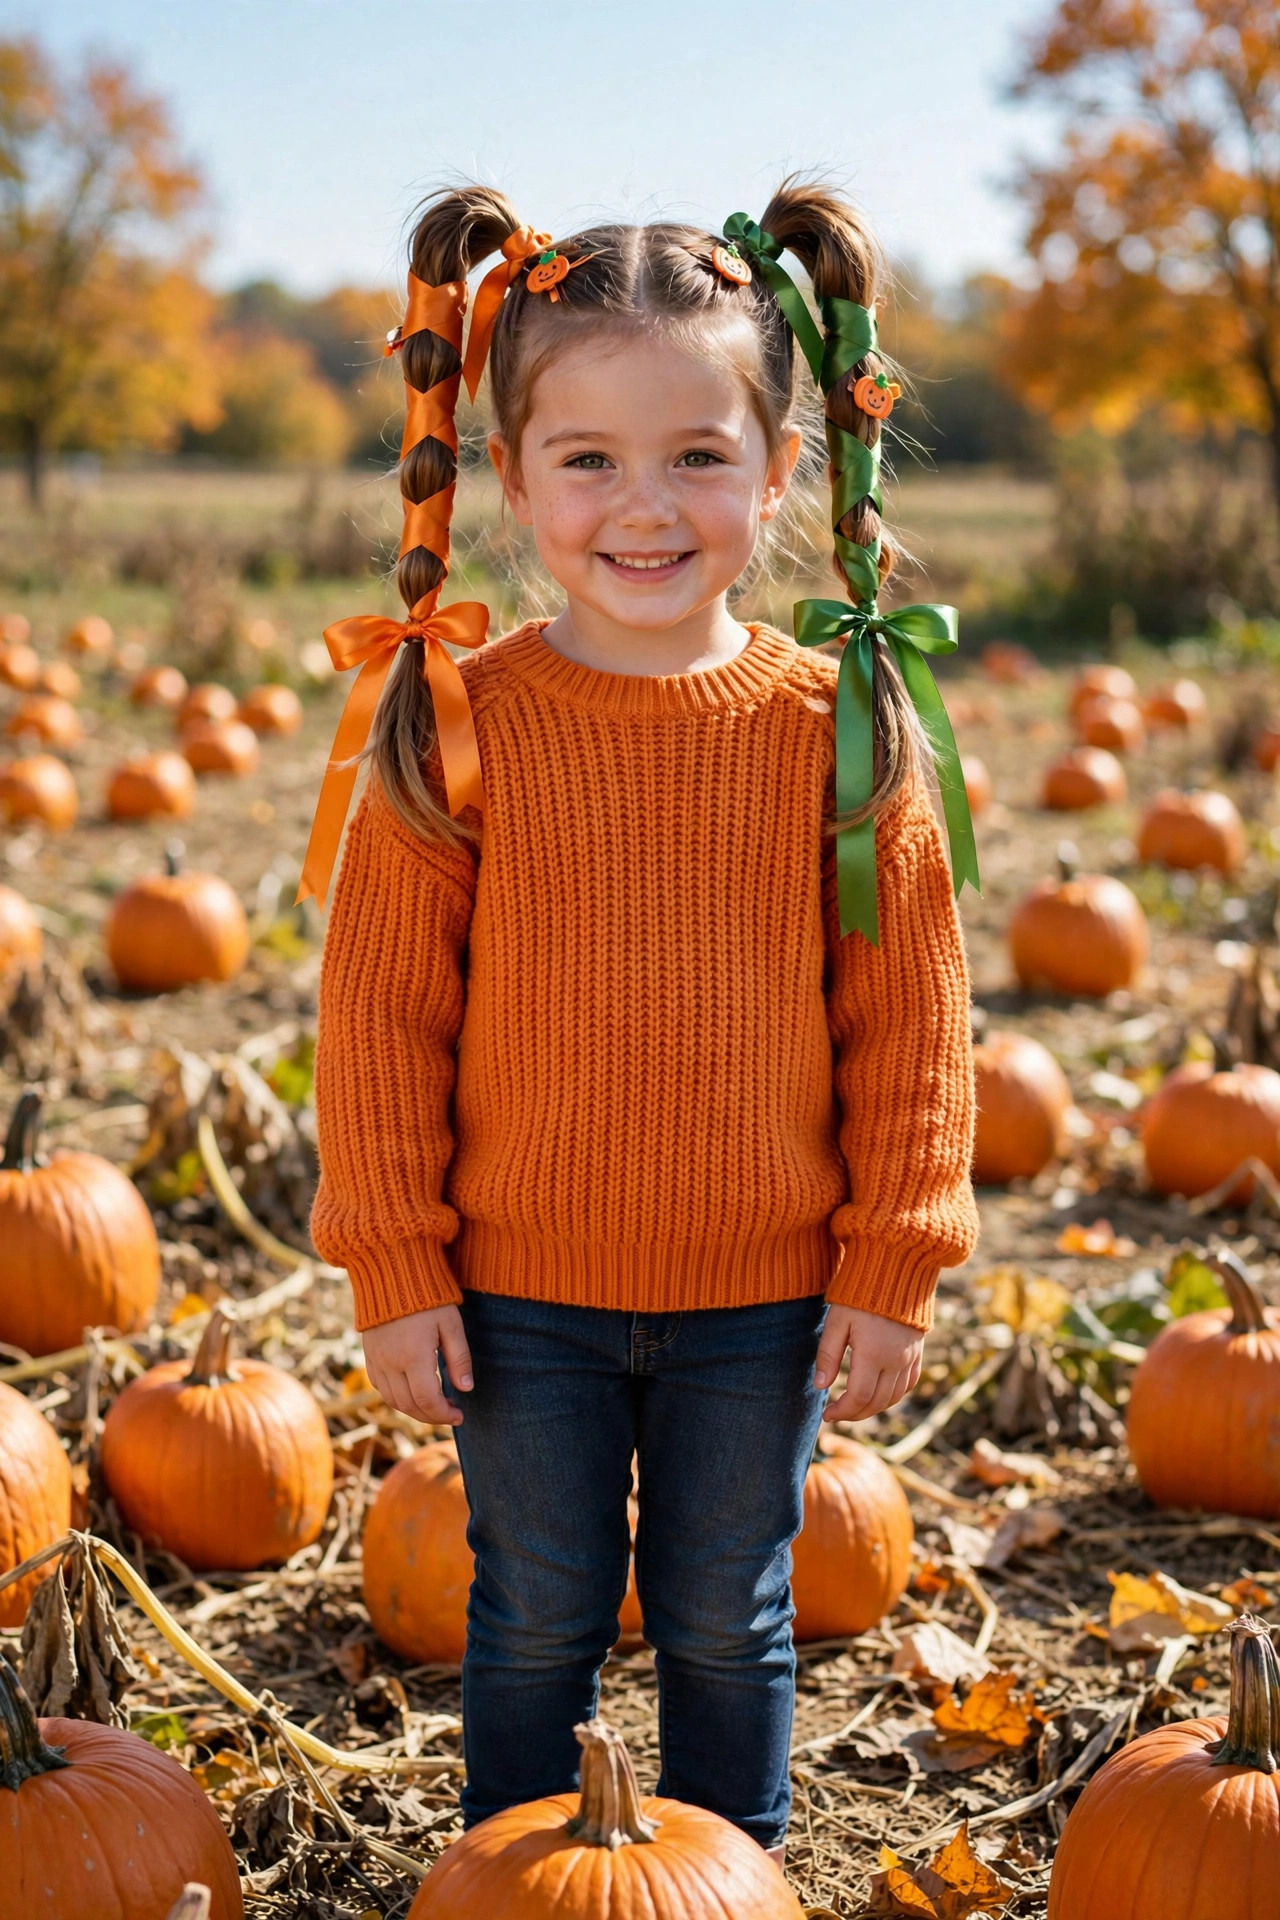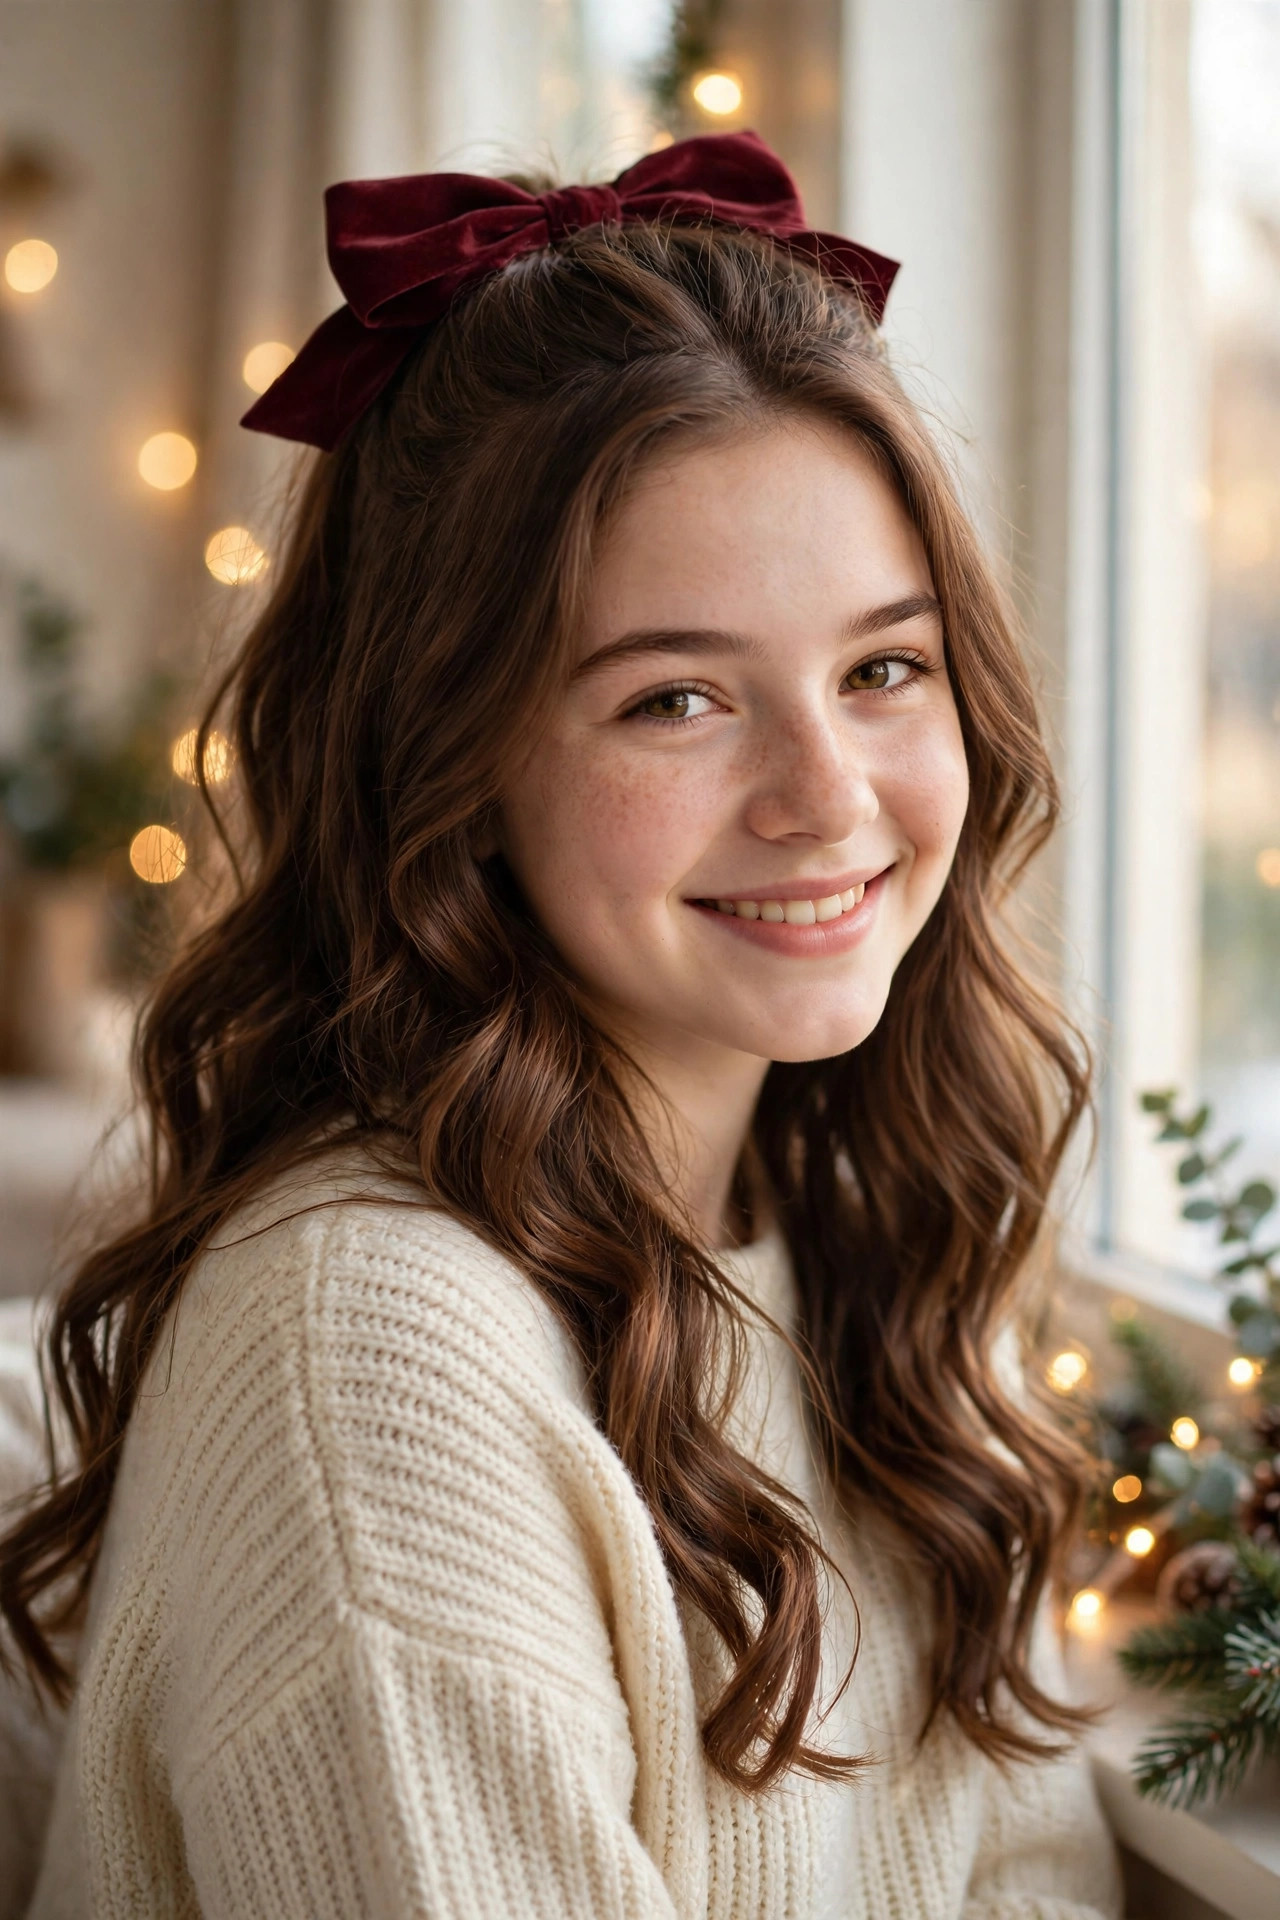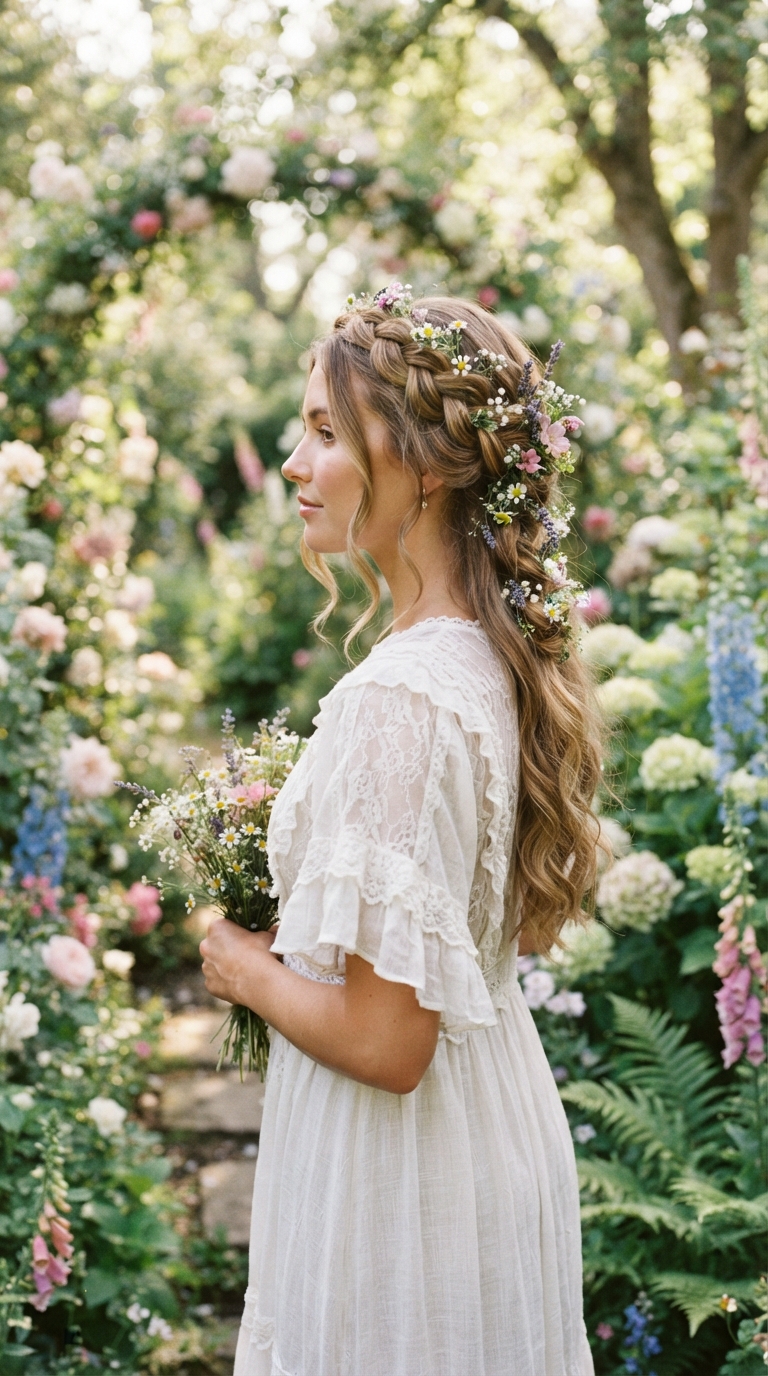
There is something instantly charming about half up half down hairstyles with braids, and it is easy to see why this look keeps trending season after season. By pulling the top section back into braids while leaving the rest flowing freely, you get the best of both worlds: hair kept neatly away from your face, plus soft length and movement around your shoulders. Whether your hair is curly, wavy, straight, thick, or fine, there is a braided variation here that flatters your face shape and fits your day, from casual brunches to weddings and festive evenings. In this guide, you will find twenty-one fresh ideas, each with simple styling tips to help you recreate the look at home.
Classic Crown Braid Twist

- Start with a clean centre part and smooth the top section lightly.
- Braid two small sections from each temple and pin them at the back.
- Leave the remaining hair loose and add soft waves with a curling wand.
- Finish with a light-hold spray so the crown stays neat all day.
The classic crown braid twist is the easiest place to begin, and it suits almost every hair type and face shape beautifully. Two small braids swept from the temples and pinned at the back create a pretty frame around the face, while the loose lengths underneath keep the whole look soft and relaxed. It works just as well for a workday as it does for a dinner out, and it takes barely ten minutes once you know the steps. Add a touch of texture spray first if your hair is very silky, since grip helps the braids stay put.
To keep this style looking polished rather than fussy, pull a few fine strands loose around your face and let them fall naturally. If your hair is on the thinner side, gently tug the edges of each braid outward to make them appear fuller and more dimensional. A small decorative pin or a slim velvet bow at the back adds a lovely finishing touch without overpowering the style. This is also a brilliant base for experimenting: swap the classic plaits for fishtails or twists whenever you want a fresh twist on a favourite.
Double Dutch Crown Braids

- Part the top section from ear to ear across the crown.
- Dutch braid each side by crossing strands underneath for a raised effect.
- Join both braids at the back with a clear elastic and a few pins.
- Keep the lower lengths sleek or add a gentle bend at the ends.
Double Dutch crown braids bring a sporty, confident energy to the braided half-up look, and they are surprisingly simple once you master the underhand technique. Because Dutch braids sit raised on top of the hair, they add visible texture and dimension that photographs beautifully from every angle. This style is a firm favourite for festivals, gym-to-brunch days, and busy weekends when you want hair fully secured away from your face. It also holds up impressively well in humidity, which makes it a smart pick for summer weddings. The style also photographs beautifully from every angle, day or night.
The trick to neat Dutch braids is keeping your sections even and your tension consistent as you work toward the back of the head. If one side looks tighter than the other, gently loosen the edges of the tighter braid until both sides match. For extra staying power, braid on second-day hair or add a dab of styling cream first. Finish by wrapping a small strand of hair around the elastic at the back, which hides the join and gives the whole style a salon-finished feel. Take a quick mirror check before heading out the door.
Fishtail Crown Braid
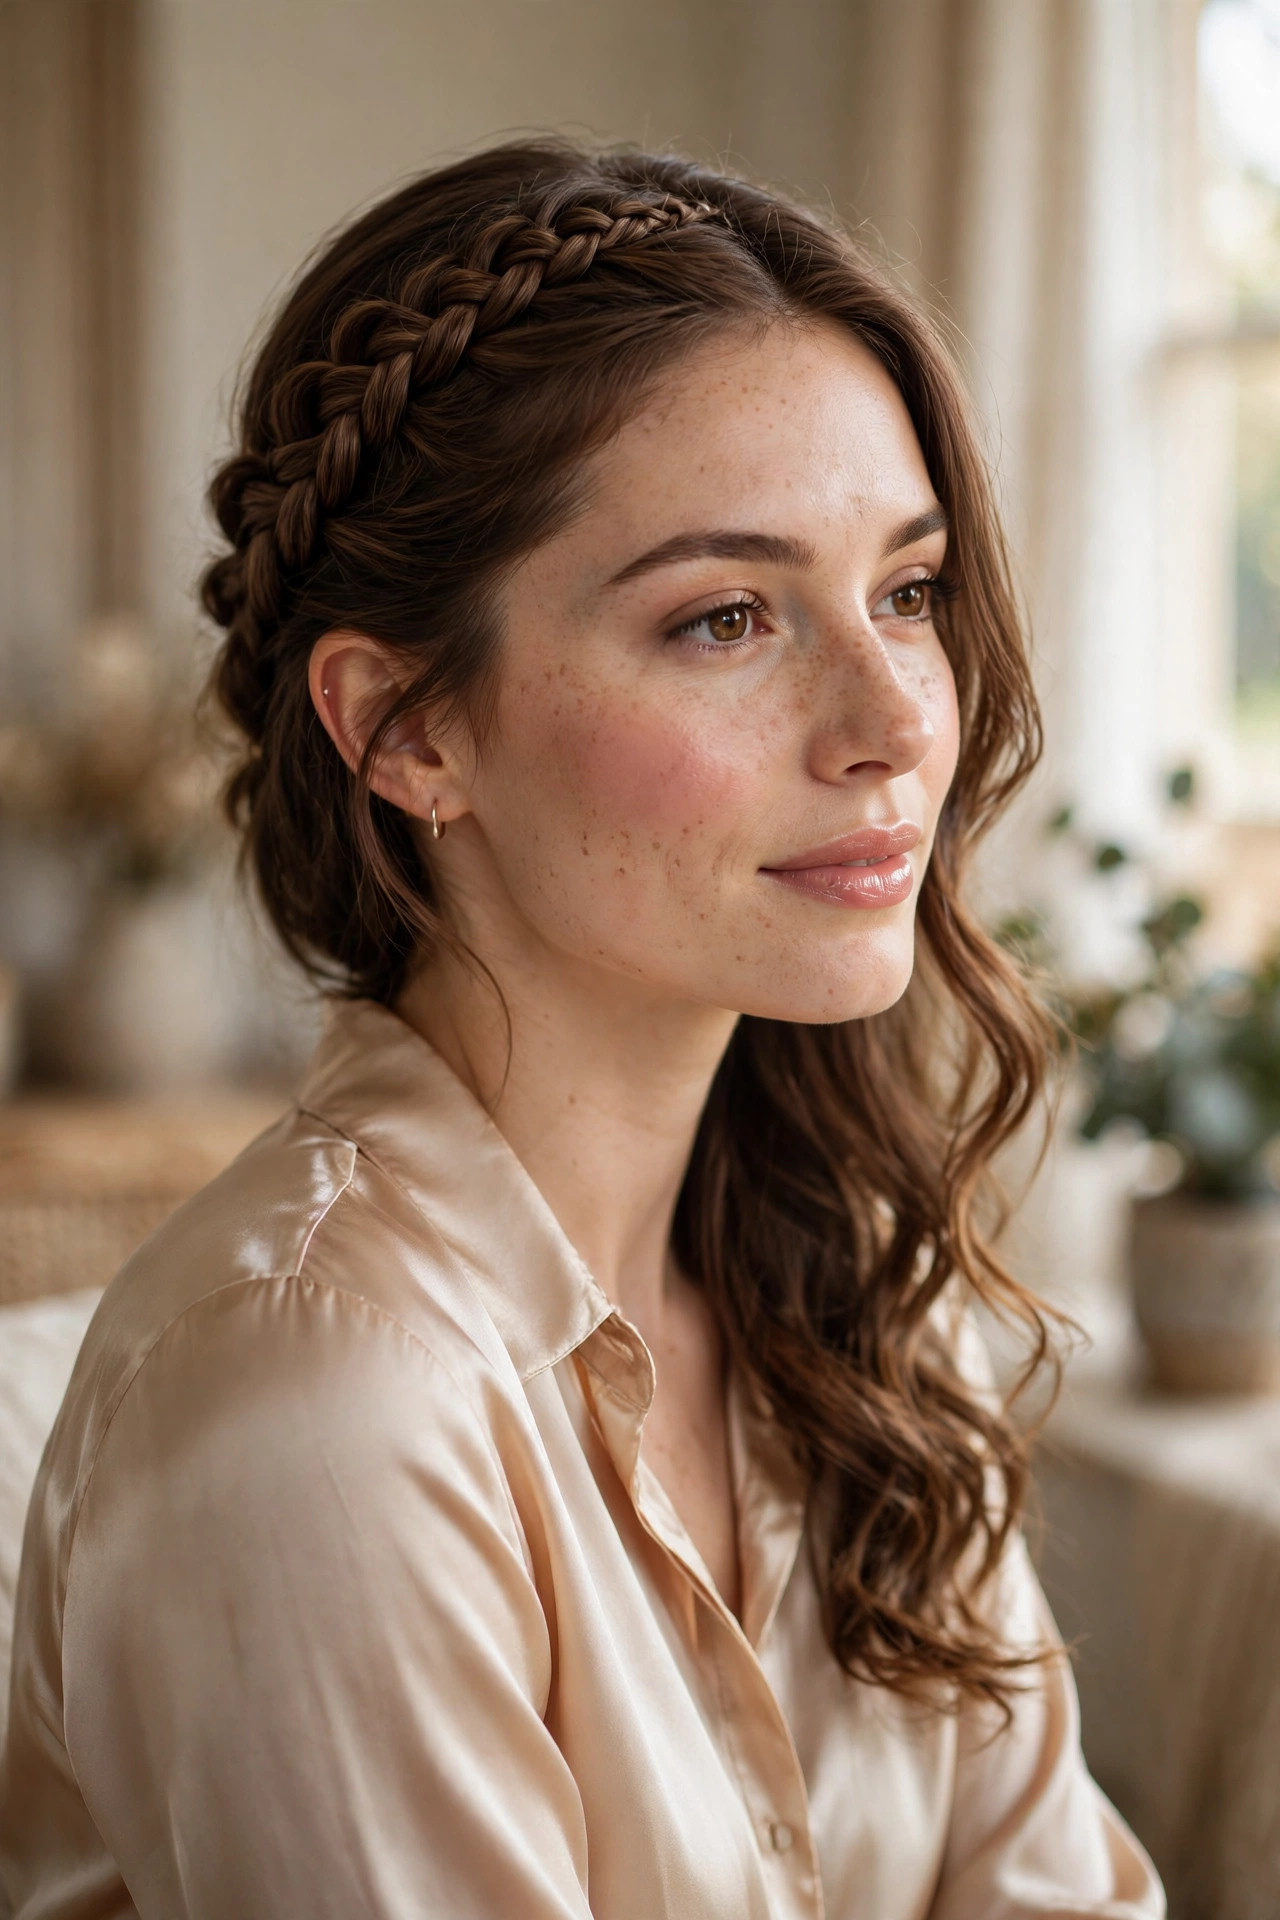
- Section the top half and split it into two halves for fishtailing.
- Cross thin outer strands to the opposite side, alternating steadily.
- Secure at the back and gently loosen the fishtail for softness.
- Curl the loose lengths loosely for a romantic, flowing finish.
A fishtail crown braid looks far more complicated than it actually is, which is exactly why it earns so many compliments. The woven, herringbone pattern catches the light beautifully and adds instant elegance, even when the rest of the hair is left in simple loose curls. It flatters oval and heart-shaped faces especially well, since the diagonal texture draws the eye upward and frames the cheekbones. Take your time with thin sections, because smaller pieces create the most intricate, jewellery-like finish. It is a wonderful choice for weddings, parties, and any occasion that calls for something a little special.
If fishtailing feels fiddly at first, practise on a side ponytail a few times before trying the crown version, since the hand movements quickly become automatic. Keep a little styling cream nearby to tame flyaways, and do not worry about perfect symmetry: a slightly relaxed fishtail often looks more modern and wearable than a rigid one. Pair this style with delicate earrings and a soft lip colour, and you have an effortless evening look that works for dates, dinners, and celebrations alike. With a little practice, the fishtail motion soon feels as natural as a classic three-strand braid.
Boho Loose Waves

- Add loose waves through the lengths with a large-barrel curling iron.
- Braid two thin sections near the face and pin them loosely back.
- Tease the crown very lightly for a touch of airy volume.
- Mist with sea-salt spray for that undone, beachy texture.
Boho loose waves paired with tiny face-framing braids are the ultimate relaxed weekend style, and they suit wavy and curly hair textures particularly well. The small braids add just enough detail to stop the look feeling plain, while the tousled waves keep everything soft, youthful, and touchable. This is the style to reach for on holiday, at outdoor festivals, or for a lazy Sunday brunch when you still want to look put together. If you love easy boho hairstyles, this relaxed combination will quickly become a staple in your rotation.
The secret to great boho texture is restraint: wave the hair in alternating directions and then shake the curls out with your fingers instead of brushing them. A sea-salt spray through the mid-lengths adds grip and that lived-in finish, while the little braids can be as messy or as neat as you like. Finish with a light oil on the ends to prevent dryness, and remember that second-day hair often holds this style even better than freshly washed hair does. A light oil on the ends prevents dryness and keeps the waves looking healthy and shiny all day long.
Waterfall Braid Waves

- Start a French braid at one temple, dropping a strand at each step.
- Pick up a new section from above to replace every dropped strand.
- Carry the braid across the back and pin it behind the opposite ear.
- Wave the dropped sections and the loose lengths for a cascading effect.
The waterfall braid is pure romance: strands cascade through the braid like water over rocks, creating a dreamy, almost fairytale effect that suits weddings and special occasions perfectly. It works best on medium to long hair, where there is enough length for the dropped sections to fall gracefully. Although the technique sounds advanced, it is simply a French braid with one twist: you drop the bottom strand each time instead of weaving it in. Once that rhythm clicks, the whole style comes together in minutes. It is a style that always draws compliments at weddings and parties.
For the prettiest result, curl the lengths before you start braiding, since waves help the dropped strands blend into the rest of the hair. Keep your sections small and even so the waterfall pattern stays visible rather than disappearing into thick chunks. A few clear elastics and discreet pins are all you need to secure it, and a spritz of shine spray at the end makes the cascading strands catch the light beautifully as you move. Practice the dropping motion slowly at first, and the rhythm will soon feel completely natural and easy.
French Braid Crown

- Section the top half from temple to temple across the crown.
- French braid by crossing strands over and adding hair gradually.
- Stop at the back of the head and secure with a small elastic.
- Smooth flyaways with a light serum and leave the rest down.
The French braid crown is the timeless, polished cousin of the classic half-up style, and it never looks out of place. Because the braid lies flat against the head, it creates a smooth, refined silhouette that works beautifully for offices, formal lunches, and family gatherings. It also keeps shorter front layers neatly tucked away, which is a blessing if you are growing out bangs or face-framing pieces. Pair it with sleek, straight lengths for a chic finish, or add gentle bends for softness. It is a timeless choice that never looks dated or out of place.
Beginners often find the French technique easier than Dutch braiding, since the overhand motion feels more natural to most hands. Work with small, even sections and keep your fingers close to the scalp for a tidy result. If the braid starts to loosen as you go, pause and re-tension before continuing rather than pulling everything tight at the end. A light-hold hairspray and a hidden pin or two will keep the crown secure from morning meetings through evening plans. The result is a polished style that lasts all day long.
Bubble Braid Ponytail

- Gather the top half into a ponytail and secure it firmly.
- Add clear elastics every few inches down the ponytail length.
- Gently pull each section outward to puff it into a bubble shape.
- Leave the bottom half loose and sleek for contrast.
Bubble braids are the playful, modern twist that makes a half-up style feel instantly fresh and social-media ready. Instead of traditional plaiting, you simply secure a ponytail with elastics at intervals and puff each section out, which means no braiding skill is required at all. The result is bouncy, eye-catching, and wonderfully photogenic, especially on long, thick hair where the bubbles look full and dramatic. It is also a brilliant choice for themed parties, concerts, and days when you want something fun without fuss. It is a guaranteed conversation starter at any gathering.
The key to pretty bubbles is even spacing: measure roughly the same distance between elastics so every bubble looks balanced. Pull the sections out gently and evenly, starting from the sides rather than the centre, to avoid a lopsided shape. For finer hair, tease each section lightly before puffing, or add a volumising powder at the roots. Finish with a flexible-hold spray so the bubbles stay plump and playful for hours without going flat. For extra fun, add a small colourful clip or ribbon at the top of the ponytail.
Twisted Rope Braids

- Divide the top section into two halves, one for each side.
- Twist each half tightly, then twist the two strands around each other.
- Pin both twists at the back and hide the ends underneath.
- Smooth the loose lengths and add a shine spray finish.
Twisted rope braids offer all the elegance of a plait with half the effort, since the technique is simply twisting two sections around one another. The resulting rope texture looks sleek and sculptural, making it a lovely choice for evenings out, date nights, and formal events where you want polish without stiffness. It works beautifully on straight and slightly wavy hair, and the twists hold their shape well through long nights. Styling editors at Allure often highlight twists as a quick route to an elevated finish. It is a quick route to an elevated evening finish.
For the neatest rope twists, twist each individual section in one direction, then wrap the two sections together in the opposite direction so they lock instead of unravelling. Secure the ends with a tiny elastic before pinning, and tuck the tail discreetly under the opposite twist for a seamless join. If your hair is very fine, a texturising spray beforehand gives the twists more grip and body. This style also transitions beautifully into next-day waves when you undo it. It is a versatile favourite for busy social calendars and special occasions alike.
Romantic Floral Braids

- Braid the top sections loosely and pin them softly at the back.
- Curl the remaining lengths into soft, touchable romantic waves.
- Tuck tiny fresh or faux flowers along the braids and pins.
- Set everything with a flexible spray so the flowers stay put.
Romantic floral braids turn an everyday half-up style into something straight out of a garden wedding, and they are far easier than they look. Small blooms tucked along a loose braid instantly soften the whole look, making it perfect for bridesmaids, spring parties, and outdoor celebrations. Choose flowers that match your outfit or bouquet for a coordinated feel, and keep the braids themselves relaxed so the florals sit naturally rather than looking stiff. Faux blooms work just as well as fresh ones and last all day. It is a look that photographs beautifully in natural light.
If you are using fresh flowers, pick hardy varieties like baby's breath or small spray roses, and add them last so they stay perky. Secure each stem with a bobby pin crossed over the flower's base, hiding the pin inside the braid for an invisible hold. For a subtler take, use just three or four blooms clustered near the pin point at the back. This style photographs beautifully, especially in natural light, and suits round and oval faces with its soft, face-framing finish. A soft lip colour and delicate earrings complete this romantic garden look.
Sleek Straight Crown

- Straighten the hair fully with a flat iron for a glass-like finish.
- Braid a neat, tight section across the crown and pin it flat.
- Smooth the lengths with serum and tuck any flyaways behind the ears.
- Finish with a shine spray for a polished, high-gloss result.
A sleek straight crown braid is the power look of the collection: sharp, glossy, and quietly confident, perfect for presentations, interviews, and evenings when you want to look impeccably groomed. The contrast between the neat braid and the pin-straight lengths creates a clean, architectural silhouette that flatters square and oval faces beautifully. Start with a good heat protectant and straighten in small sections, since a truly smooth base is what makes this style look expensive rather than ordinary. It is a style that commands attention without ever feeling overdone or fussy.
To keep the sleek finish intact all day, avoid touching the lengths once they are straightened, and carry a small smoothing serum for touch-ups in humid weather. The crown braid itself should be braided snugly and pinned flat so it reads as a deliberate detail rather than a bump. Carry a small smoothing serum for touch-ups in humid weather, and the sleek finish will last beautifully all day. This style also pairs beautifully with statement earrings and a bold lip, letting the hair act as a polished frame for your whole look.
Voluminous Curly Crown

- Work with your natural curl pattern rather than straightening first.
- Braid a loose crown section, keeping the tension gentle and soft.
- Fluff the roots lightly for volume and define curls with cream.
- Let the curls fall freely for a full, joyful silhouette.
Voluminous curly crowns celebrate natural texture instead of fighting it, and the result is gloriously full and full of personality. A loose braid across the crown tames the front sections and keeps curls out of your eyes, while the rest of the hair is free to bounce and shine. This style is especially flattering on round faces, since the height at the crown lengthens the overall silhouette. Use a curl cream on damp hair and diffuse gently for defined, frizz-free volume that lasts. It is a joyful, low-effort style that celebrates natural texture beautifully.
The golden rule for curly crowns is gentle tension: braid loosely so the curl pattern stays intact and the braid blends with the surrounding texture. If some curls spring out of the braid, let them, since those soft wisps are part of the charm. Refresh the lengths during the day with a light water-and-cream mist, and avoid brushing, which only creates frizz. This joyful style is a wonderful everyday option for embracing natural curls with confidence. This joyful, low-effort style is a wonderful everyday option for anyone embracing their natural curls.
Side Swept Braid

- Sweep all the hair to one side and secure the top section loosely.
- Braid a chunky section along the hairline toward the chosen side.
- Pin the braid at the back and let the waves cascade over one shoulder.
- Add a decorative clip near the braid for evening sparkle.
A side-swept braid brings instant old-Hollywood glamour to the half-up look, sweeping everything to one side for a dramatic, red-carpet feel. The asymmetry is wonderfully flattering on heart-shaped and oval faces, since it softens one side of the face while showcasing the neckline and earrings on the other. This is a go-to style for proms, galas, and weddings, and it pairs perfectly with off-shoulder dresses. If you enjoy elegant half-up hairstyles with a formal edge, this sweeping version deserves a place in your repertoire. The sweeping shape photographs beautifully from every angle.
To keep the sweep secure, anchor the braid with two crossed pins hidden underneath the hair, and choose your side based on your natural part for the most comfortable hold. Curl the lengths away from the face in large sections, then brush them out gently for soft, unified waves. A touch of shine serum on the ends adds a red-carpet gloss, and a single statement earring on the exposed side completes the look beautifully. Complete the look with a sparkling clip near the braid and a soft, glossy shine serum finish.
Braided Space Buns
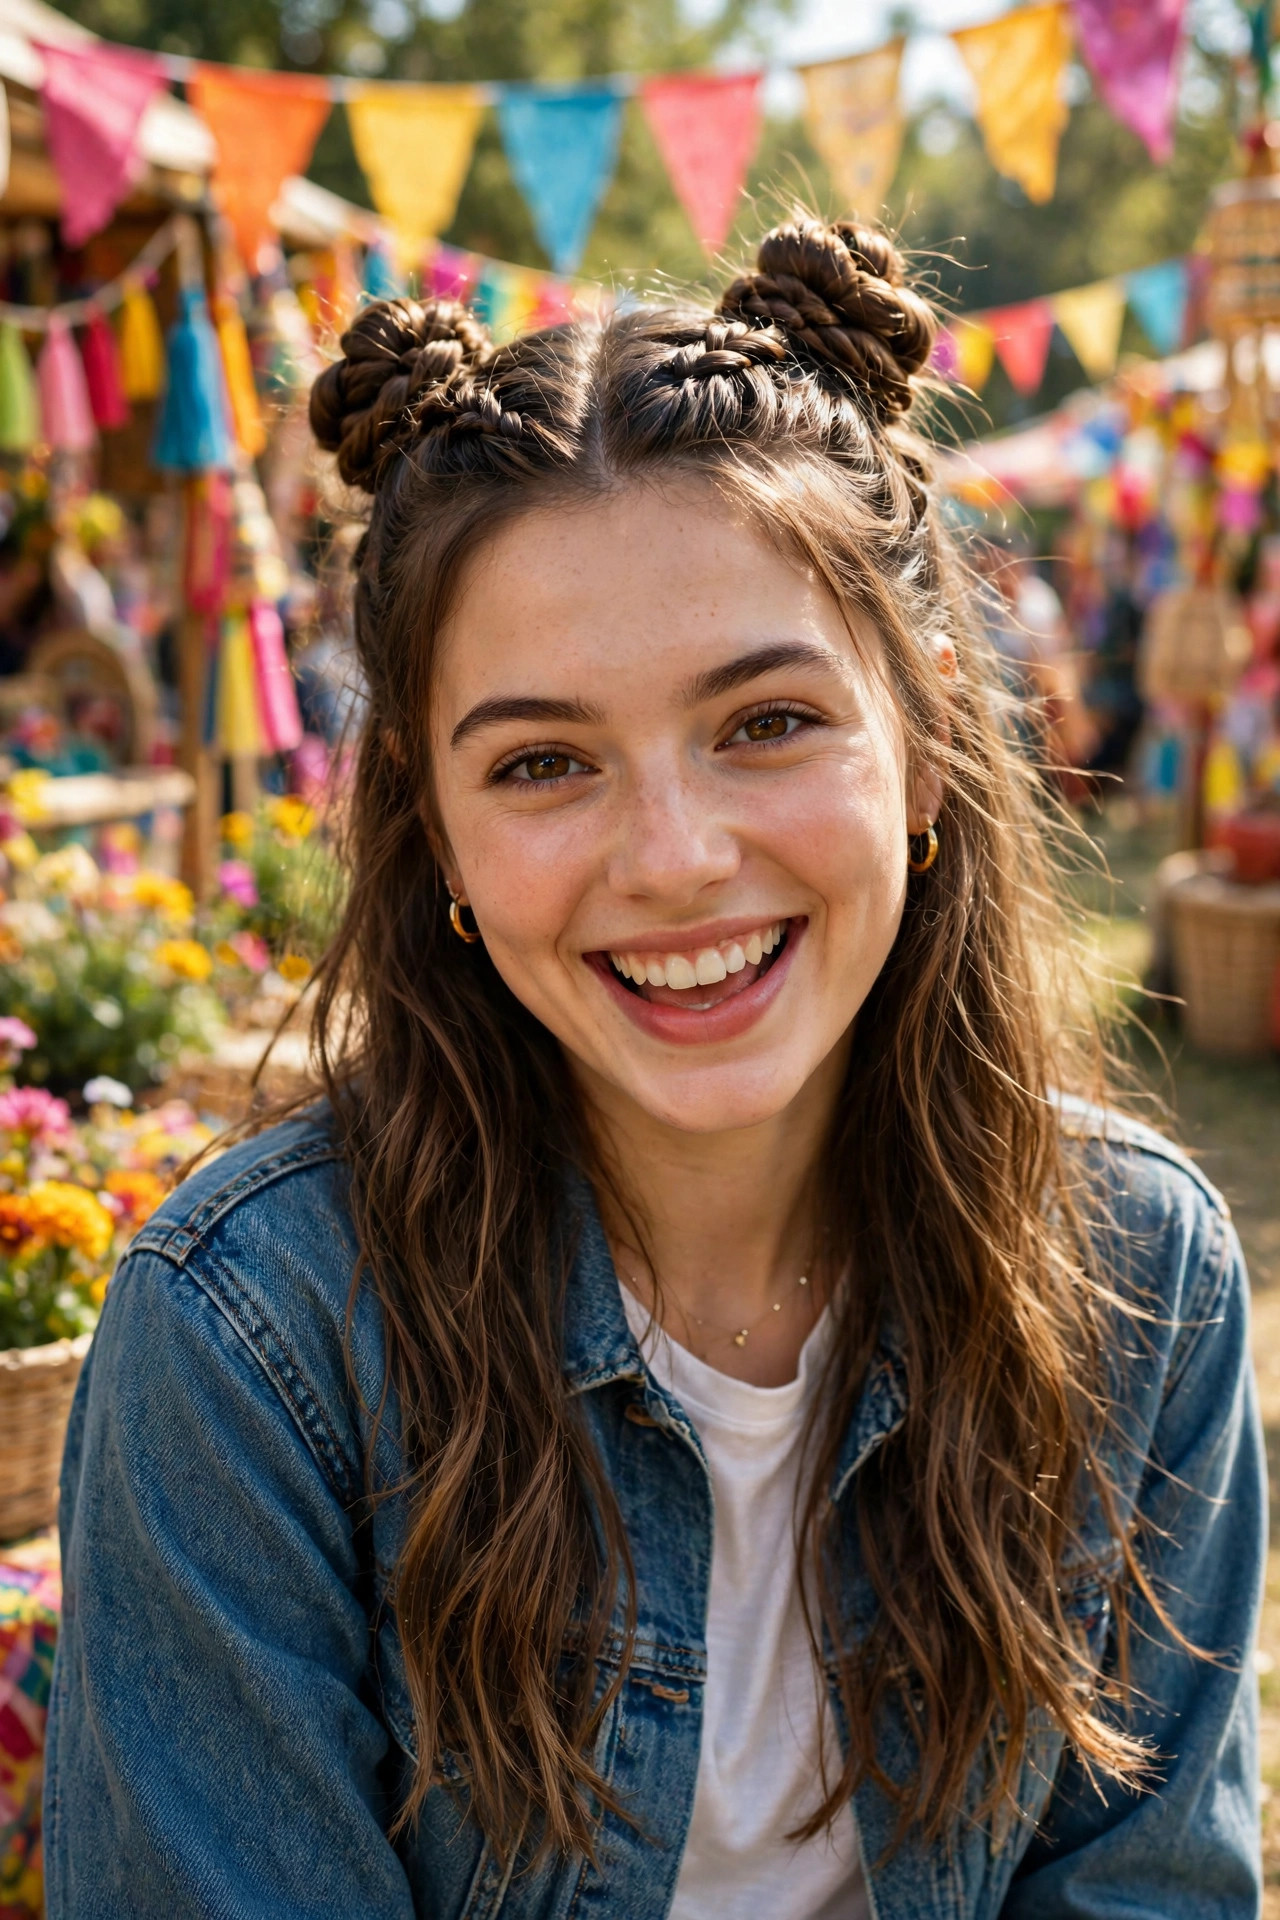
- Split the top section into two equal halves, left and right.
- Braid each half upward and coil it into a small bun.
- Pin both buns securely and leave the bottom half wavy.
- Pull a few strands loose around the face for softness.
Braided space buns are pure fun: two little buns perched on top of the head, with loose waves flowing underneath, create a youthful festival-ready look that always gets attention. The braids feeding into each bun add texture and interest, so the style reads as deliberate and creative rather than childish. It is a favourite for concerts, theme parks, and summer parties, and it works on medium and long hair alike. Best of all, the buns keep the top section completely secure, so you can dance all day without worry. It is pure festival fun from start to finish.
For balanced buns, part the top section straight down the middle and keep both braids the same size, checking in a mirror from behind if you can. Coil each braid snugly and pin through the base of the bun rather than the top, which holds far better during movement. If your hair is fine, wrap a little padding or a small doughnut inside each bun for extra fullness. A sprinkle of glitter or tiny star clips takes this playful style firmly into festival territory. Tiny star clips or glitter add the perfect festival finishing touch.
Knotted Half Ponytail

- Gather the top section and split it into two equal strands.
- Tie the strands into a simple knot at the back of the crown.
- Secure the knot with pins and a small clear elastic underneath.
- Smooth the loose lengths and add a light shine finish.
The knotted half ponytail is a clever, minimalist style that looks like a chic twist on a classic, yet takes less than five minutes to create. Instead of braiding, you simply tie the top section into a knot, which creates a beautiful focal point at the crown without any plaiting skill. It suits straight and slightly wavy hair best, where the clean knot detail really stands out, and it flatters most face shapes thanks to its simple, balanced silhouette. Try it on busy mornings when you want to look intentional with minimal effort.
To make the knot hold, work with slightly textured hair or add a little dry shampoo at the roots first, since very slippery hair can loosen the knot. Pin through the centre of the knot from both sides, and hide a tiny elastic underneath as a safety net. For a dressier version, wrap a thin strand of hair around the base of the knot to conceal the pins. This understated style also layers beautifully under hats and headbands in cooler weather. It is a minimalist favourite that always looks intentional and chic.
Ribbon Woven Braids

- Choose a slim satin ribbon in a colour that suits your outfit.
- Weave the ribbon through a classic three-strand braid as a fourth strand.
- Braid the top sections and pin them back, leaving the rest loose.
- Tie the ribbon ends into a small bow for a sweet finish.
Ribbon-woven braids add a touch of storybook charm to the half-up look, and they are wonderfully easy to personalise with colour. A slim satin ribbon woven through the braid as an extra strand creates a pretty striped effect that catches the eye, whether you choose classic black velvet, soft pink, or a seasonal shade. This style is beloved for spring parties, baby showers, and romantic dates, and it looks especially sweet on lighter hair where the ribbon colour pops. Beauty editors at Byrdie frequently feature ribbon braids as a simple way to refresh a familiar style.
Keep the ribbon slim, around half a centimetre wide, so it weaves neatly without overwhelming the braid or slipping out. Anchor the ribbon at the top with a small knot hidden under the first few crosses, and finish the braid by tying the ribbon into a tiny bow. If you are new to ribbon weaving, practise on a side braid first until the rhythm feels natural. The result is a soft, feminine detail that turns a simple half-up style into something truly memorable. Choose a ribbon colour that complements your outfit for a coordinated, thoughtful finish.
Beachy Textured Braids

- Apply sea-salt spray through damp hair and scrunch to build texture.
- Braid two loose sections from the front and pin them back casually.
- Leave the lengths tousled and slightly undone for a seaside feel.
- Skip heavy products so the hair moves naturally in the breeze.
Beachy textured braids capture that effortless, just-back-from-the-seaside feeling, and they are wonderfully forgiving to create. The whole point is imperfection: loose braids, tousled waves, and a little natural frizz all add to the charm, so there is no pressure for neatness. This style is ideal for holidays, beach weddings, and summer weekends, and it suits wavy hair textures beautifully since the natural wave does much of the work. A good sea-salt spray is the only product you really need. It is wonderfully forgiving, so there is no pressure for neatness or perfection.
For the most natural beach texture, braid the hair while it is still slightly damp and let it dry in the braids before loosening them, which creates soft, lived-in waves. Keep the braids themselves loose and a little messy, pulling a few strands out deliberately for that windswept effect. Avoid heavy oils or serums here, since they weigh down the airy texture. This low-maintenance style is also a great protective option for days spent outdoors in sun and sea air. Keep the braids loose and a little messy for the most natural beach effect.
Elegant Wedding Braids

- Start with soft curls through the lengths for a romantic base.
- Braid the top sections gently and pin them low at the back.
- Leave face-framing tendrils loose to soften the bridal look.
- Add a veil, comb, or pearl pins as the final touch.
Elegant wedding braids are the bridal classic for a reason: they combine the romance of loose curls with the security of pinned braids, so the style survives happy tears, dancing, and a very long day. The braids frame the face softly while keeping the front sections in place, which means fewer touch-ups and more time enjoying the celebration. This look suits brides, bridesmaids, and wedding guests alike, and it pairs beautifully with veils, pearl pins, and delicate hair vines. A trial run a few weeks before the day is always worthwhile.
For wedding-day longevity, braid on hair that was washed the day before, since slightly lived-in hair grips better and holds curl longer. Ask your stylist to pin the braids low and soft rather than tight, which photographs more romantically and feels comfortable for hours. A light mist of strong-hold spray over the finished style, plus a small emergency kit of pins and elastics, will keep everything flawless from the first look to the last dance. Book a trial run a few weeks before the day to perfect every detail for complete peace of mind.
Chunky Box Braids

- Part the top section cleanly and gather the braids together.
- Secure the gathered braids at the crown with a strong elastic.
- Wrap one braid around the base to hide the elastic neatly.
- Let the remaining braids fall freely down the back.
Chunky box braids styled half-up are a stunning protective option that combines practicality with serious style impact. Gathering the top braids into a crown keeps the hair off the face while the remaining braids cascade freely, creating a regal silhouette that works for everyday wear and special occasions alike. This style is wonderfully low-maintenance once installed, lasting for weeks with simple care, and it suits a huge range of face shapes thanks to the height and structure at the crown. Add gold cuffs or beads for extra flair. It is a regal, low-maintenance favourite.
To keep box braids looking fresh, moisturise the scalp regularly with a light oil and wrap the hair in a satin scarf at night to prevent frizz. When gathering the top section, avoid pulling too tightly, since tension at the hairline can cause breakage over time. A gentle edge-control product smooths the front sections beautifully without flaking. This versatile style transitions effortlessly from work to weekends, and the half-up shape flatters oval, round, and square faces alike. It is a practical, beautiful choice for busy weeks and special days alike.
Micro Braid Accents

- Take several very thin sections from the top layer of hair.
- Braid each one tightly into a micro braid and secure with tiny elastics.
- Pin the micro braids back loosely, leaving the waves free.
- Keep the rest of the hair soft and touchable for contrast.
Micro braid accents are the subtle detail that elevates a simple half-up style without changing its overall softness. A handful of tiny braids scattered through the top section adds texture and visual interest, almost like delicate jewellery woven into the hair. This technique works on straight, wavy, and curly hair, and it is perfect for anyone who wants a hint of bohemian detail without committing to a full braided look. It is also a lovely way to use up shorter layers that slip out of larger braids. The effect is delicate, like jewellery woven into the hair.
The beauty of micro braids is their flexibility: add just three for a whisper of detail, or a dozen for a more textured, festival-inspired finish. Keep each braid very thin and tight so it reads as a fine accent rather than a chunky plait, and secure the ends with clear mini elastics. If a micro braid starts to unravel, a dab of styling wax on the ends will hold it. This understated detail pairs beautifully with both casual outfits and dressier looks. It is a subtle touch that always earns quiet compliments.
Vintage Hollywood Waves

- Create deep, uniform waves with a large curling iron and clips.
- Brush the waves out gently into smooth, sculpted S-shaped curves.
- Add a small neat braid along one side and pin it back.
- Set with a strong-hold spray for a long-lasting glamorous finish.
Vintage Hollywood waves paired with a small side braid bring timeless glamour to the half-up look, channelling the golden age of cinema with sculpted, glossy curves. The deep S-shaped waves create a luxurious frame for the face, while the little braid adds a modern twist that keeps the style from feeling like a costume. This is the ultimate choice for black-tie events, New Year's Eve, and milestone celebrations, and it flatters oval and heart-shaped faces with its soft, sweeping lines. Patience is key: sculpted waves reward careful work. The result is pure timeless glamour.
For authentic vintage waves, curl all sections in the same direction, clip each curl to cool, then brush out gently with a soft bristle brush until the waves merge into smooth curves. A shine serum applied before styling gives the glossy, liquid finish that defines the look. Keep the side braid small and neat so it accents rather than competes with the waves, and finish with a firm-hold spray to hold the sculpted shape through a long evening of dancing. It is a show-stopping choice for black-tie events and milestone celebrations.
Messy Textured Crown

- Tease the crown lightly and braid the top section loosely.
- Pull the braid edges outward to create a soft, pancaked texture.
- Leave the lengths tousled and add a few face-framing wisps.
- Finish with texture spray and skip the smoothing serum.
The messy textured crown is the gloriously undone finale of this collection, proving that a little chaos can be incredibly chic. A loosely braided, pancaked crown paired with tousled lengths creates a lived-in, effortless vibe that suits lazy weekends, coffee dates, and creative workdays. This style is wonderfully forgiving: uneven sections and escaped strands only make it look better, which makes it ideal for braiding beginners. It also adds beautiful volume to fine hair, since the teasing and pancaking create fullness from the crown down. It is gloriously undone, yet always looks intentional.
To nail the messy crown, start with dry shampoo or texture spray at the roots, since grip is essential for a style that is meant to look undone yet stay in place. Braid loosely and pancake generously, pulling the edges out until the braid looks soft and full rather than tight. Do not chase perfection: if a strand escapes, leave it, since those wisps are the whole point. A final mist of flexible-hold spray keeps the texture intact without making the hair feel stiff or crunchy. Embrace the wisps and enjoy the effortless charm.
With twenty-one braided variations to choose from, half up half down hairstyles with braids prove that one classic idea can feel brand new every single time. The trick is matching the braid style to your hair texture, face shape, and occasion, then keeping the finish soft rather than severe. Start with a simple side braid if you are new to braiding, and work your way up to fishtails, waterfall braids, and chunky crown styles as your confidence grows. A little texture spray, a few well-placed pins, and a pretty accessory are all you need to make the look last from morning to midnight. Save your favourites, enjoy turning an everyday hairstyle into something special.
FAQ
How long do braided half-up styles usually last?
Most braided half-up styles last a full day on second-day hair, especially when you start with texture spray and secure the braids with pins. Fine or silky hair may loosen faster, so add a light styling cream first. For multi-day wear, sleep with the braids loosely wrapped in a satin scarf.
Are braided half-up styles good for thin or fine hair?
Yes, they can be wonderful for fine hair if you choose the right techniques. Pancaking the braids, teasing the crown lightly, and adding volumising powder all create fullness. Bubble braids and twisted rope styles also add visual thickness without heavy products, and they hold well on finer textures.
Which braid types suit curly or coily hair best?
Loose crown braids, chunky box braids, and twisted rope styles all work beautifully on curly and coily textures, since they follow the natural curl pattern. Keep tension gentle to protect the hairline, moisturise with curl cream, and let a few curls escape softly around the face for a natural finish.
How do I keep my braids neat for a wedding or formal event?
Start with a trial run, braid on day-old hair for grip, and use strong-hold spray plus hidden pins for security. Carry a small kit of extra pins and elastics for touch-ups. For brides and wedding guests, soft face-framing tendrils and a decorative comb add polish while keeping the style comfortable for hours.